I'm still alive - barely hanging on - waiting for my wing kit. As of tonight, it's somewhere near Omaha. The delivery date moved from 2/15 to 2/22 today - argh. To beat back my pseudo-depression, I cleaned and reorganized the workshop, and put away most of the tail feathers and tucked the aft fuselage in the corner of the workshop. All tools are finally put away in their proper homes. There's nothing left to do but wait. That's not my forte.
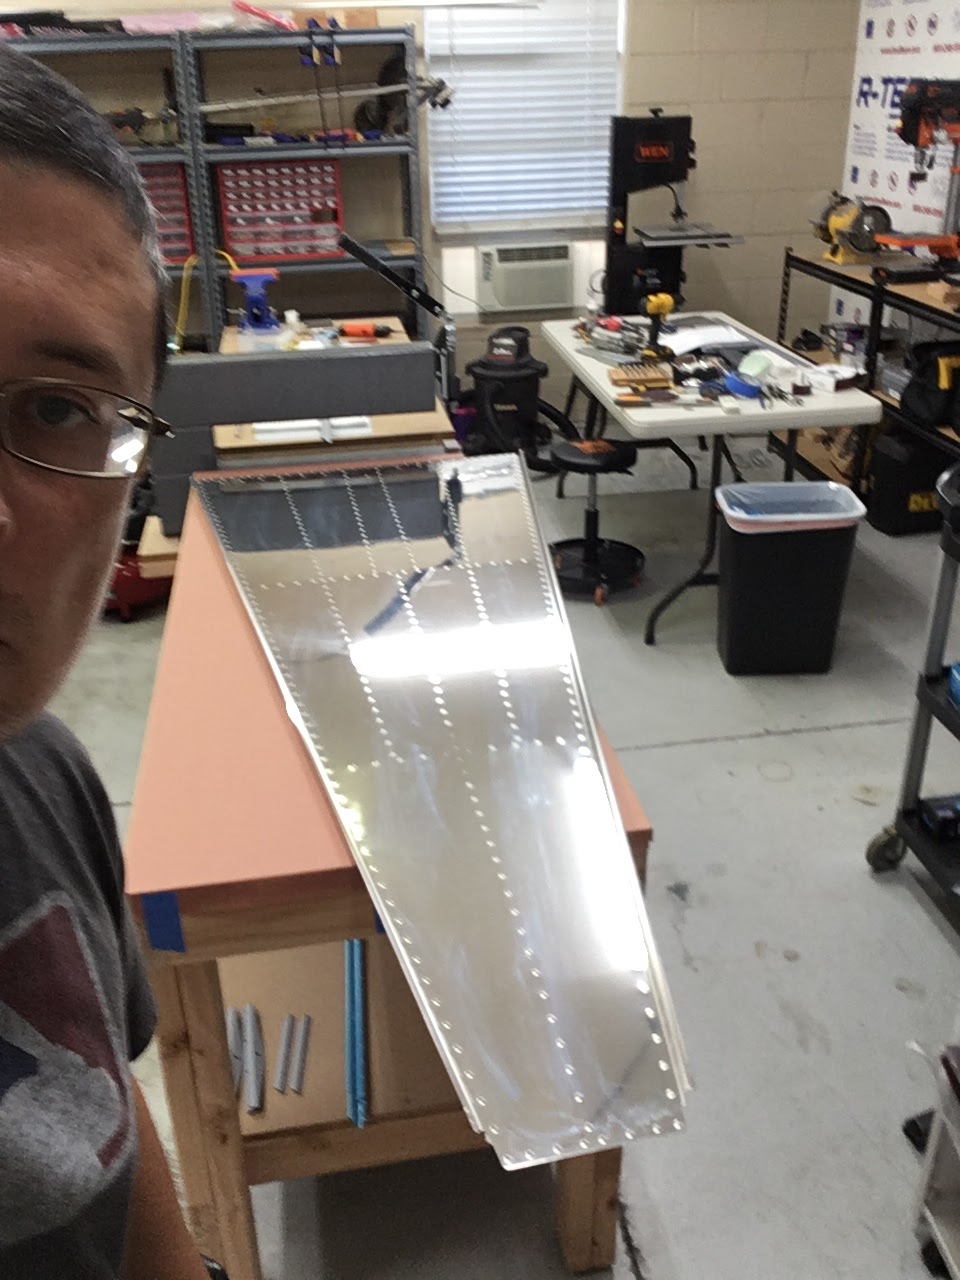
In the interim, I hung the horizontal stabilizer on the garage/workshop wall - it's still hanging a week later, so that's good. My wife heard a loud CRASH in the garage last week, and thought it was this part falling to the ground. Thankfully, it was just a spring that broke on our other garage door.
Showing posts with label Section 10 - Aft Fuselage. Show all posts
Tuesday, February 12, 2019
Monday, January 21, 2019
Section 10 - Aft Fuselage (Section Complete! Right Top Side skin; Top skin; Aft Access Panels)
We finally finished Section 10 this weekend; and, I say "we" because my wife helped with a lot of the riveting for the last three large skins: Left Top Side Skin (last post); Right Top Side Skin (this post) and Top Skin (this post). The top skin required her to climb into the aft fuselage on stacks of towels, lay on her back, and buck about 60 rivets. I could manage the most forward and most aft rivets for the top skin by myself, but those center ones required a helper.
Here she is checking rivet shop heads on the right top side skin (fuselage was placed on the right side to ease bucking):
Sunday, January 13, 2019
Section 10 - Aft Fuselage (Top side skins - riveting Left side)
I visited a friend in the RV community last week to help him attach the forward fuselage to the aft fuselage of his RV-14A, and afterward he gave me a few pointers about riveting (thanks, Ken!). First, he recommended that I switch to the larger flush set with an articulating head and rubber sleeve. I purchased this rivet set about 6mo. ago from Cleaveland Tools, but have been reticent to use it since I didn't know how to use it properly. It takes at least ~20lbs of force to compress the rubber and thus have the set sit flush on the skin with no gaps - ah, that makes sense now. Second, he recommended that I switch to a 3x rivet gun (instead of a 2x) to get a more powerful strike. I have both guns, so no problem there. Third, he recommended increasing the air pressure a little, to not work-harden the rivets. There is a sweet spot for the air pressure - too low, and too many strikes equates to more scuffing and premature work hardening. On the other end of the spectrum, too high and there is a tendency to overstrike and thus overly compress the skin in areas that are thinner (e.g. skin-to-bulkhead zones, in which the bulkhead flanges are very thin and thus easily compressed). After playing around with the air pressure, the rivets we set today were some of the best driven rivets to-date ... and, the skin-scuffing around the rivets is at a minimum. I'll continue to play around with the pressure settings ... but, this was a big step in the right direction and I really appreciate the tips!
My wife had some free time today, and we were able to rivet the top left side skin to the aft fuselage assembly. Here, she is checking a rivet she just bucked:
Sunday, January 6, 2019
Section 10 - Aft Fuselage (top skins - deburr, dimple, cleco)
After taking a couple weeks off from building (including a nice trip to see my mother in Virginia), I was back to work on the last few pages of Section 10. I'm still not in a rush, because my wing kit isn't due to be CRATED until the end of this month, and thus delivery won't happen until 4-6 weeks from today. I'm still kicking myself for not ordering the kit at least a month earlier. Back to the top skins: First step included deburring the edges and holes of the two top skins, then dimpling, and finally clecoing the left top skin, ready for my wife to help buck some rivets.
Checking the fit of the left top skin, prior to dimpling - enlisted my daughter to help raise and cleco the ~8' long skin
Monday, December 17, 2018
Section 10 - Aft Fuselage (VS match-drilling; top skin; EAA Tech Counselor)
I'm still slowly progressing through the last few pages of Section 10. I have about 2 months and 3 pages left, so the next set of posts will be few and far between. Note to self - order the fuselage kit well in advance of finishing the wing kit.
In the interim, I contacted a very nice and helpful EAA Tech Counselor (thanks, Joe F.!!), and brought him a representative example of my work (left elevator) as well as samples of the way that I'm currently dimpling and riveting, since they have changed slightly (see past posts). Fortunately, I can say that my current dimpling and riveting techniques are on-par. My earlier dimpling was a little shallow, likely due to dimpling with the vinyl still on the skins (I stopped that practice with the aft fuselage section, and now dimple with all vinyl removed). Moreover, the overly cloudy look to the skins/rivets banged with the mushroom set might just have been schmutz accumulated on the polished head, which wasn't so polished anymore. Joe used a Scotchbrite pad to clean the mushroom head surface, and it looks and rivets better. Moreover, the Scotchbrite could remove the "cloudy" surface on the skins, revealing rivets and dimples that were just fine. Phew - Build on! Below are a few steps completed over the past ~week:
Attached the vertical stabilizer to the aft fuselage assembly with AN3 bolts and temporary nuts, to #12 match-drill two holes:
In the interim, I contacted a very nice and helpful EAA Tech Counselor (thanks, Joe F.!!), and brought him a representative example of my work (left elevator) as well as samples of the way that I'm currently dimpling and riveting, since they have changed slightly (see past posts). Fortunately, I can say that my current dimpling and riveting techniques are on-par. My earlier dimpling was a little shallow, likely due to dimpling with the vinyl still on the skins (I stopped that practice with the aft fuselage section, and now dimple with all vinyl removed). Moreover, the overly cloudy look to the skins/rivets banged with the mushroom set might just have been schmutz accumulated on the polished head, which wasn't so polished anymore. Joe used a Scotchbrite pad to clean the mushroom head surface, and it looks and rivets better. Moreover, the Scotchbrite could remove the "cloudy" surface on the skins, revealing rivets and dimples that were just fine. Phew - Build on! Below are a few steps completed over the past ~week:
Attached the vertical stabilizer to the aft fuselage assembly with AN3 bolts and temporary nuts, to #12 match-drill two holes:
Saturday, December 8, 2018
Section 10 - Aft Fuselage (aft deck)
I've been progressing a bit slower these past two weeks, largely because I placed my order for the wing kit and found the ship date is not until the end of January. Since I'm not doing the tailfins attach step (Section 11) until I join the aft fuselage to the mid fuselage, nor do I yet have the skills to do the fiberglass work (Section 12; EAA SportAir Workshop will likely be in May 2019), I essentially have only a few more pages of the Empennage kit to complete over the next 7 weeks. After I finish Section 10, I'll reorganize the workshop, hang some of the completed parts on the wall, and prepare to receive the wing kit.
A fellow VAF member took a look at some of my blog pictures, and spoke with me about a few concerns he had about some of my dimples (thanks Henry!). I think I'm dimpling much better (see my post a few weeks ago about removing the vinyl, proper tightness of the dimple dies, etc), and two-dimensional pictures can sometimes be deceiving to the viewer. However, I'm far too much of a novice to think that what I am doing is completely correct ... so, I'll be calling the Big Guns (an EAA Tech Counselor) to take a look sometime during the next few weeks. In the meantime, I completed the aft deck (Page 10-27), which took a lot longer than I had anticipated.
I decided to prime all aft deck parts prior to assembly - although three of these parts are alclad, I deburred and scratched them more than usual and thought they might benefit from a coat of primer. I was itching to paint something anyway ...
A fellow VAF member took a look at some of my blog pictures, and spoke with me about a few concerns he had about some of my dimples (thanks Henry!). I think I'm dimpling much better (see my post a few weeks ago about removing the vinyl, proper tightness of the dimple dies, etc), and two-dimensional pictures can sometimes be deceiving to the viewer. However, I'm far too much of a novice to think that what I am doing is completely correct ... so, I'll be calling the Big Guns (an EAA Tech Counselor) to take a look sometime during the next few weeks. In the meantime, I completed the aft deck (Page 10-27), which took a lot longer than I had anticipated.
I decided to prime all aft deck parts prior to assembly - although three of these parts are alclad, I deburred and scratched them more than usual and thought they might benefit from a coat of primer. I was itching to paint something anyway ...
Thursday, November 29, 2018
Section 10 - Aft Fuselage (bushings; teflon blocks; rudder cables; static ports/lines; antennae wires)
Finished a few small tasks since the last post. I decide to use the Cleaveland Tools Static Port and tubing kit instead of the stock Van's kit - the lines and connectors are beefier, and the ports are robust (not just two modified blind rivets).
Inside view of one of the two static ports, cold-welded to the inside of the side skin:
Friday, November 23, 2018
Section 10 - Aft Fuselage (finished riveting side skins; rudder stops; angle brackets; nutplates)
During this past week, I spent the majority of my time on page 10-19, which involves riveting the side skins to the longerons, j-stiffeners, bulkheads, and bottom skins. I could buck or squeeze most of the rivets by myself ... except for about 140 rivets that attached the curved part of the side skins to the bottom skins. My wife volunteered her time and skill, and we made quick work of it. It was the first time she has bucked a rivet - I think I'll be using her newfound talent more in the future.
Squeezed the rivets along the longerons:
Saturday, November 17, 2018
Section 10 - Aft Fuselage (completed SB-18-09-17; attached R side; riveted skins to bulkheads)
Due to work (grant deadline looming) and extra extracurricular activities for the kids, I had not stepped foot in the shop for 5 days. However, with the wife and kids visiting grandparents in south Florida, I had plenty of time to catch up today. First, I completed the service bulletin (SB-18-09-17), since it was easier for me to rivet stiffeners to the bottom skin when the right skin was not yet attached. After completing the SB, I proceeded to attach the right j-stiffeners (A and B), the right longeron, and both angle stiffeners. I then modified the aft bottom skin, dimpled where necessary, riveted the aft bottom skin to the aft-most (F-01412) bulkhead, and wedged the two in the aft portion of the aft fuselage assembly. I then started to rivet the F-01411 bulkhead (second from aft) to the aft bottom skin ... and then I realized I had been in the workshop for nearly 7 hrs without food and without stopping. Then beer called ...
Completed SB, outside view (doubler attached to bottom skin):
Sunday, November 11, 2018
Section 10 - Aft Fuselage (bottom skin; wiring harness; side skin; started assembling aft fuselage)
I made a decent amount of progress this weekend after a total of about 15 hrs in the workshop. Following last week's fitting of the frontmost bulkheads, I dimpled all holes in the bottom skin, except for those called out in the Service Bulletin (SB-18-09-17). This optional SB adds doublers and stiffeners to strengthen the section of the skin that attaches to the F-01408 bulkhead (2nd from front), which is prone to cracks.
Sunday, November 4, 2018
Section 10 - Aft Fuselage (several more bulkheads; bellcrank rib assembly)
A decent amount of progress was made since the last post - deburred and riveted the 3rd, 4th and 5th bulkheads (front 3), primed several parts used for the bellcrank rib assembly (as well as future parts of the build), and attached the large (forward-most) bulkhead to the assembly. Having a large structure on the two sawhorses was very satisfying ... this puppy is starting to take the shape of the aft fuselage.
Riveted the 3rd bulkhead to the doublers and horizontal stabilizer attach bars:
Friday, November 2, 2018
Section 10 - Aft Fuselage (aft bulkheads and attach bars)
Continued to (slowly) progress through the steps of assembling the 2 rear-most bulkheads and associated attach bars and tie-down bracket, as well as starting the 3rd bulkhead from the rear. I'm starting to see the light at the end of the empennage kit tunnel - it is nearly time to order the wing kit ... probably by the end of November to have it delivered ~mid-January.
Clecoed and then final-drilled the second bulkhead (2 pieces) from the aft section to the horizontal stabilizer attach bars:
Wednesday, October 31, 2018
Section 10 - Aft. Fuselage (bulkheads; tie-down bracket priming)
Continued working on parts of the aft fuselage, including the rudder stops, horizontal stabilizer attach bar, rear bulkheads, and town-down bracket. Since I fabricated/deburred the alclad parts enough to scratch them substantially, I decided to prime those with the non-alclad parts.
Countersunk rudder stops. The regular countersink cage tool didn't fit due to the flange, so I used a countersink bit-extender (without a cage) and tried to carefully keep an even countersink:
Friday, October 26, 2018
Section 10 - Aft Fuselage (cable guides; j-stiffeners; longerons; attach bar; rudder stops)
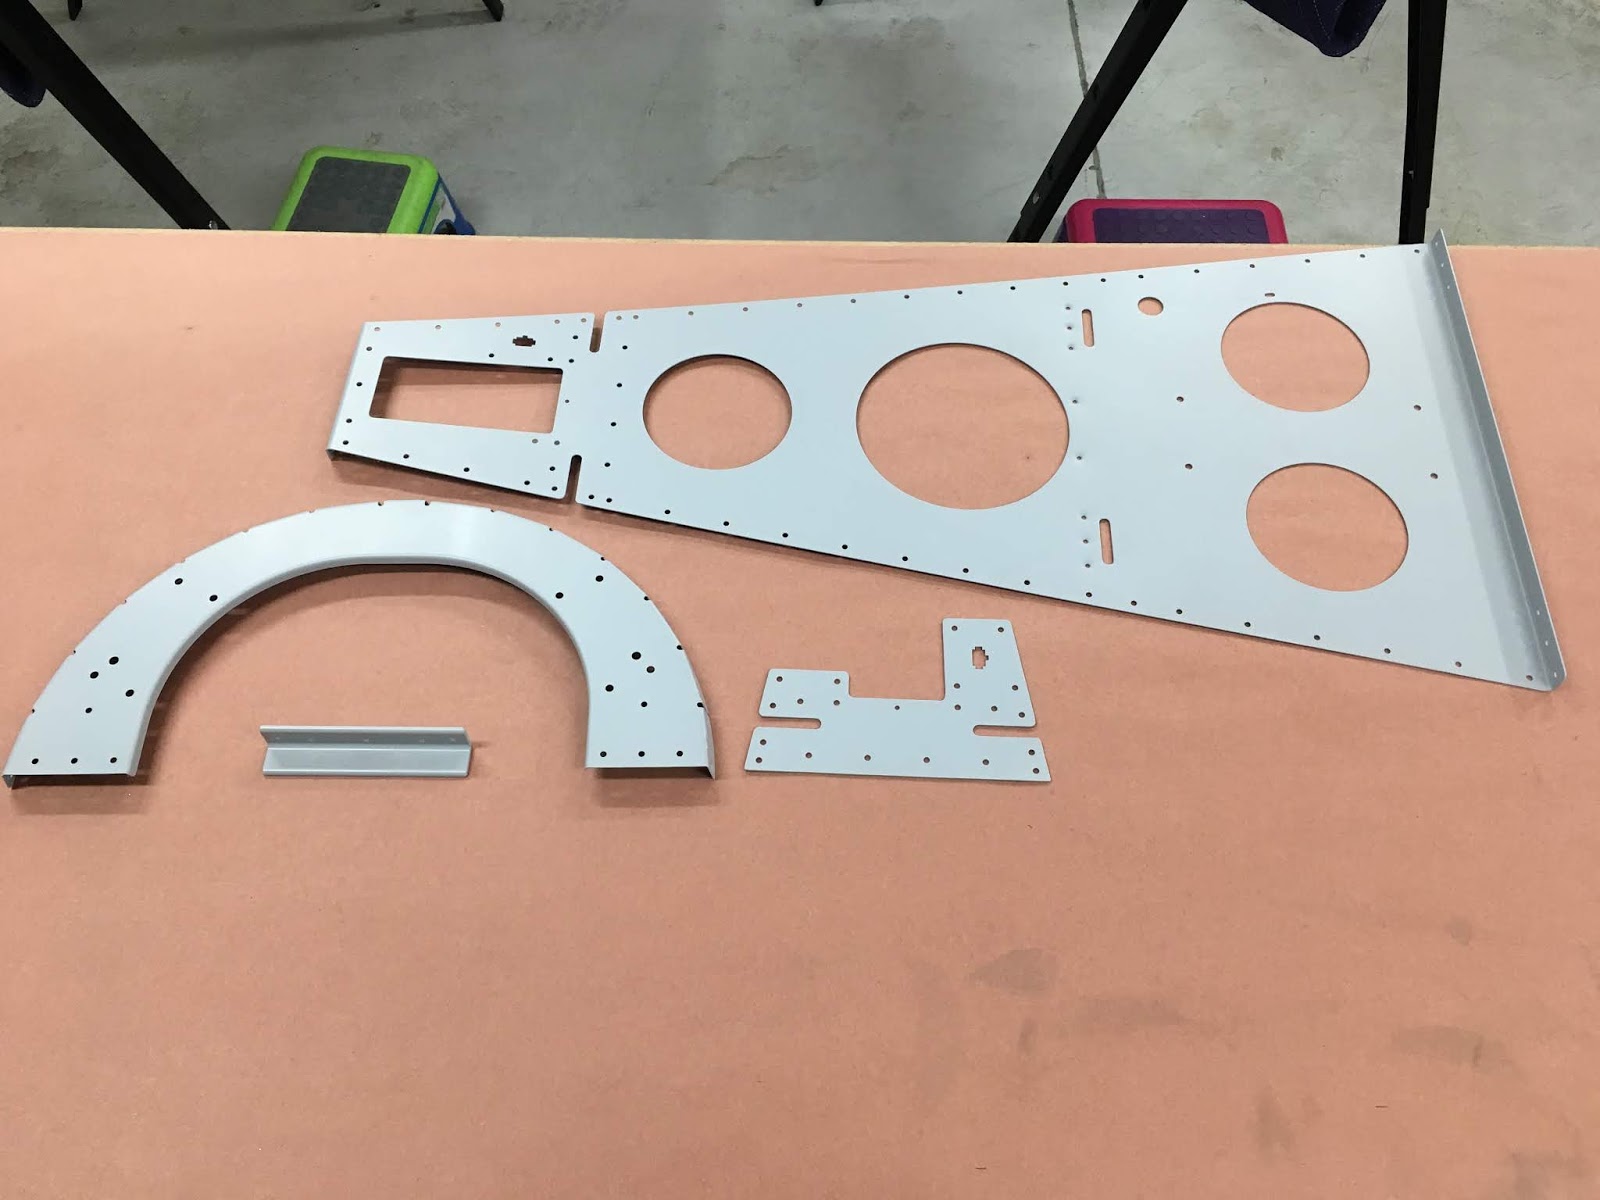
A couple days of separating parts, deburring the edges, and other initial tasks for the fuselage. A few of the parts completed so far are below (longer j-stiffeners not shown):
Subscribe to:
Posts (Atom)