- Designed and constructed transport cradles (2) for wings - each has handles on both ends, so the wing can be placed in cradle and then loaded into a U-haul
- Put finalizing touches on everything to take with wings to hangar; finalized method to secure wing cradles in U-haul
- Rented U-haul (20’), transported cradles to hangar - Thanks to Gary W. (neighbor) and Steve R. (lineman) for lifting on either end of the trip!
- Inventoried finish kit
- Prepped canopy latch assembly
- Separated stiffener angles, latch links, bellcrank angles; riveted canopy hinge assemblies; separated forward canopy rails and support flanges
- Assembled canopy latch pushrod assembly; deburred and dimpled canopy skin
One transport cradle (without the carpeted sling) is shown below. These are very easy to construct, and take exactly five 8' 2x4s, with no leftover wood remaining. Here are the cuts for each 8' 2x4:
1&2) each longitudinal piece is a full 8' board (no cuts)
3) the four vertical pieces that hold the carpet are each 18" tall (shown on the right of this pic). The ~23.5" leftover piece will be cut in half to make the two small handles shown on the left side of this pic, which will help carry the inboard end of the wing.
4) the two vertical pieces on the left and the 3 horizontal pieces on the bottom are all 16" cuts (5 total). The remaining ~15.5" piece will be used as the top horizontal piece/cap, shown on the left. The horizontal cap will support the inboard spar.
5) the two long handles shown on the right, which will support the outboard end of the wing, are 48" long (i.e. cut an 8' 2x4 in half).
Everything gets screwed together with 3" hardware/construction screws (#9; Torx head) - I highly recommend drilling an 1/8" pilot hole at least 2" deep, and then use an impact wrench to drive the screws. I did not glue the pieces together. The longitudinal spacing of the vertical pieces that hold the carpet was approximately 17.5" ... but that was based on the piece of "scrap" carpet that I got from Lowes. It happened to be about 18.5" wide and I wanted a little overlap. I estimate the smallest carpet width should be 16", and the largest carpet width should be 20", so space the vertical members accordingly. (more pics/instructions are after the break)

Both wing transport cradles, completed. To sling the carpets, I first screwed one end into the side of one of the handles using about eight 1.5" wood screws (any type). Next, to get the appropriate height of the bottom of the carpet sling (i.e. to ensure clearance of the wing's leading edge), I measured about 1.5" from the bottom of the carpet sling (with some pressure on it, to simulate the weight of the wing tip) to the top of the horizontal board. I then screwed in the other end of the carpet, and trimmed to fit. Very easy.

Here are the two wings in their respective transport cradles, sitting next to the old roller cradle. I like the transport cradles because they are more stable, lower to the ground, and easy to move around even without wheels. They can be clamped or screwed together for extra stability (e.g. for long-term storage in a hangar).

Prior to transport, I put pieces of Tygon tubing in two of the large holes in the spar, and then partially screwed in 2.5" #9 screws. The tubing protects the holes. The screws prevent the spar from slipping off that end of the cradle. I also clamped the spar to the cradle for extra support.

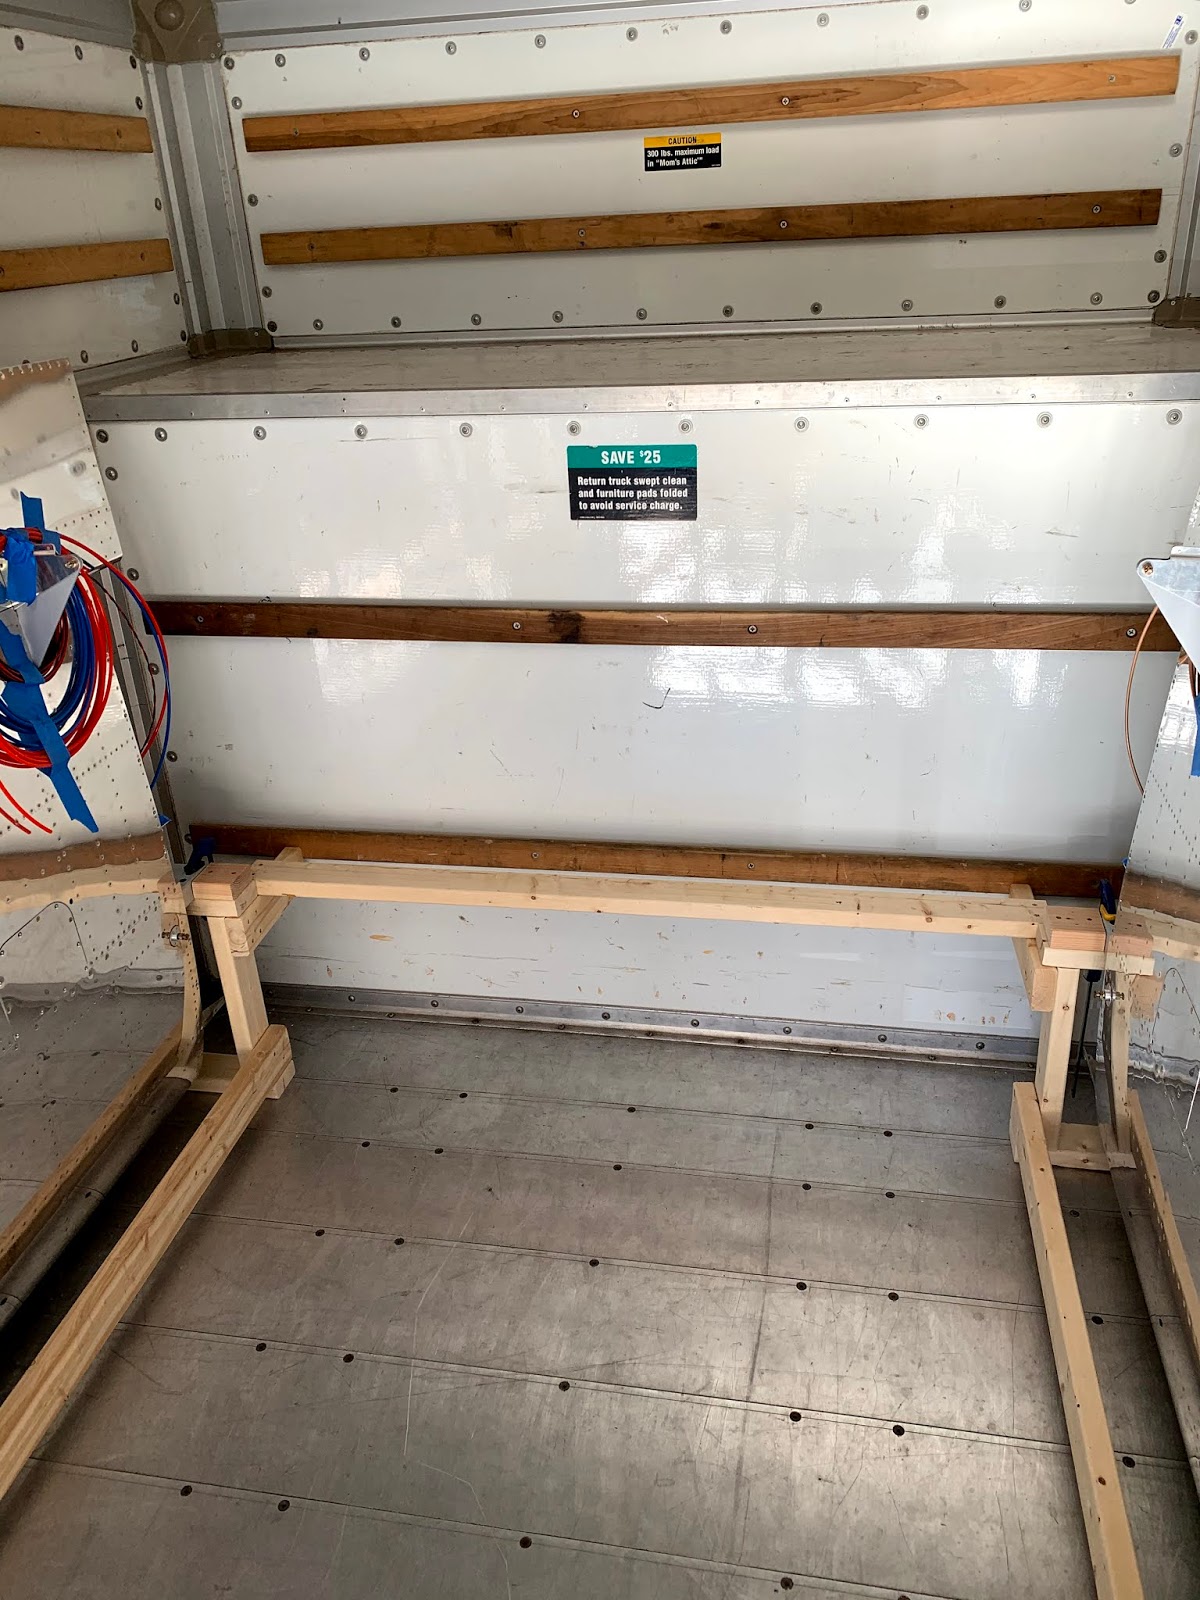

A final ~63" piece of wood was screwed into the other end, and the cradles sat like a well-fit "box" in the U-haul, with no room to move. A couple ratchet straps secured the roller cradle to one side, and another strap secured the entire structure to the front of the truck (so it wouldn't slide backward when the truck accelerated).


No comments:
Post a Comment