Wednesday, August 26, 2020

Other (avionics install., cont.); 43 - Engine Install (sensors); 45 - Cowling (inlet ramps); 48 - Exhaust (exhaust pipes and scat tubes)

During the last ~2 weeks I bounced around a bit, depending on what needed to be accomplished (and to afford time for curing/drying/cogitating/omphaloskepsis).  Nothing earth-shattering, except to mention that ALL the remote boxes have either been installed or holes have been drilled for their eventual installation. Having so many remote boxes made it quite a challenge to locate everything behind the panel - but they will all fit.  Specifically, I accomplished the following:  

- drilled a few holes to attach Garmin boxes; lots of planning; modified left avionics shelf for GAD29 and IBBS attachment

- installed GEA24, GAD27, GAD29, IBBS and left avionics panel

- installed CO detector, identified and routed many loose wires through firewall passthroughs; took off upper and lower cowl, and locked remaining camlocs 

- uninstalled GAD29, IBBS, and 4 connections to GEA24; drilled 4 holes for main power bus connector and attached connector; reattached aforementioned items

- sanded inlet ramps, epoxy/flox/micro of aft edges (will smooth out so baffle rubber will close neatly around the prior gap)

- sanded epoxy/micro on upper cowl; bondo-filled all holes holes and sanded (3x repeated); coated all sanded areas with light layer of epoxy

- installed fuel pressure sensor and manifold pressure sensor; completed a few odds-and-ends

- started installing the exhaust pipes - installed the hanger for tailpipe, and placed and loosely attached the aft and forward exhaust pipes (used nickel anti-seize paste at slip joints)

- finished installing exhaust system; torqued flange nuts 16 lb-ft; drilled out 2 LP4-3 rivets from right heat vent and installed cover w/red RTV

- prepared and installed heat muff assemblies; prepared scat hoses for vents (cut, trimmed, RTV’d the length of each hose); organized hardware

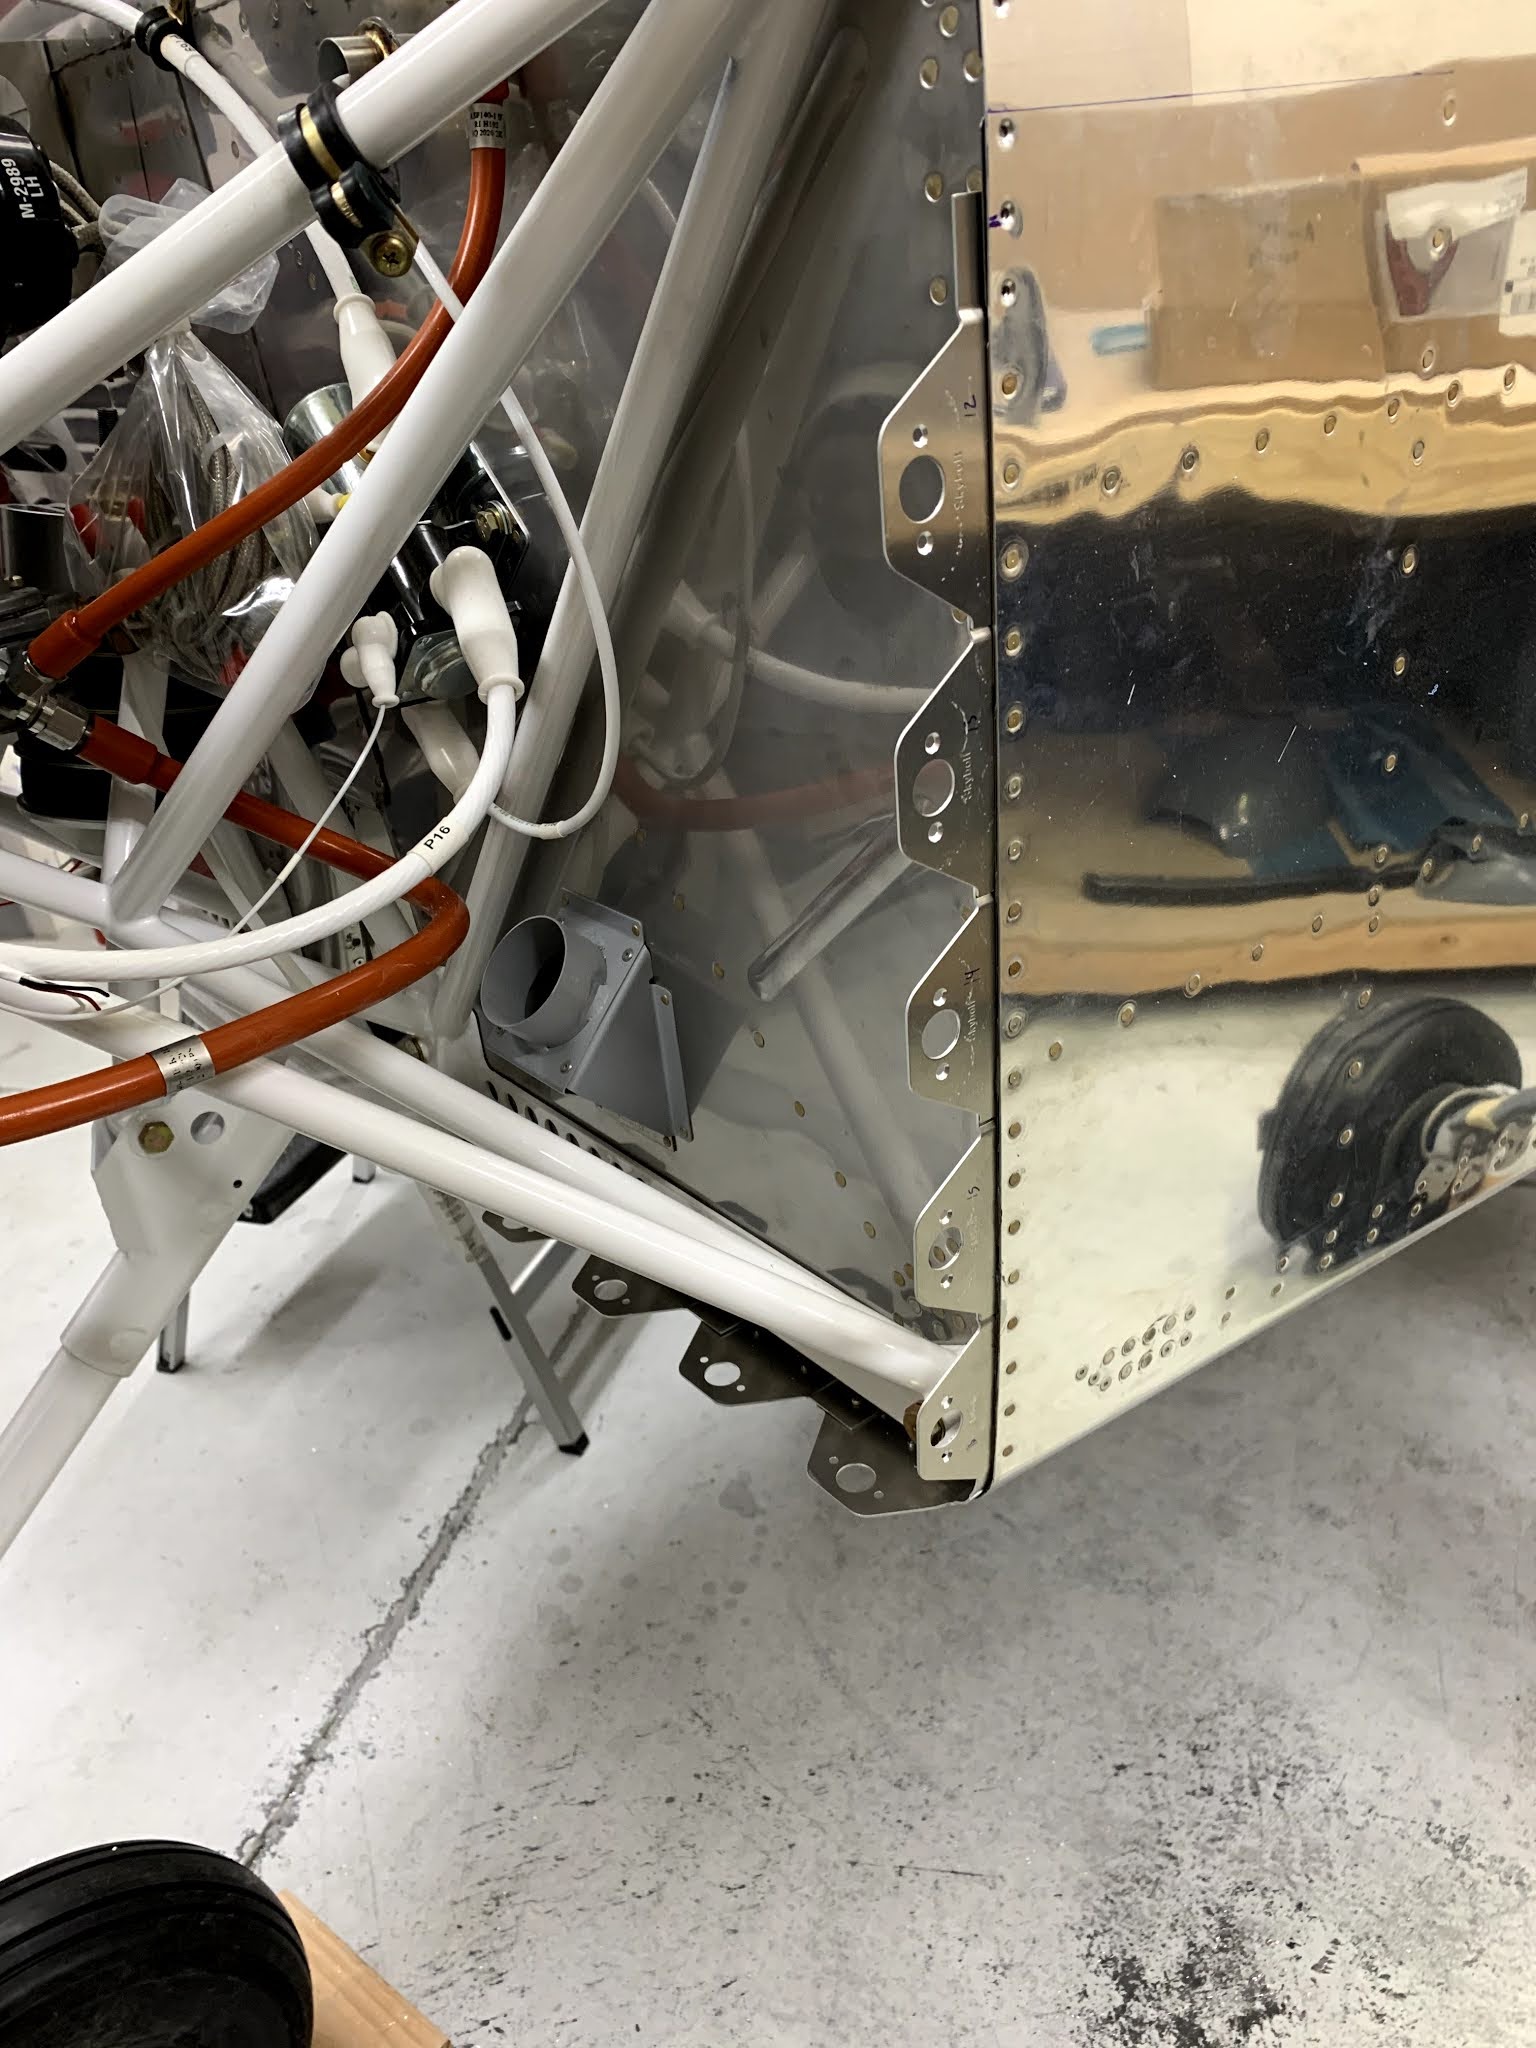
- Installed vent t-splitter that directs hot air to left/right cabin floor vents; installed a few scat hoses, while leaving others off for access (for fuel line penetrating cabin - prosealed the fitting to the firewall, but will need to final-torque nut and fuel line later)

View behind the panel - damn, that's a lot of wires!  Avionics shelf was fabricated (next pics) to hold the IBBS battery (black rectangular box in the center) and GAD29 (underneath shelf; not shown):

Thursday, August 13, 2020

45 - Cowling (finished camloc installation); Other (avionics panel install)

Recently, I passed a milestone: 1500 hours working on this project over the last 2 years and 1 month ... and it still excites me every time I go into the workshop!  This was a big couple of weeks - first, I finished the camloc installation, which was a pain in the ass, but they look great and hold the cowling very well.  Second, and perhaps most important, I started installing the avionics panel!  Lots and lots of wires and gizmos behind the panel, but the panel itself is a beaut and I am glad I went with the larger GTN750xi instead of the smaller GTN or the even smaller GNX/GNC boxes.  Real estate matters, esp. flying IFR.  Specifics are as follows:

- installed camloc flanges on the sides and lower part of fuselage

- epoxied the inside of both cowlings (did this early in the camloc install process, so I don’t have to uninstall all of the camloc grommets later)

- added two more camloc flanges to upper cowl (the ones that are aligned with the side flanges of the lower cowl)

- added two camlocs to upper cowl; positioned and trimmed aft edge of lower cowl (needed 1/8” or so trimming for most of it); had to grind off some of the corners to make the cowl fit well (and bend the camloc flanges back a bit in the lower corners); wife helped hold aft section of lower cowl

- installed side camlocs on lower cowl; drilled holes for bottom camlocs on lower cowl; trimmed lower aft edge of lower cowl; installed two wires (one to alternator and one to starter) 

- installed camloc retainers on bottom of aft lower flanges (4 per side); cut upper flange of lower cowl and sanded to trim line (near-final; only needs a few touch-ups)

- spacing and drilling flanges for the horizontal sections of the lower cowl; countersunk all holes in lower cowl for flange rivets; countersunk flanges to accept retainers

- riveted flanges to lower cowl; drilled holes and installed grommets in upper cowl; fabricated screw mechanism for grommets that are close to engine mount bolts; installed retainers in lower cowl; essentially completed rest of Camloc install (except for locking the remaining retainers); drilled #19 holes in forward part of cowls

- Delivery, uncrating and partial unpacking of SteinAir panel!

- finished unpacking panel

- trimmed, clecoed and floxed inlet ramps onto upper cowl; installed upper cowl on fuselage; prepped oil door and drilled holes (1/4”) to install camlocs

- installed panel onto panel frame on fuselage (with wife and daughter); enlarged hole for canopy release; drilled and deburred 6 holes for Nav’s mounting bracket; placed all wires in respective areas; installed circuit breaker panel (needed to modify support by bending forward flanges aft 90deg); drained water in air compressor

- Installed Nav and audio panel; planned placement of other boxes behind panel

- installed transponder on shelf on right side (shelf had to be altered to fit, and 4 brackets were constructed from 0.025” aluminum, bent into angles); started remote comm install; checked placement of vent cables and how they impinge on avionics shelves; retied right cable bundle

Installed left side flanges (Camlocs):