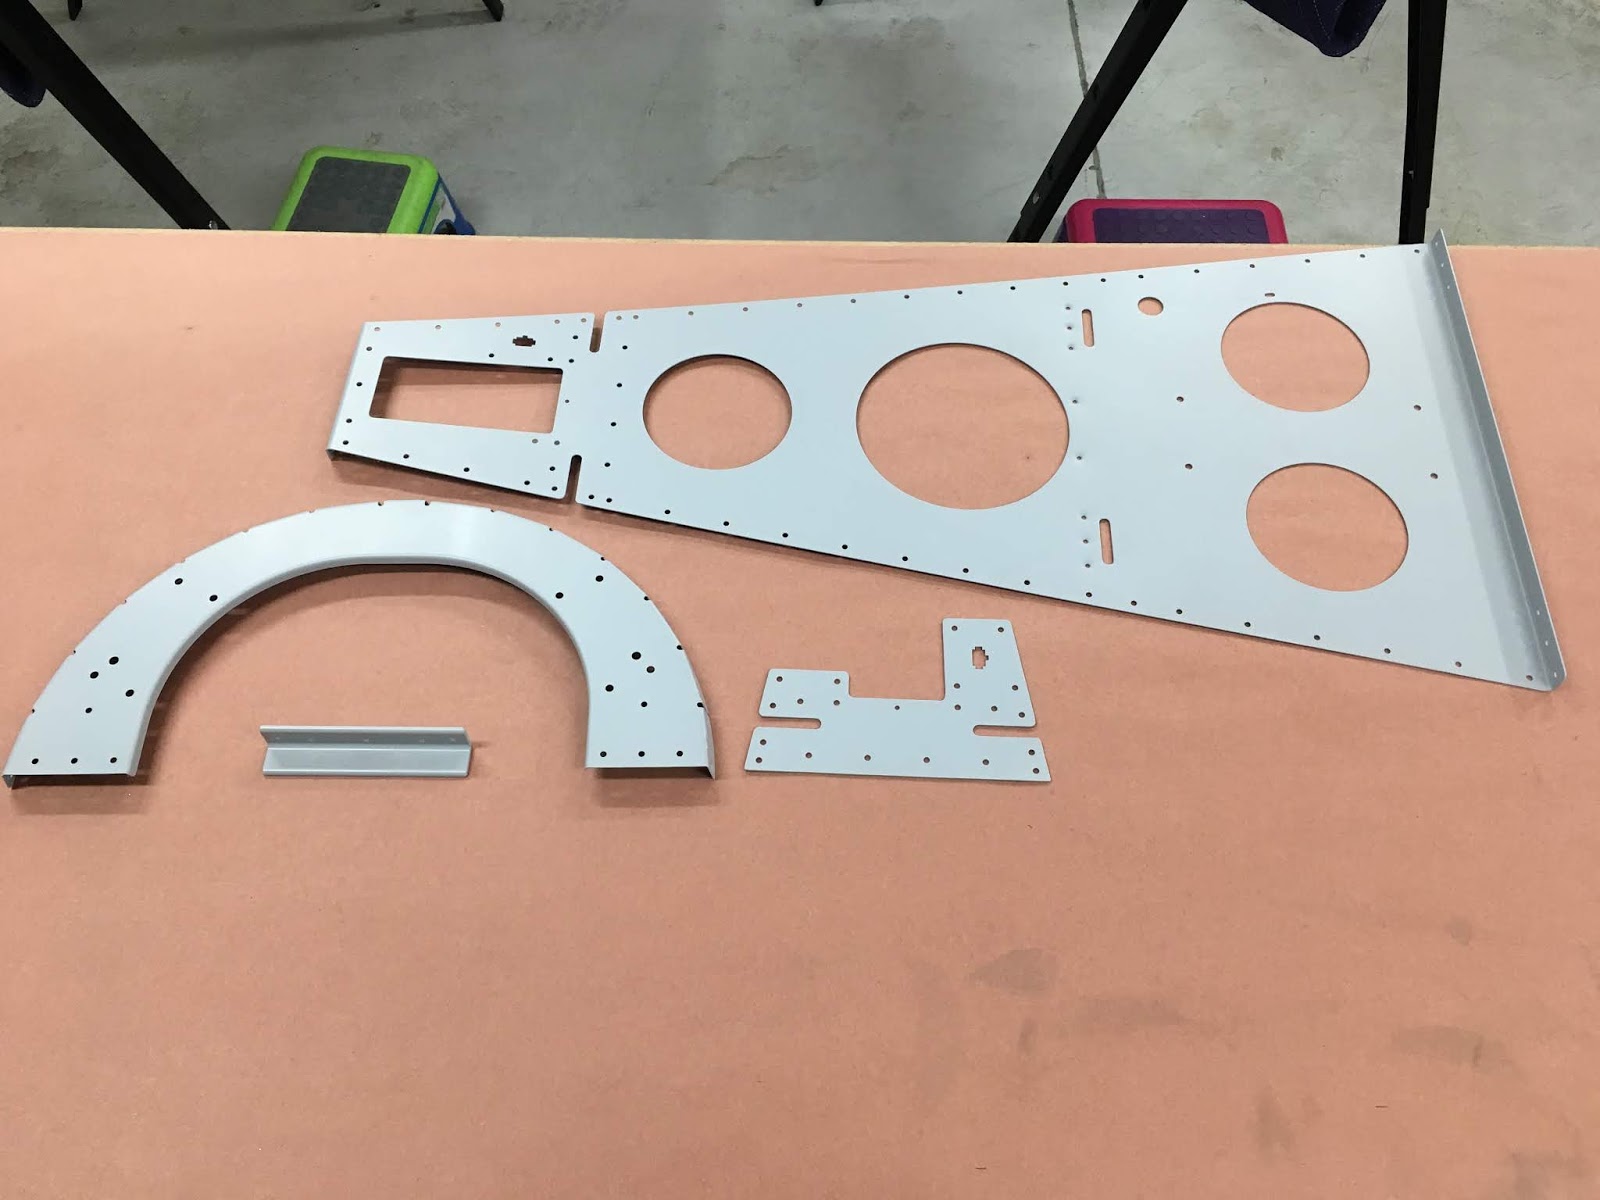
A fellow VAF member took a look at some of my blog pictures, and spoke with me about a few concerns he had about some of my dimples (thanks Henry!). I think I'm dimpling much better (see my post a few weeks ago about removing the vinyl, proper tightness of the dimple dies, etc), and two-dimensional pictures can sometimes be deceiving to the viewer. However, I'm far too much of a novice to think that what I am doing is completely correct ... so, I'll be calling the Big Guns (an EAA Tech Counselor) to take a look sometime during the next few weeks. In the meantime, I completed the aft deck (Page 10-27), which took a lot longer than I had anticipated.
I decided to prime all aft deck parts prior to assembly - although three of these parts are alclad, I deburred and scratched them more than usual and thought they might benefit from a coat of primer. I was itching to paint something anyway ...
When the instructions mentioned "dimple all flanges" on this bulkhead, I didn't think to dimple the top thin flange prior to installation - instead, I was focused on the side and bottom flanges. It wasn't a big deal - the center two holes two could be dimpled with a hand squeezer, while the remaining 6 holes needed the blind dimpling set. After I dimpled those flange holes, I read in the RV-14 VAF forums that Van's will be switching this part back to AN470 rivets ... and that either the AN426s or AN470s would work. Oh well, if I had checked beforehand, I would have saved myself a little extra work.

Clecoed aft deck parts to aft fuselage assembly:

Finished riveting the aft deck, which was no easy task: there were 7 different sizes of rivets (AN426s and AN470s); four different squeezer yokes were needed; all squeezer sets were used (three flat, two universal); both 2x and 3x rivet guns were utilized; and, three different rivet sets were needed (long flush; short flush; double offset 1/8" universal).

Wires and phone cable for eventual ACK ELT:

C409P connector (the micro-molex connector for the left elevator trim tab motor will connect here)

No comments:
Post a Comment