It was all flaps, all week long. I nearly finished the left flap (waiting for a squeezer set from Cleaveland Tool for the trailing edge) and am midway through the right flap. The hardest part of the flaps is riveting the bottom skin to the spar, but after I figured out how to position the tungsten bucking bar, it wasn't too bad. I checked and confirmed that the twist between the two brackets was <0.1deg using an iPhone digital leveling app. If Paul Dye uses an iPhone to level parts, I figured it would be a safe way to do it.
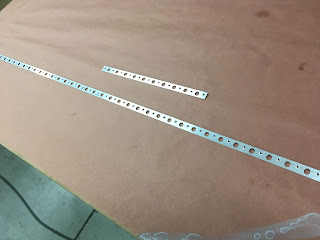
Countersunk the inboard and outboard trailing edges for the left flap:
Countersunk the left flap hinge brackets for double-flush riveting - note that I didn't make the unnecessary widget for positioning a cage on the joggled edge. I just carefully countersunk without a cage; worked fine:
Dimpled all the ribs and spar for the left flap:
Dimpling one of the skins for the left flap:
Finished dimpling the top, bottom and nose skins for left flap:
Closeup:
Riveted nose ribs to doublers (left flap):
Riveted nose ribs to hinge brackets (left flap):
Another view:
Riveting ribs to spar (left flap):
Finished riveting ribs to spar (left flap):
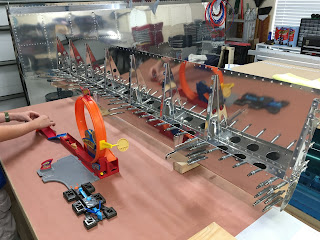
The Boy, "helping" ... while I rivet the top skin to the left flap spar:
Finished riveting the top skin - matchbox set not included in the Van's wing kit:
Back-riveted two aft-most rivets to ribs in top skin (left flap):
Finished riveting top skin to spar (left flap):
Started riveting bottom skin to spar (left flap):
Finished riveting to spar:
Finished riveting blind rivets around hinges:
Finished all but the trailing edge and bottom skin-to-rib rivets:
Clecoed right flap together to match drill trailing edge and final drill two holes in each nose rib:
Match-drilled right hinge brackets:
Countersunk right trailing edge wedges (shown on right):
Dimpled everything that needed dimpling (right flap):
Riveted hinge bracket pairs (right flap):
Riveted nose ribs to doublers (right flap):
Riveted right flap skeleton:
Clecoed nose skin and top skin to right flap skeleton assembly:


No comments:
Post a Comment