Riveted the threaded rod end to the internally primed steel tube by sloooowly squeezing the -11 (!) rivets with the Cleaveland Tool Main Squeeze manual squeezer. These long rivets wanted to lean over, so I had to adjust the angle several times:

Rod end bearing and jam nut installation on the bellcrank-to-aileron pushrod (jam nuts NOT final-torqued yet):

Primed parts for left torque tube (only inside the white powder-coated tubes; inside and out for the collar):

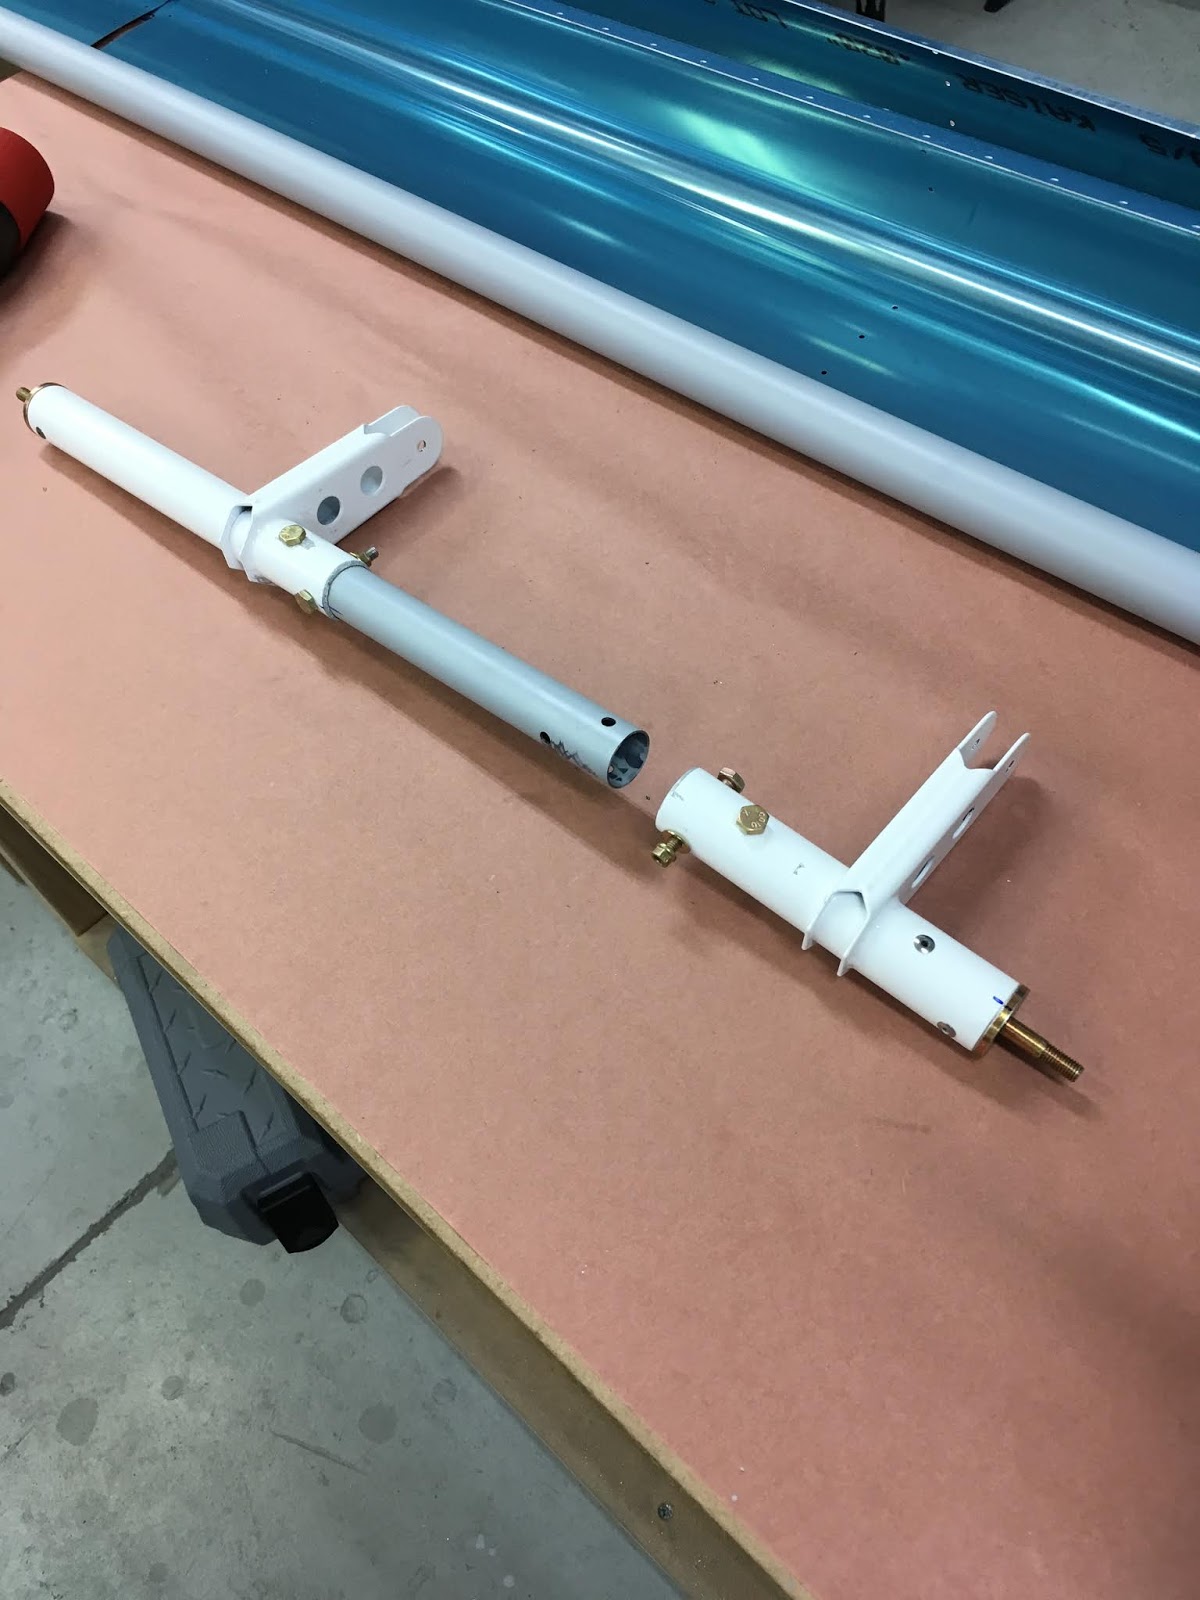
Drillled forward tube to collar, bolted, and then drilled the aft torque tube. Note that the aft tube has a very specific clocking specified in the manual, which involves fabricating a 1 1/32" block upon which to clamp the bolted flange:

Torque tube, final drilled, and ready for installation on left wing:
Finished left wing access panels for lower skins:

Started riveting left lower inboard skin:

My three tungsten bars - the one on the lower left is what I used (after covering most surfaces with duct tape) for riveting the lower skin:

More riveting left lower inboard skin:

Aaaad, more riveting left lower inboard skin ... oh wait, I think I'm done here:

Attached nutplates for the inboard-most access panel:

Riveted inboard-most rib and nutplates to lower skin:

Placed left outboard lower skin on wing assembly and clecoed the first area (around the outboard flap bracket) to be riveted. I'll need help with this skin:

Clecoed top, bottom and nose skins to left flap assembly:

Other side, after match-drilling nose ribs and final-drilling trailing edge:

Match-drilled flap hinge brackets:

No comments:
Post a Comment