Midway through riveting the trim tab motor housing doubler:

Finished riveting the doubler, along with the remaining two aft nutplates. You can't tell, but as I was riveting the doubler, I noticed that I forgot to dimple one of the holes in the skin! At first, after much cussing, I was thinking about removing all the rivets holding the doubler to the skin ... but there were about 14 to undo. Then I remembered I had purchased a close-quarters dimpling set from Cleaveland Tool, which uses two flat dimple dies placed on either side of a hole with a nail in the middle, and a pop-rivet tool is used to pull the nail (and thus the die). Since the corresponding hole in the doubler was already dimpled, this turned out to be an easy fix. Can you tell which of these rivets was dimpled this way? (if you can, please don't tell me ... and I'll also mention that this surface is on the bottom of the elevator, and no one should normally see it)

Other side, after riveting all holes:

Back-riveting the smaller parts of the ribs to the skins - 6 for the right and 5 for the left:

Random FAA picture, showing a skin and front spar assembly of one of the elevators sitting atop the horizontal and vertical stabilizers:

After riveting the rib parts to the upper right skin:

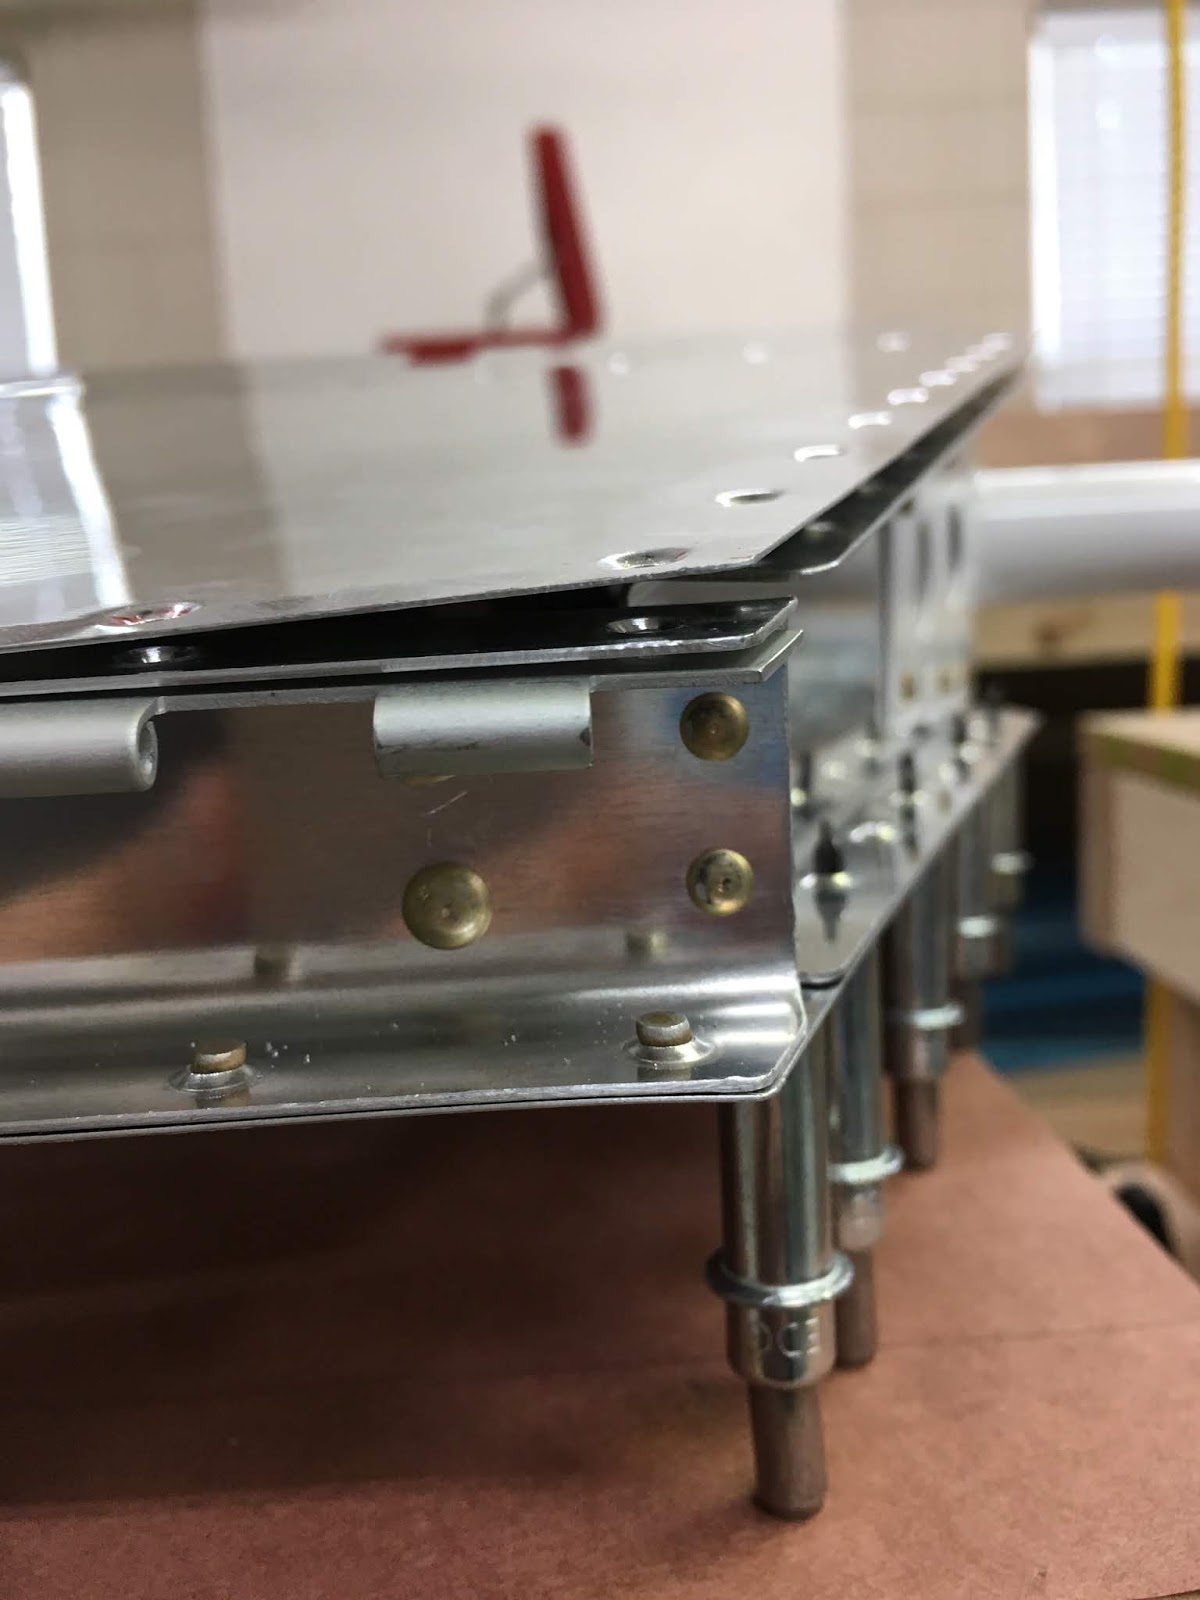
Preparing to rivet the left bottom skin to the rear spar. The part that will enclose the foam ribs and trailing edge is where I used that special bucking bar. Note the 6 holes with blue painters' masking tape - the instructions tell you to not rivet at this point (in order to peel the skin back to be able to buck some nearly unbuckable rivets later) ... but at NO point in the instructions does it tell you when to finish bucking these 6 rivets! Same problem for the right elevator. After a couple hours searching the interwebs, I found others mentioned the same issue. I ended up bucking those combined 12 rivets at the end of the day. The alternative would be to #33 drill and install blind rivets ... but since I got this far with that somewhat unwieldy special bucking bar, I did the rest of them in the same fashion. There aren't many omissions in the instructions, but this is one that probably should be fixed.

Preparing the right elevator for the special bucking bar:

My helper, clecoing the left front spar assembly to the left skins - he's getting great at clecoing! For all of you delicate-handed folks out there who use/need a pneumatic cleco device to attach and remove clecos, know that my boy is 9 years old and can cleco 50-100 holes in a sitting without getting fatigued.

Slight deviation from plans, which call for three AN470AD3-3 rivets at the top of the spar shown here. I was able to buck the middle and right-most ones using a footed bucking bar, placed inside the trim tab hole. But, I could not figure out how to buck the left one - nutplate and rivets in the way, plus this hole was in the corner of the trim tab structure. The solution was to #30 drill the hole, deburr, and then use an LP4-3 pop rivet as seen here. These were used for the structural front spar-to-rib closure, so I figured one extra here in a less structural position and using an upsized rivet would be okay.

Another view of left front spar:

Had to use 4 rivets here, two AN470AD3s and two AN470AD4s. The AD3s are shown to the right, which attach the rear spar to the inboard rib, and were no problem to buck. However, as you can tell, the skin isn't completely riveted to the spar yet, to enable either a small bucking bar to fit in there (mine are all too big) or the yolk of a squeezer to fit (mine was just right) to rivet the two AD4s. I could easily hand-squeeze the lower AD4 rivet with a cupped rivet set, but the upper was obscured by the hinge. The instructions were prescient in this regard: use a flat set on the manufactured head of an AD470 rivet! Not the prettiest thing (barely visible here), but it worked well and set properly. Saved me from grinding down my straight cupped rivet set with a notch that would fit the hinge. I then squeezed the last three skin-to-spar rivets (not shown) to close out the trim tab box.
On to riveting the left front spar to the skins:

And, done:

Other side, done:

FAA action shot, squeezing rivets for the skin-to-front spar closure:

View without me in the pic:

After riveting everything (including the last 6 rivets mentioned above in each skin), I'm prepared to attach the 3M VHB tape to the trailing edges of for the left elevator (shown) and trim tab (not shown). Once the tape is attached, it cures for a day or so.

No comments:
Post a Comment