Proseal is a mess; and this particular formulation hardens quickly, so you have to work fast ... thus no pics of the foam ribs slathered in the dark grayish goo. Left elevator is shown here. Note that for all trailing edges, I modified the process only slightly - attach VHB tape to both sides of the trailing edge wedge, let cure for about an hour, stick to the lower skin, proseal the foam ribs in place, close the skins, and remove the VHB protective backing and stick wedge to upper skin (instructions has you doing this after proseal curing). Worked well, and it was easier to remove the tape's backing.

Trailing edge curing for 4 days:

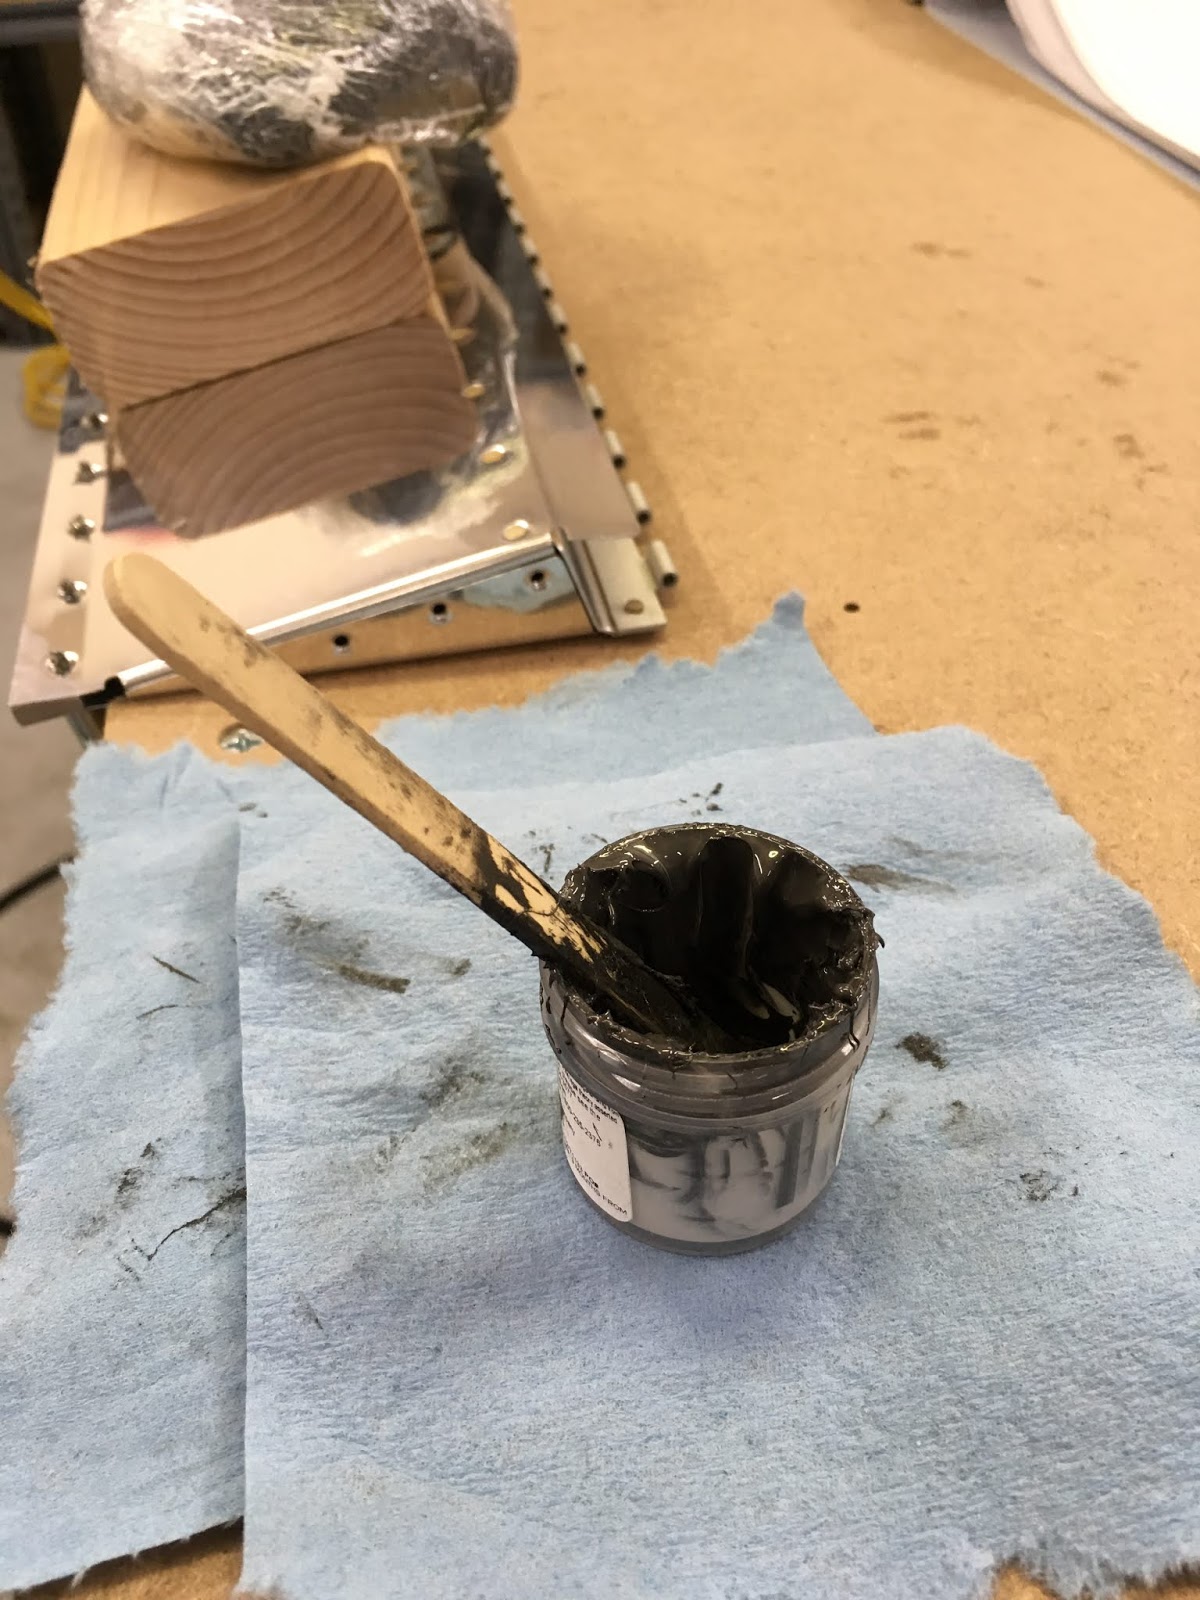
Here is the 1oz jar I got from Vans (thanks for the suggestion, Ken B.!) - 1oz is good for either the trim tab and the left elevator, or just the right elevator. You MUST spread it on thin though - less than 1/32".
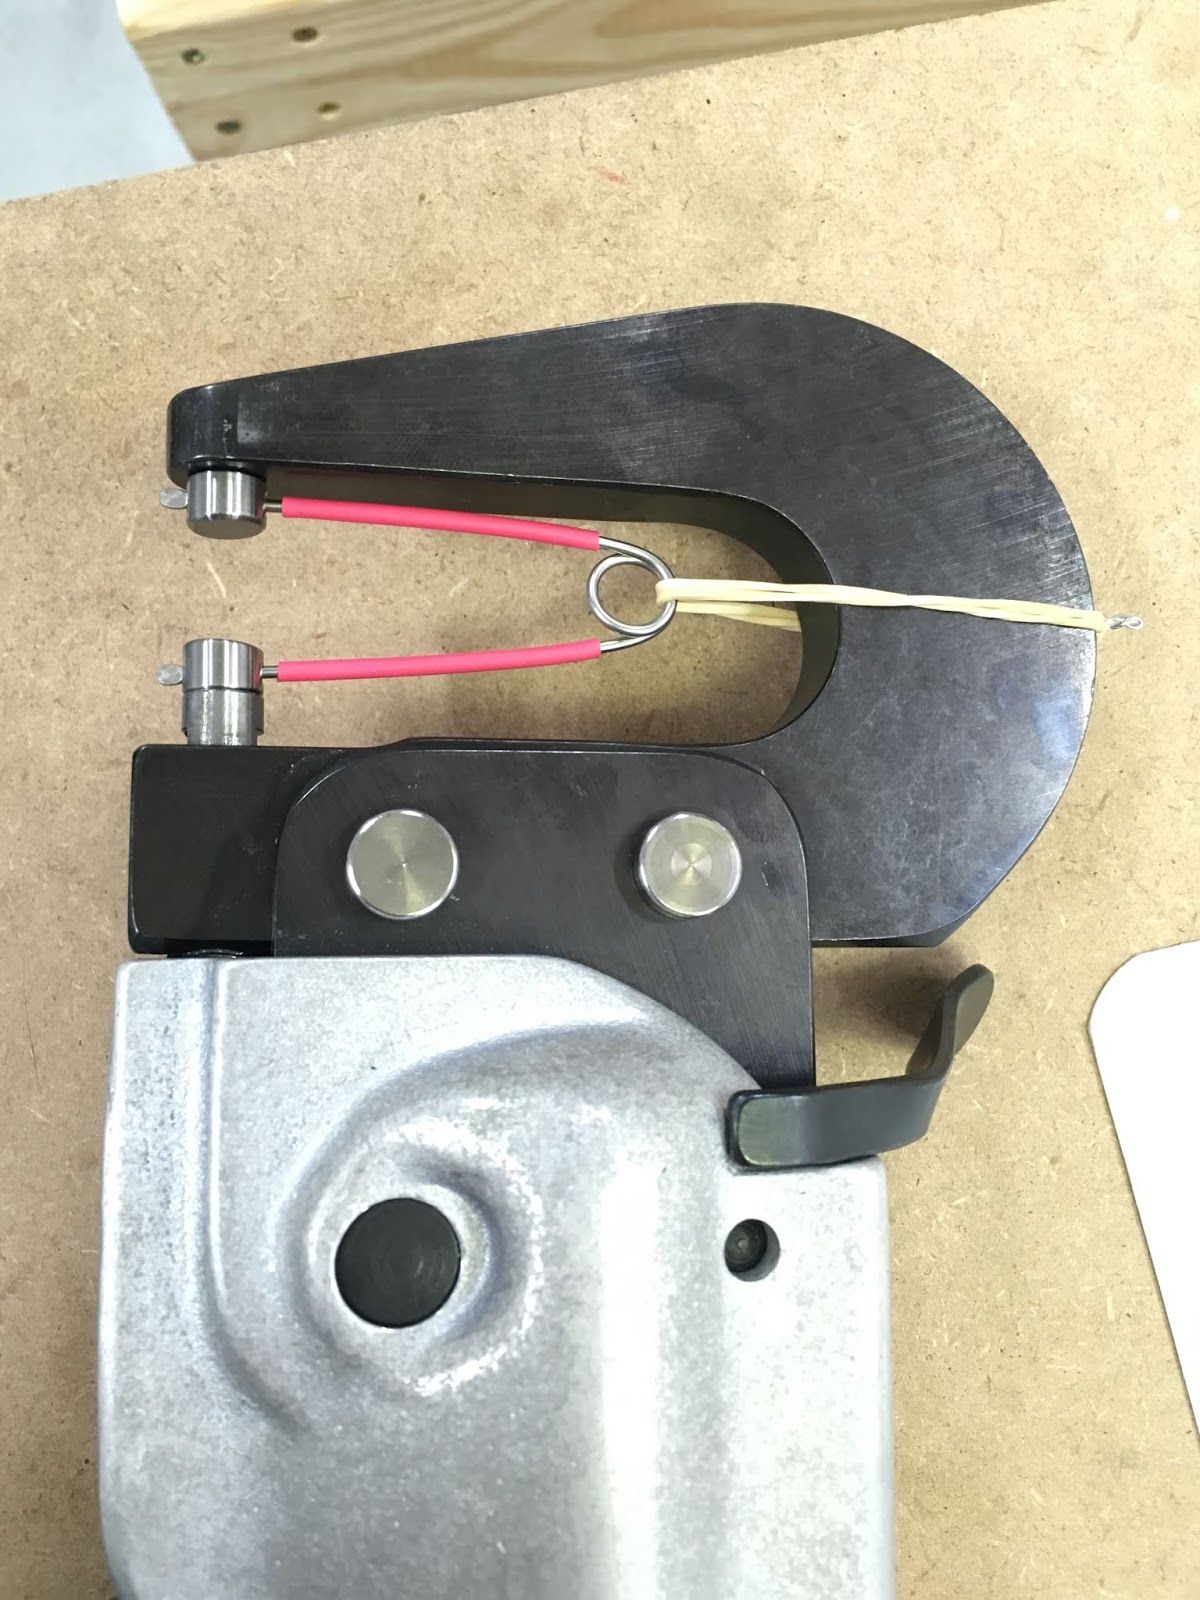
Here is the special riveting tool used to squeeze the trailing edge. First set the rivet with a flat set (not shown), and then squeeze double-flush using this:
Riveted the final 4 holes on both the top and bottom skins to the tip spar:

Left elevator trailing edge done:

Trim tab done:

bottom skin of trim tab - notice shop head of double-flush rivets:

Shop heads of double-flush rivets on the left elevator:

Closeout tab for trim tab, riveted with MK-319-BS blind (pop) rivets:

Closeout tab on left elevator, riveted with CS4-4 blind (pop) rivets (btw, the instructions do not mention to dimple the closeout tabs or the shear clip ... do that before you attach the skins):

Right elevator trailing edge wedge curing for an hour, attached only to the bottom skin:

This is the label for the proseal sealant from Van's:

I stuck in the vise, b/c trying to hold the jar with your hands makes the process even messier:

6 foam ribs prosealed and trailing edge attached (right elevator):

I made these little foam wedges to keep the upper and lower skins ajar, which made inserting the sealant-laden foam ribs much easier:

The trim tab temporarily attached to the left elevator:

Look Ma, the trim tab actually works!

Piano hinge wire, safety-wired to the rear spar (this wire is temporary; I have beefier wire on its way)

And, the trim tab and left elevator are actually straight!

Trim tab motor (black) attached to a holder fabricated from three pieces of aluminum:

Other side (this side will be the outside, facing downward)

I think I have the wrong washers, so the pushrod is only temporarily attached to the trim tab motor. I'll check on VAF and Van's catalog. I'm also waiting for my wire strippers, so this part will be on hold for about a week. In 3-4 days, after the right elevator foam ribs have cured enough, I'll rivet that trailing edge.

No comments:
Post a Comment