Saturday, September 26, 2020

47 - Cowl Baffle (attached 4 main baffles); Other (ANL fuses; shunts)

Not as much progress during the last two weeks as I had hoped, but much of this time was spent thinking and reading about the next steps with the firewall-forward wiring - mostly how and where to attach and wire the ANL fuses and shunts. There are many different ways of tackling this with 2 alternators and 1 main battery. Some folks use 1 shunt after fuses and tie in both alternators, and sometimes the battery, to measure current for all 3.  While this would work, in conjunction with a voltmeter (built into the G3X), I had SteinAir specifically wire two sets of shunt wires so I could monitor both alternators separately. Also, I had a little issue with the oil filler tube - it came cross-threaded, and thus couldn't be installed straight. No worries - a couple emails to Lycoming and I received a new oil filler tube with no problems (and this one installed relatively easily).  Specifically, these items were accomplished:

- attached ANL fuse holders and shunts to firewall (w/wife helping); attached all 8AWG cables/ring terminals from alternator to ANL fuses to shunts to unswitched side of starter contactor.  Shunts will measure current flowing from primary and secondary alternators

- deburred, drilled, and riveted cylinder baffles and left aft baffle

- deburred, drilled and riveted right aft baffle and cylinder #3 bridge; attached aft and forward center brackets to engine; applied RTV sealant to left and right aft baffles

- installed both aft baffles to engine (mostly - some nuts/screws need to be final-tightened later)

- assembled left and right forward baffles and air ramps, qqand added strips of red RTV where they touch the engine (will need to cure for 1-2 days before installing on engine)

- installed oil filler tube (w/safety wire); installed front left and right baffles and tightened all screws/nuts

A little out of order, but here is the final wiring for the ANL fuses and shunts (pic below).  One fuse per alternator, and one shunt per alternator, so I can read the current for either on the G3X EFIS.  No need to read battery current - if I'm at the stage whereby I need to know how much current I'm drawing from the battery, then both my primary and secondary alternators have failed (unlikely), and I will be landing ASAP.  Moreover, the EFIS screens have an IBBS (integrated backup battery system), and the G5 backup system has it's own 1 hr internal battery, so the chances of running out of juice are essentially nil. If all else fails, the engine will still run without any external power, and I can communicate via a handheld radio that I carry.  I am a belt, suspenders, another belt, and a few more suspenders kind of guy:   

Friday, September 11, 2020

48 - Exhaust (finished install); 49 - Fuel & Oil System (installed most hoses/lines); 50 - Control Cables (installed throttle and mixture)

 Lots of little odds-and-ends were accomplished during the past two weeks - I can certainly understand the phrase "90% done, 90% to go!"  On one hand, I feel like this plane should be flying in a month - on the other hand, every time I think that, I find 10 more tasks I need to accomplish.  Oh well - I can't believe I'm still having as much fun today as I did in July 2018 when I started this project!  I also wish the building part will never end (BUT, I want to fly again soon, so not really).  Time to start scheduling my eye exam, get my Basic Med signoff, get current with a CFI, and put my name on a waiting list for transition training.  Here are the details for the past 2 weeks: 

- installed one more scat hose

- installed penultimate scat hose for heating air vents; played around with wiring and hoses for rest of avionics and engine install (complex!)

- installed Airwolf remote oil filter; installed a few more FWF oil/fuel lines and other misc. stuff

- installed oil pressure sensors and oil pressure switch (had to disassemble manifold bar on firewall to do so); installed a couple oil lines; deburred and primed parts of oil cooler; installed breather tube

- oil cooler mount and other related items were installed or prepped

- Finished installing oil cooler; installed p-mag manifold pressure tube, routed and temporarily attached Aircraft Specialty manifold pressure lines (not tight yet); wired p-mag control plug/harness and installed to p-mag (difficult as shit to reach in there)

- installed hoses to oil cooler; dabbed more red RTV to seal holes in oil cooler shroud; routed some avionics wires (temp.); accidentally knocked identifying shrink tubing off of CHT1 and CHT3, and had to disconnect several avionics bundles and unscrew left shelf, strip wires, do a conductivity test, and then relabel wires and reassemble everything (PITA!); final-torqued and installed manifold pressure lines; installed wires to manifold pressure sensor

- enlarged holes and installed control cable bracket; routed and partially installed throttle, mixture, prop, and alt air cables; rerouted some avionics wires (esp. the big wire bundles/connectors, which needed to go aft of the horizontal rudder pedal bar)

- installed cabin heat cables to right and left heat vents; continued installing throttle cable and cable guide; 

- installed the throttle bracket/cable and mixture bracket/cable

- rerouted some of the avionics wires to go through the center firewall passthrough; drilled holes for ANL fuses and shunts on firewall; installed “forest of tabs”

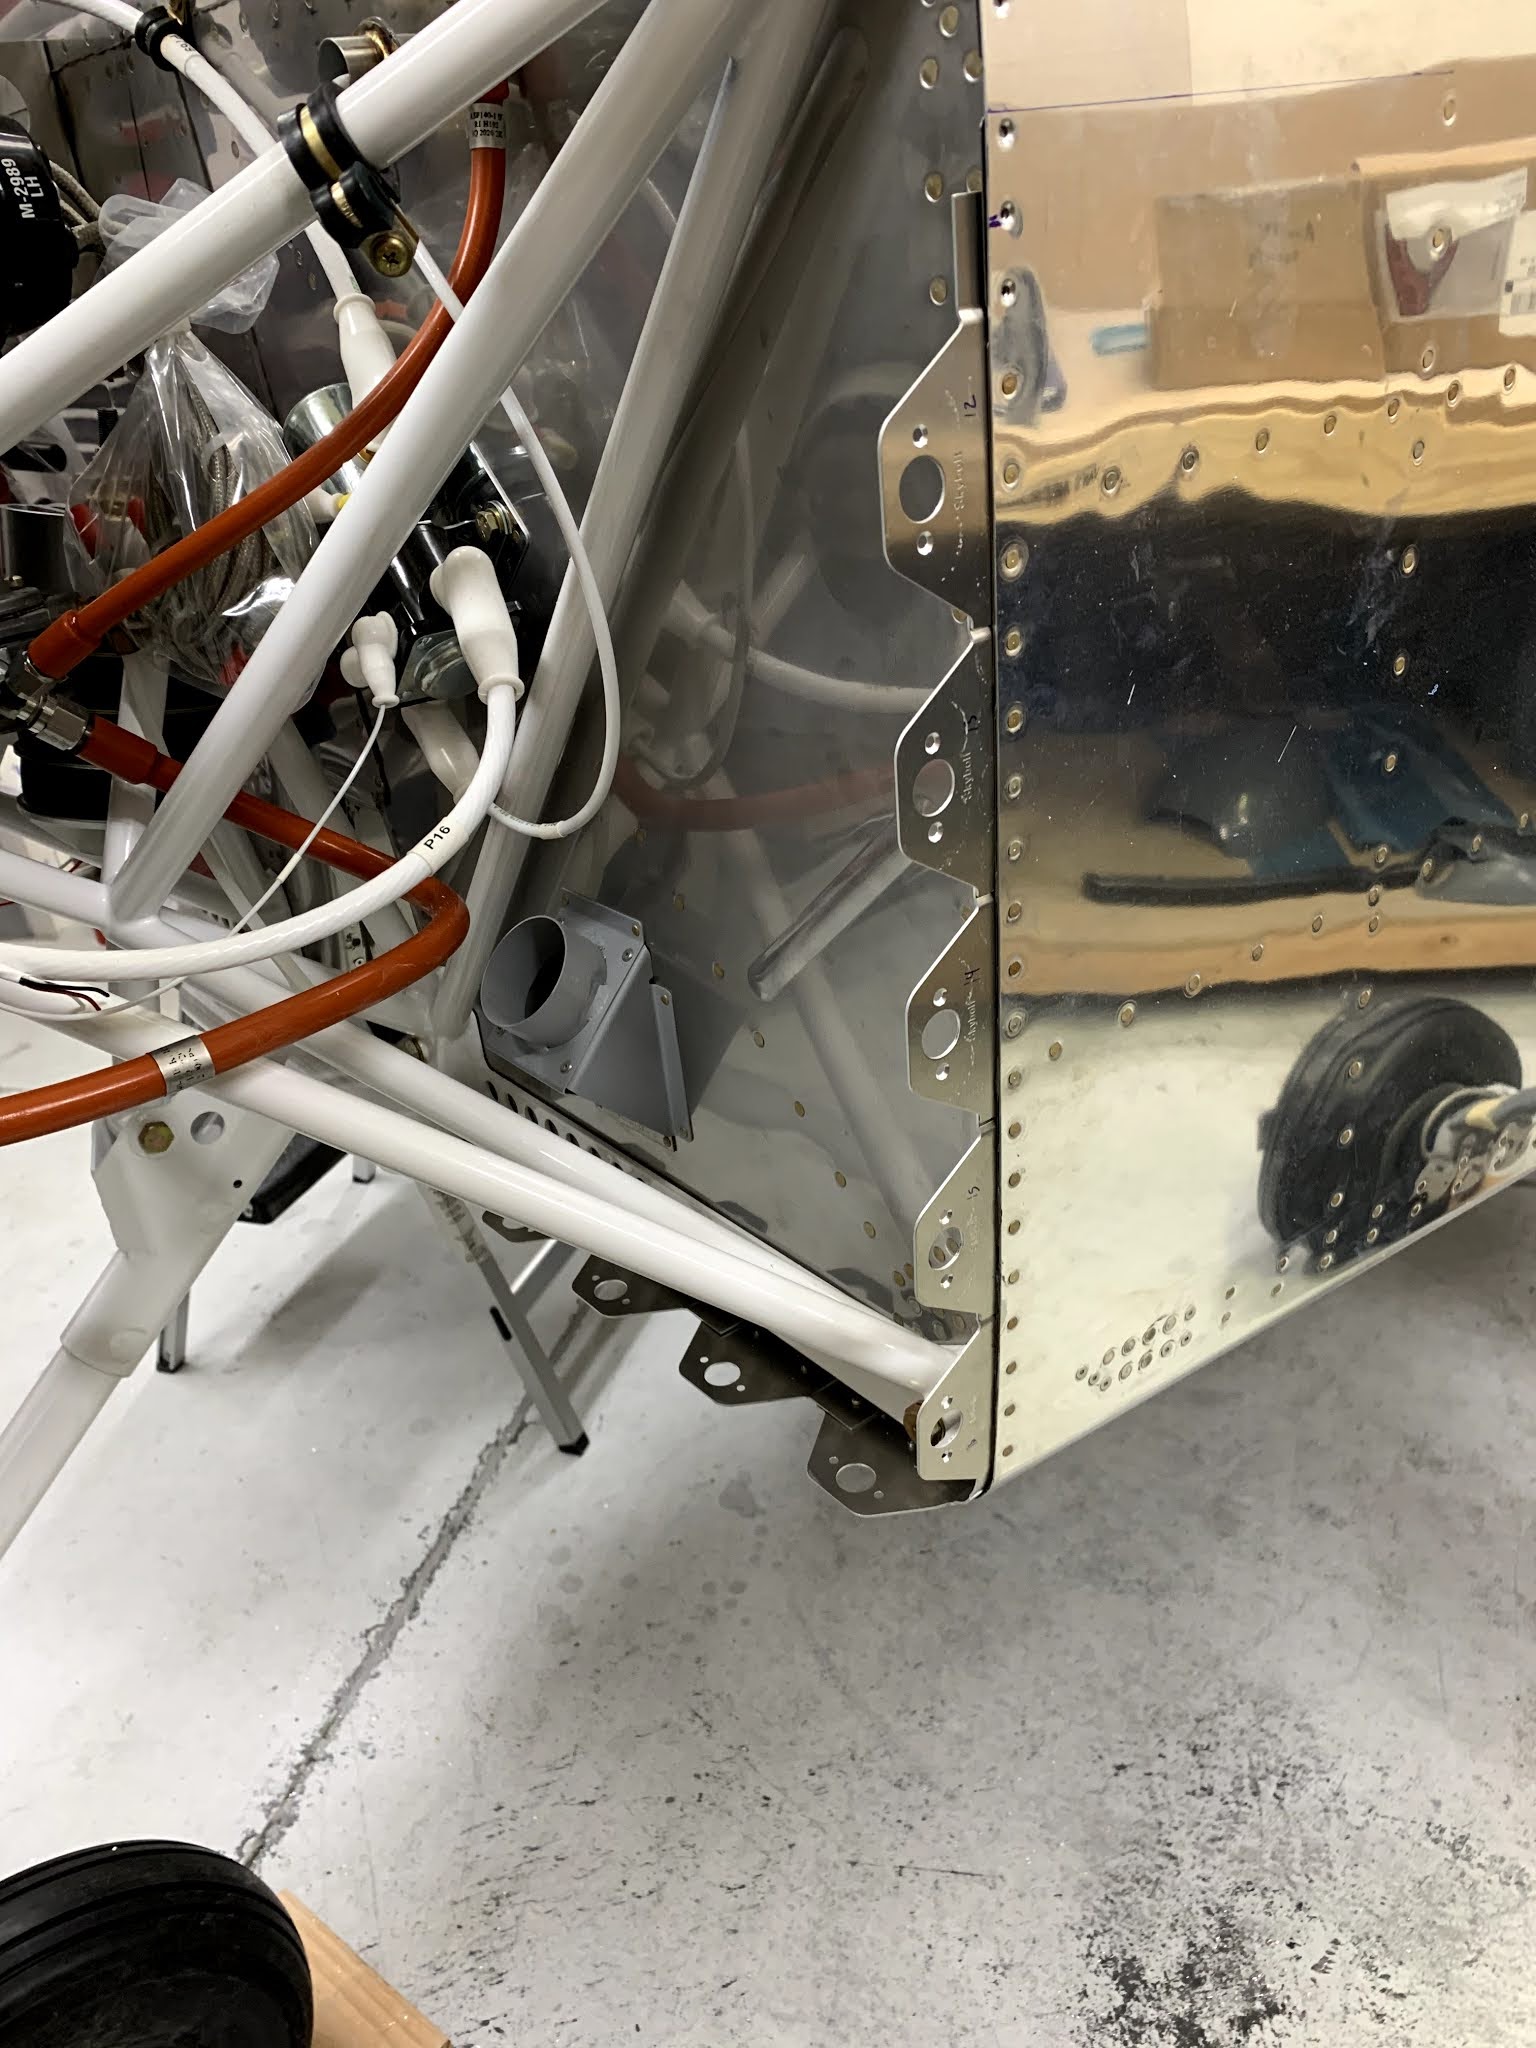
Scat hose connected between the two heat muffs:

Wednesday, August 26, 2020

Other (avionics install., cont.); 43 - Engine Install (sensors); 45 - Cowling (inlet ramps); 48 - Exhaust (exhaust pipes and scat tubes)

During the last ~2 weeks I bounced around a bit, depending on what needed to be accomplished (and to afford time for curing/drying/cogitating/omphaloskepsis).  Nothing earth-shattering, except to mention that ALL the remote boxes have either been installed or holes have been drilled for their eventual installation. Having so many remote boxes made it quite a challenge to locate everything behind the panel - but they will all fit.  Specifically, I accomplished the following:  

- drilled a few holes to attach Garmin boxes; lots of planning; modified left avionics shelf for GAD29 and IBBS attachment

- installed GEA24, GAD27, GAD29, IBBS and left avionics panel

- installed CO detector, identified and routed many loose wires through firewall passthroughs; took off upper and lower cowl, and locked remaining camlocs 

- uninstalled GAD29, IBBS, and 4 connections to GEA24; drilled 4 holes for main power bus connector and attached connector; reattached aforementioned items

- sanded inlet ramps, epoxy/flox/micro of aft edges (will smooth out so baffle rubber will close neatly around the prior gap)

- sanded epoxy/micro on upper cowl; bondo-filled all holes holes and sanded (3x repeated); coated all sanded areas with light layer of epoxy

- installed fuel pressure sensor and manifold pressure sensor; completed a few odds-and-ends

- started installing the exhaust pipes - installed the hanger for tailpipe, and placed and loosely attached the aft and forward exhaust pipes (used nickel anti-seize paste at slip joints)

- finished installing exhaust system; torqued flange nuts 16 lb-ft; drilled out 2 LP4-3 rivets from right heat vent and installed cover w/red RTV

- prepared and installed heat muff assemblies; prepared scat hoses for vents (cut, trimmed, RTV’d the length of each hose); organized hardware

- Installed vent t-splitter that directs hot air to left/right cabin floor vents; installed a few scat hoses, while leaving others off for access (for fuel line penetrating cabin - prosealed the fitting to the firewall, but will need to final-torque nut and fuel line later)

View behind the panel - damn, that's a lot of wires!  Avionics shelf was fabricated (next pics) to hold the IBBS battery (black rectangular box in the center) and GAD29 (underneath shelf; not shown):

Thursday, August 13, 2020

45 - Cowling (finished camloc installation); Other (avionics panel install)

Recently, I passed a milestone: 1500 hours working on this project over the last 2 years and 1 month ... and it still excites me every time I go into the workshop!  This was a big couple of weeks - first, I finished the camloc installation, which was a pain in the ass, but they look great and hold the cowling very well.  Second, and perhaps most important, I started installing the avionics panel!  Lots and lots of wires and gizmos behind the panel, but the panel itself is a beaut and I am glad I went with the larger GTN750xi instead of the smaller GTN or the even smaller GNX/GNC boxes.  Real estate matters, esp. flying IFR.  Specifics are as follows:

- installed camloc flanges on the sides and lower part of fuselage

- epoxied the inside of both cowlings (did this early in the camloc install process, so I don’t have to uninstall all of the camloc grommets later)

- added two more camloc flanges to upper cowl (the ones that are aligned with the side flanges of the lower cowl)

- added two camlocs to upper cowl; positioned and trimmed aft edge of lower cowl (needed 1/8” or so trimming for most of it); had to grind off some of the corners to make the cowl fit well (and bend the camloc flanges back a bit in the lower corners); wife helped hold aft section of lower cowl

- installed side camlocs on lower cowl; drilled holes for bottom camlocs on lower cowl; trimmed lower aft edge of lower cowl; installed two wires (one to alternator and one to starter) 

- installed camloc retainers on bottom of aft lower flanges (4 per side); cut upper flange of lower cowl and sanded to trim line (near-final; only needs a few touch-ups)

- spacing and drilling flanges for the horizontal sections of the lower cowl; countersunk all holes in lower cowl for flange rivets; countersunk flanges to accept retainers

- riveted flanges to lower cowl; drilled holes and installed grommets in upper cowl; fabricated screw mechanism for grommets that are close to engine mount bolts; installed retainers in lower cowl; essentially completed rest of Camloc install (except for locking the remaining retainers); drilled #19 holes in forward part of cowls

- Delivery, uncrating and partial unpacking of SteinAir panel!

- finished unpacking panel

- trimmed, clecoed and floxed inlet ramps onto upper cowl; installed upper cowl on fuselage; prepped oil door and drilled holes (1/4”) to install camlocs

- installed panel onto panel frame on fuselage (with wife and daughter); enlarged hole for canopy release; drilled and deburred 6 holes for Nav’s mounting bracket; placed all wires in respective areas; installed circuit breaker panel (needed to modify support by bending forward flanges aft 90deg); drained water in air compressor

- Installed Nav and audio panel; planned placement of other boxes behind panel

- installed transponder on shelf on right side (shelf had to be altered to fit, and 4 brackets were constructed from 0.025” aluminum, bent into angles); started remote comm install; checked placement of vent cables and how they impinge on avionics shelves; retied right cable bundle

Installed left side flanges (Camlocs):

Monday, July 27, 2020

43 - Engine Installation (misc. install.); 44 - Spinner & Propeller (installed prop.); 45 - Cowling (installing Skybolt camlocs)

This is my 100th blog entry, and it has a lot of small tasks related to the Finish and FWF kits.  Specifically:

- installed fuel servo; loosely installed a lot of adel clamps to engine and mount; attached starter cables to starter; worked with Steve from Aircraft Specialty to install VA-102 hose (needed to clock the fitting on the fuel pump differently than Van’s instructions); installed fuel flow red cube and hoses/connections that lead from fuel pump to fuel servo to fuel spider; installed VA-139 only to fuel pump (needs to be loose now, so I can install exhaust system later)
- installed throttle cable bracket; installed alternator and belt; installed a few more adel clamps
installed spinner plate assembly to propeller; installed propeller to engine (final-torqued and safety-wired); installed forward spinner bulkhead
- filed spinner openings to fit prop blades; sanded areas that contact the spinner bulkheads, and then brushed on thin layer of epoxy
- Prepped cowling; attached upper cowl to fuselage to measure distances for Camloks; started figuring out how Camlocs are installed
- trimmed camlocs, remeasured camloc distances, and match-drilled one half of them to fuselage
- match-drilled remaining camlocs, and removed, deburred, countersunk, and riveted them to upper fuselage; bent camlocs so upper cowl sits flush; started fitting of upper cowl to fuselage, including measuring and trimming of aft edge (lots of remove & reinstall steps)
- finished filing aft edge of top cowl (tight fit of 0.001-0.032”, per painter, so his crew can finish down to spec); match-drilled #30 holes into camloc drill guides using Mark A.’s “3 line” technique; upsized holes to 15/32”, sanded w/ dremel to just fit the grommets; attached temp o-ring retainers to grommets; riveted receptacles to flanges and temp. screwed all camlocs with the pins still engaged (i.e. “unlocked”) - all top cowl camlocs seem to work well!
- installed camloc flanges on the sides and lower part of fuselage

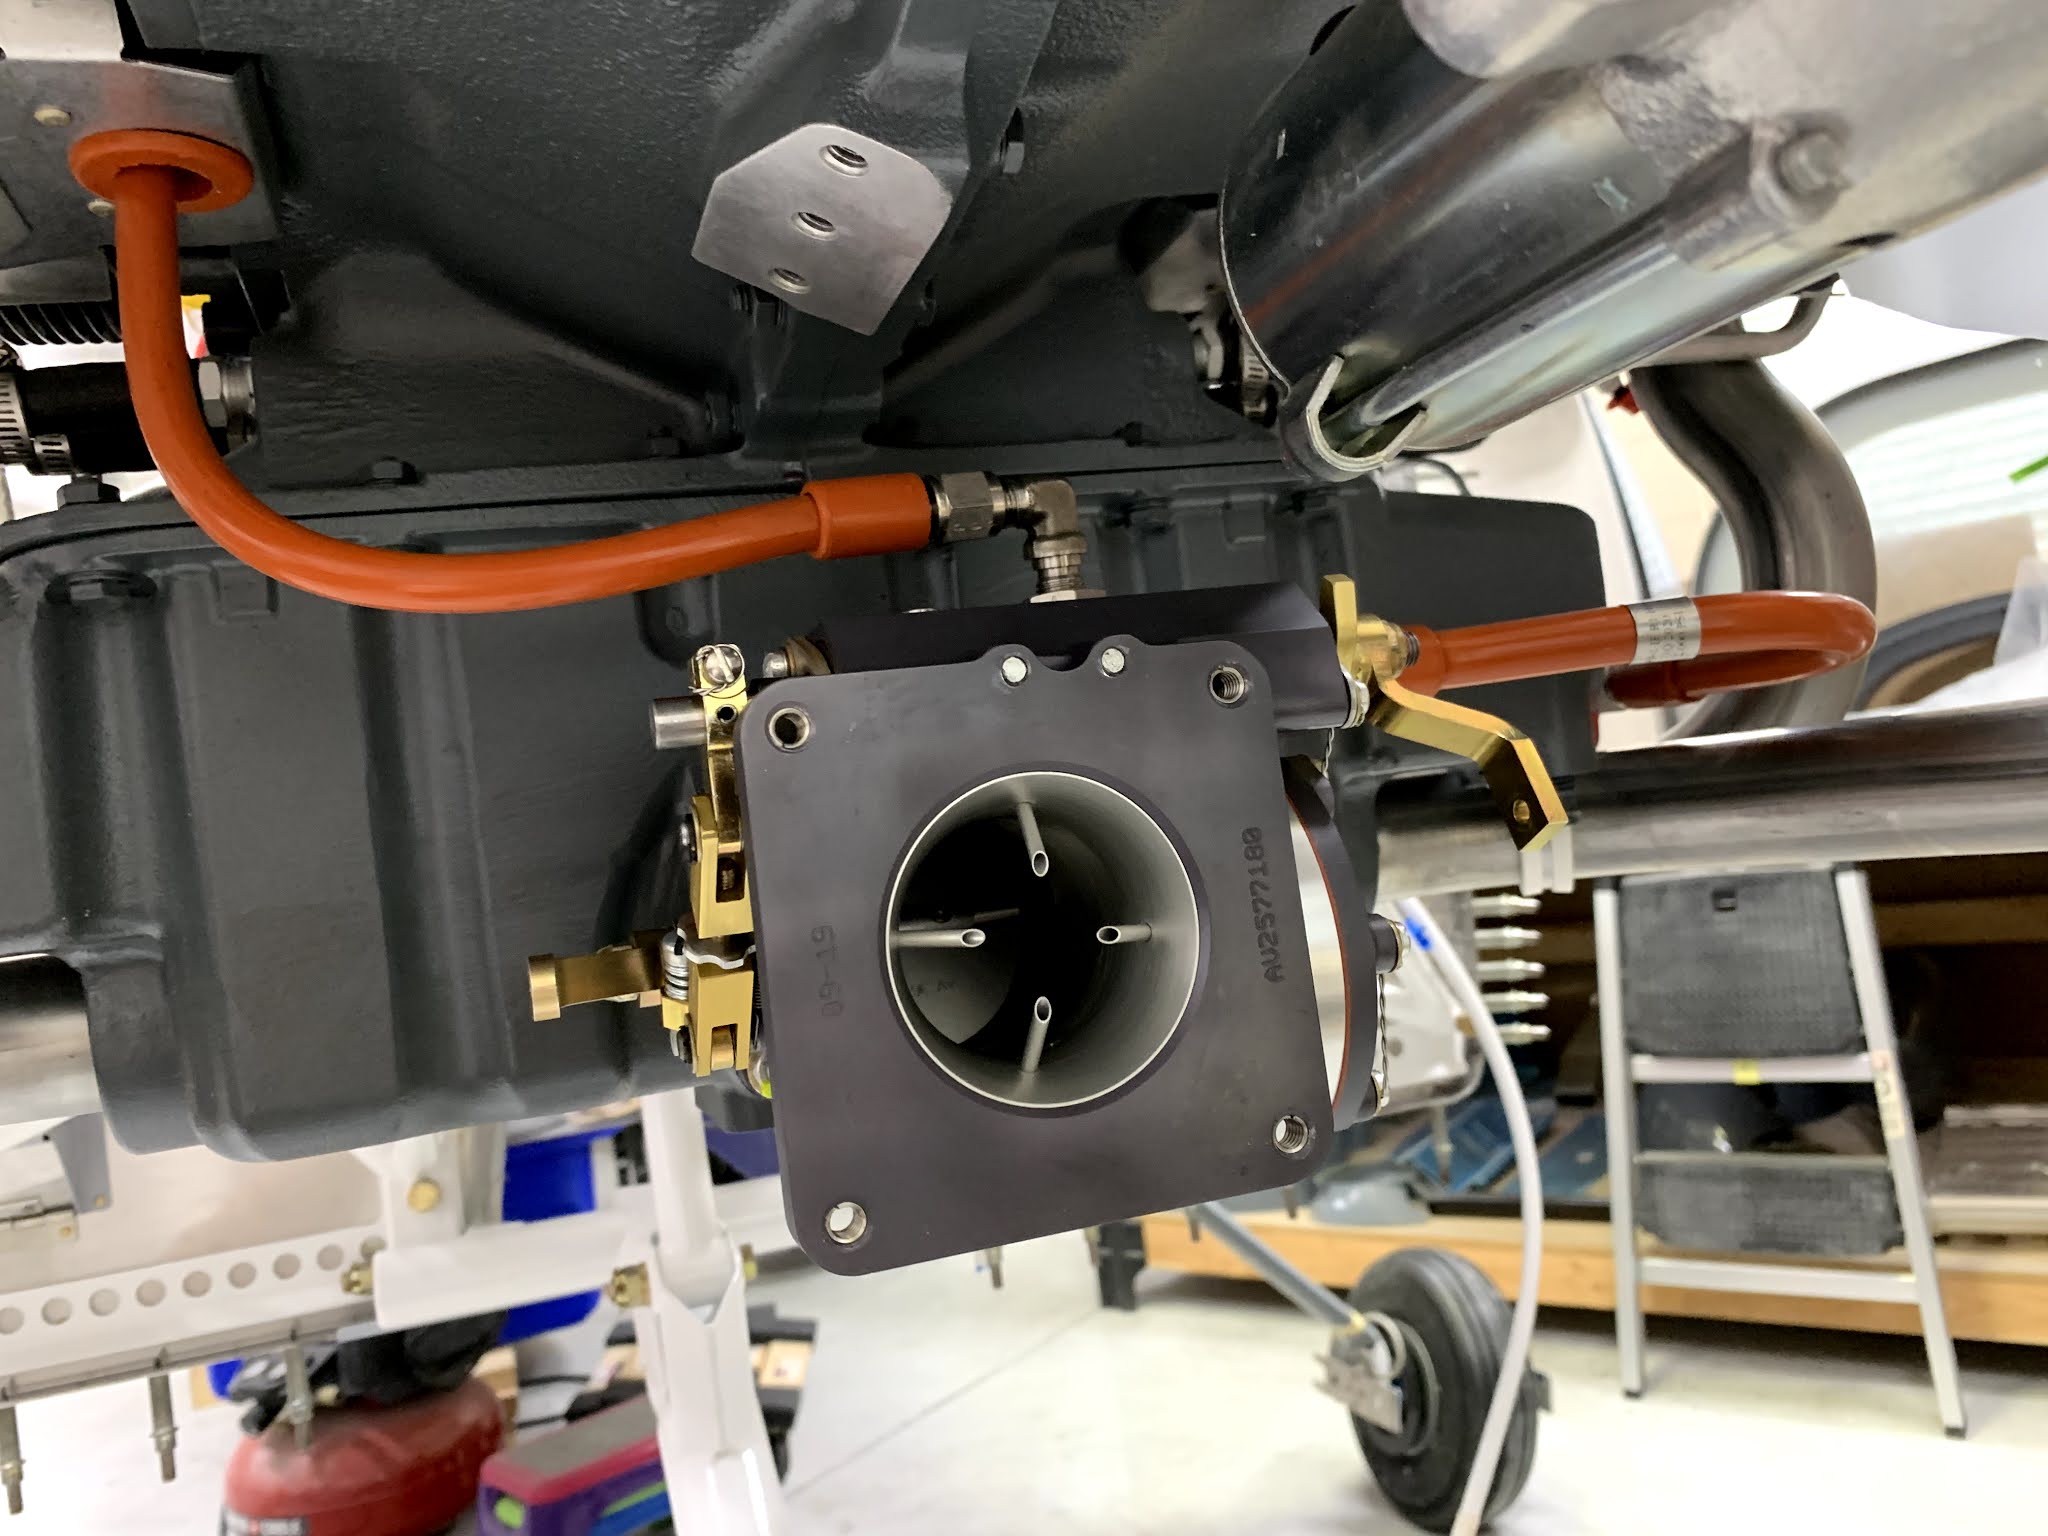
Installed fuel servo, and Aircraft Specialty Fuel lines with integrated fire sleeves:

Tuesday, July 14, 2020

40A - Gear & Engine Mount (nose gear & wheel); 46A - Leg & Wheel Fairings (intersection and nose gear fairings); 43 - Engine Installation (mounted engine to fuselage!)

The engine has been mounted to the fuselage!  All other crap I did the past two weeks was incidental to this major milestone - and thanks to Ken B., the install went quite smoothly.  Prior to that, I had received the nose gear leg and installed the nose gear and wheel, and did a bunch of composite work.  I'm really not a fan of fiberglass - almost a month of working on the 13 fairings for the wheels/legs and I'm still not quite finished. But, with the engine on, I'll be moving on to engine-related tasks for a while.  Here is what was accomplished during the past two weeks:

- installed nose gear leg and link assembly
- installed axle flange and nose fork, torqued the -24 nut until ~30lb of force felt per pulling with a fish scale (a little more than 26lb required, since will loosen over time); installed nose wheel
- removed intersection fairings and sanded/trimmed; floxed a lug to encase nut that attaches the training edge of each upper intersection fairing
- removed tape and excess flox from nut lugs; #27 drilled and #40 countersunk upper intersection fairings (attached to fuselage); removed main wheel fairings, and reattached halves with screws; drilled and deburred holes for nutplates in fairings; countersunk holes for nutplates
- figured out how to get fuselage into level flying position whilst having the nosewheel barely touching the ground; drew longitudinal center line on garage floor; marked standoff locations; aligned nose wheel fairing
- Cut slot in nose wheel fairing; aligned fairing in pitch; drilled bracket holes (magnet technique) and standoff pilot hole; tapped bracket holes; drilled standoff holes to just under 1” wide (will finish later, after - I received the proper screws to hold standoffs - was using shorter screws with washers for the initial fits); floxed brackets to nose wheel fairing rear
- Final drilled nose wheel fairing to brackets; installed nutplates to brackets; primed brackets; attached brackets to wheel fairing and attached to nose wheel; final fit of fairing (needed trimming to clear nose gear leg through the wheel’s range of motion)
- trimmed and aligned nose gear leg fairing; drilled nose gear leg fairing and hinge
- deburred, countersunk and riveted hinge halves to nose gear leg fairing; started initial fit of fairing (trimming, fitting, trimming again…)
- drilled #19 holes in fairing to attach to nose gear leg; attached nutplates to nose gear leg; final-trimmed fairing
- installed last oil fitting; cleaned and prepped workshop to install engine; installed engine onto dynafocal mount (w/ Ken B.!)

Floxed intersection fairings, installed on fuselage and wheel pants, and then removed them to trim:

Wednesday, July 1, 2020

46A - Leg & Wheel Fairings (main and nose wheel fairings, intersection fairings, leg fairings)

Since I was still waiting for the nose gear, I begrudgingly trudged through 12 of the 13 fiberglass pieces that comprise the leg and wheel fairings.  Lots of progress on most of these parts ... and a very dusty workshop from sanding and sanding and sanding fiberglass.  Be resigned to have dust everywhere for a while. Specifically, I completed the following during the past ~12 days:

- finished fitting right gear fairings to each other; #40 match-drilled; cutout gear leg clearance hole; ensured all could be installed on right wheel/gear; floxed all 4 brackets to gear fairings and loosely attached with screws (did this process off the plane, since there was no way to verify proper seating of bracket if on plane)
- cleaned up floxed brackets; drilled, countersunk and riveted nutplated to aft fairings; drilled #27 and countersunk holes in forward fairings; both main wheel fairings are ready to mount onto plane
trimmed nose fairing halves; marked and drilled holes #40 into nose fairings; fabricated “v block”
- leveled nose wheel fairing and marked;  fabricated spacer and deburred bracket and located nutplates on bracket; lots of contemplation about this fairing
- checked main gear fairings for twist; secured trailing edges; modified hinge halves; drilled, clecoed and deburred hinges into one of the main gear fairings
- countersunk and riveted hinges to first main gear fairing; bent hinge pin and drilled hole for safety wire; completed all tasks for the 2nd main gear fairing
- worked on all 4 intersection fairings for the main gear (lots of sanding)
- attached main gear fairings with screws (they fit!); attached leg fairings and intersection fairings (on/off to prepare for drilling); drilled right intersection fairings
- drilled left intersection fairings; sanded all 4 intersection fairings (80grit); floxed two upper intersection fairings and installed loosely with #6 screws; received and opened crate with nose gear leg
- floxed and clecoed lower intersection fairings to main wheel fairings

The four main gear fairing halves, at some intermediate stage of completion: