- fabricated release pins; assembled release mechanism; installed forward top skin doublers (AD2-2 rivets); trimmed cowl shims
- broke edges of top forward skin; dimpled #40 and #30 holes in skin; countersunk #30 holes in forward parts of longerons; dimpled shims and firewall flanges
- attached Aerosport Products rudder pedal extensions
- fabricating two shelves for avionics that fit under the avionics bay
- fabricated two 2” angle aluminum brackets in the map box - drilled for AN3-3A bolts
- painted panel frame, subpanel, panel standoffs, circuit breaker channel, and canopy rails
- temporarily attached rudder trim arms (only to find out I’ll need to attach them later, permanently, after the rudder cables are attached to the rudder)
- prosealed forward top skin to subpanel and firewall
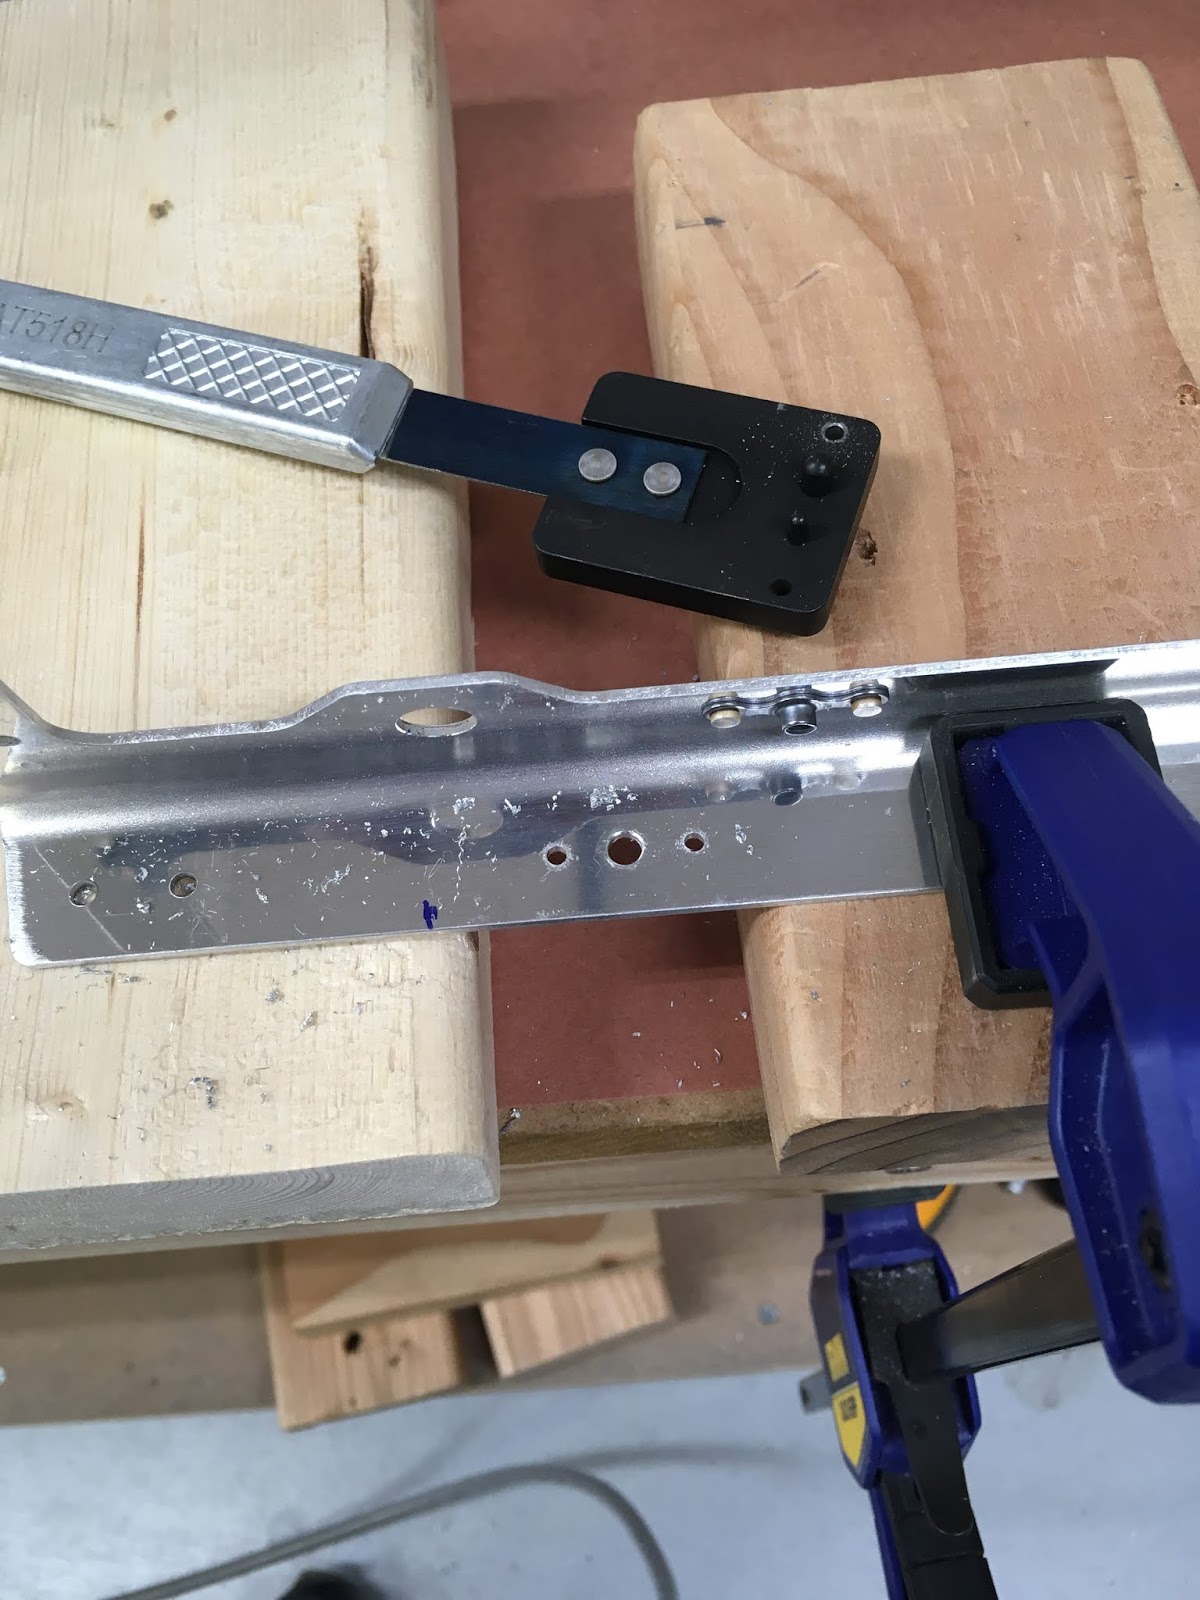
Fabricated release pins:

Assembled release mechanism:

Clecoed and match- and final-drilled forward top skin:

Attached doublers:

Other side:

Checked fit of forward top skin following initial dimpling and then final-drilled last holes:

Countersunk upper longerons:

Finished dimpling forward top skin:

Attached Aerosport Products rudder pedal extensions:

Out of order, but these were the parts and tool - easily attached, but I hope the pedal extensions don't turn with use:

Used nutplate jigs to drill nutplate attachment holes for the avionics shelves:
An aside: the SV-10 vents sent with my kit were too short; Van's replaced with the correctly sized vents:

Temporarily attached Aerosport Products rudder trim knob:

Countersunk and attached nutplates for avionics shelves:

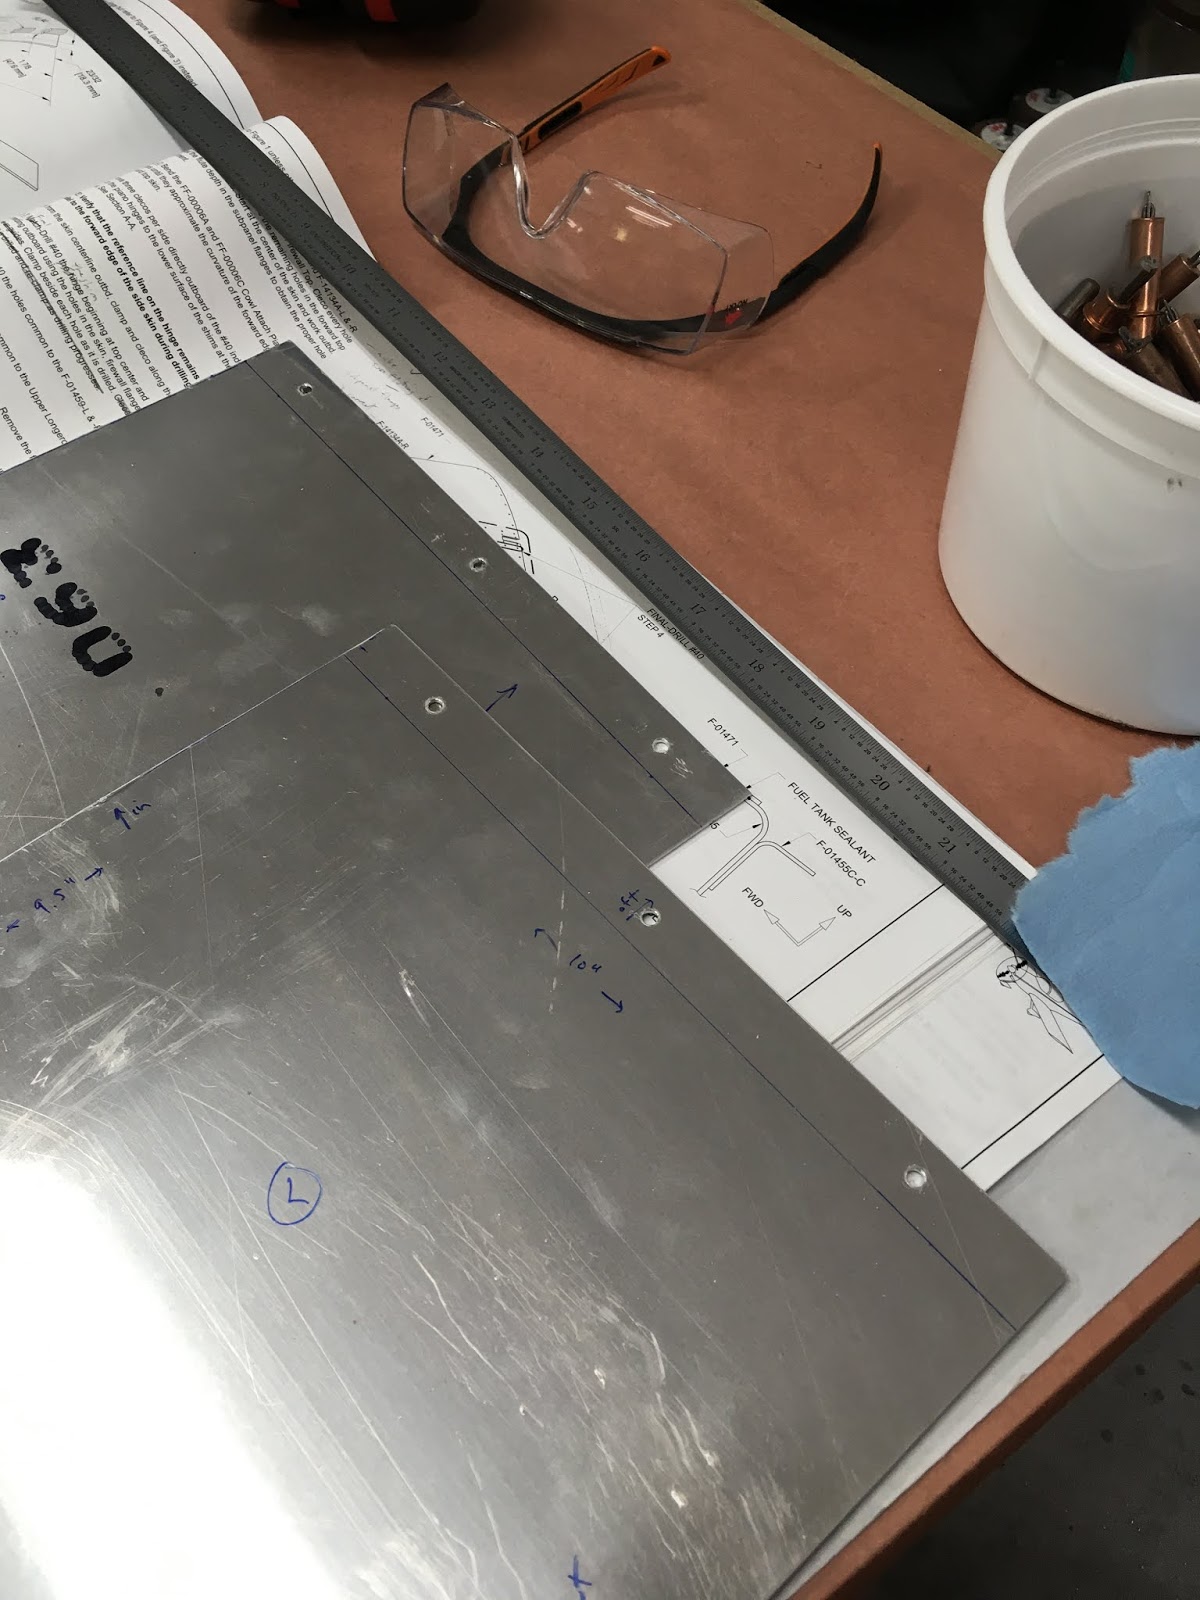
The two main avionics shelves, fabricated from 0.063" sheet alum.:
Left shelf in place, ready to drill subpanel:

Right shelf in place, ready to drill subpanel:

Left side, done (right not shown):

Checked fit of rudder trim knob:

2" angle alum. for another avionics shelf, which will likely hold Com2 (and other stuff?):

Drilled #10 and bolted angle in place for 3rd avionics shelf:

Scotchbrite-scuffed and masked front of fuselage, prior to painting:

2 coats of SEM primer:

After 1 or 2 (of 3 total) coats of top coat (Cardinal gray - GR10-4A05 semigloss):

Closeup, after 3 coats:

Same priming and painting treatment for the panel frame:

Panel frame riveted to fuselage:

Another view:

Gas springs:

Gas springs, attached:

Temporarily attached rudder trim horns (will have to final-attach after rudder cables are connected to rudder):

Prosealed center rivet zone at the subpanel and firewall - the instructions don't specifically state to proseal the firewall part, but it is easier to put a layer of Proseal now, and then later seal the holes that remain patent. Otherwise, there is just too much crap in the way to effectively manipulate the Semco sealant gun in that tight space:

No comments:
Post a Comment