This week saw the attachment of the right fuel tank to the right wing, the start and completion of wiring the right wing (including 25' of RG400 for an eventual Bob Archer antenna in the wingtip), fabrication of all parts of the aileron actuation pushrods, bellcrank and torque tube (all but installing the bellcrank-to-aileron pushrod), installation of the roll servo to the right bellcrank, and fabrication and initial checks of the EA-10 aileron trim motor. Details follow:
Wired the autopilot servo molex connector, and added a little silicone wrap to reduce stress at the bend:

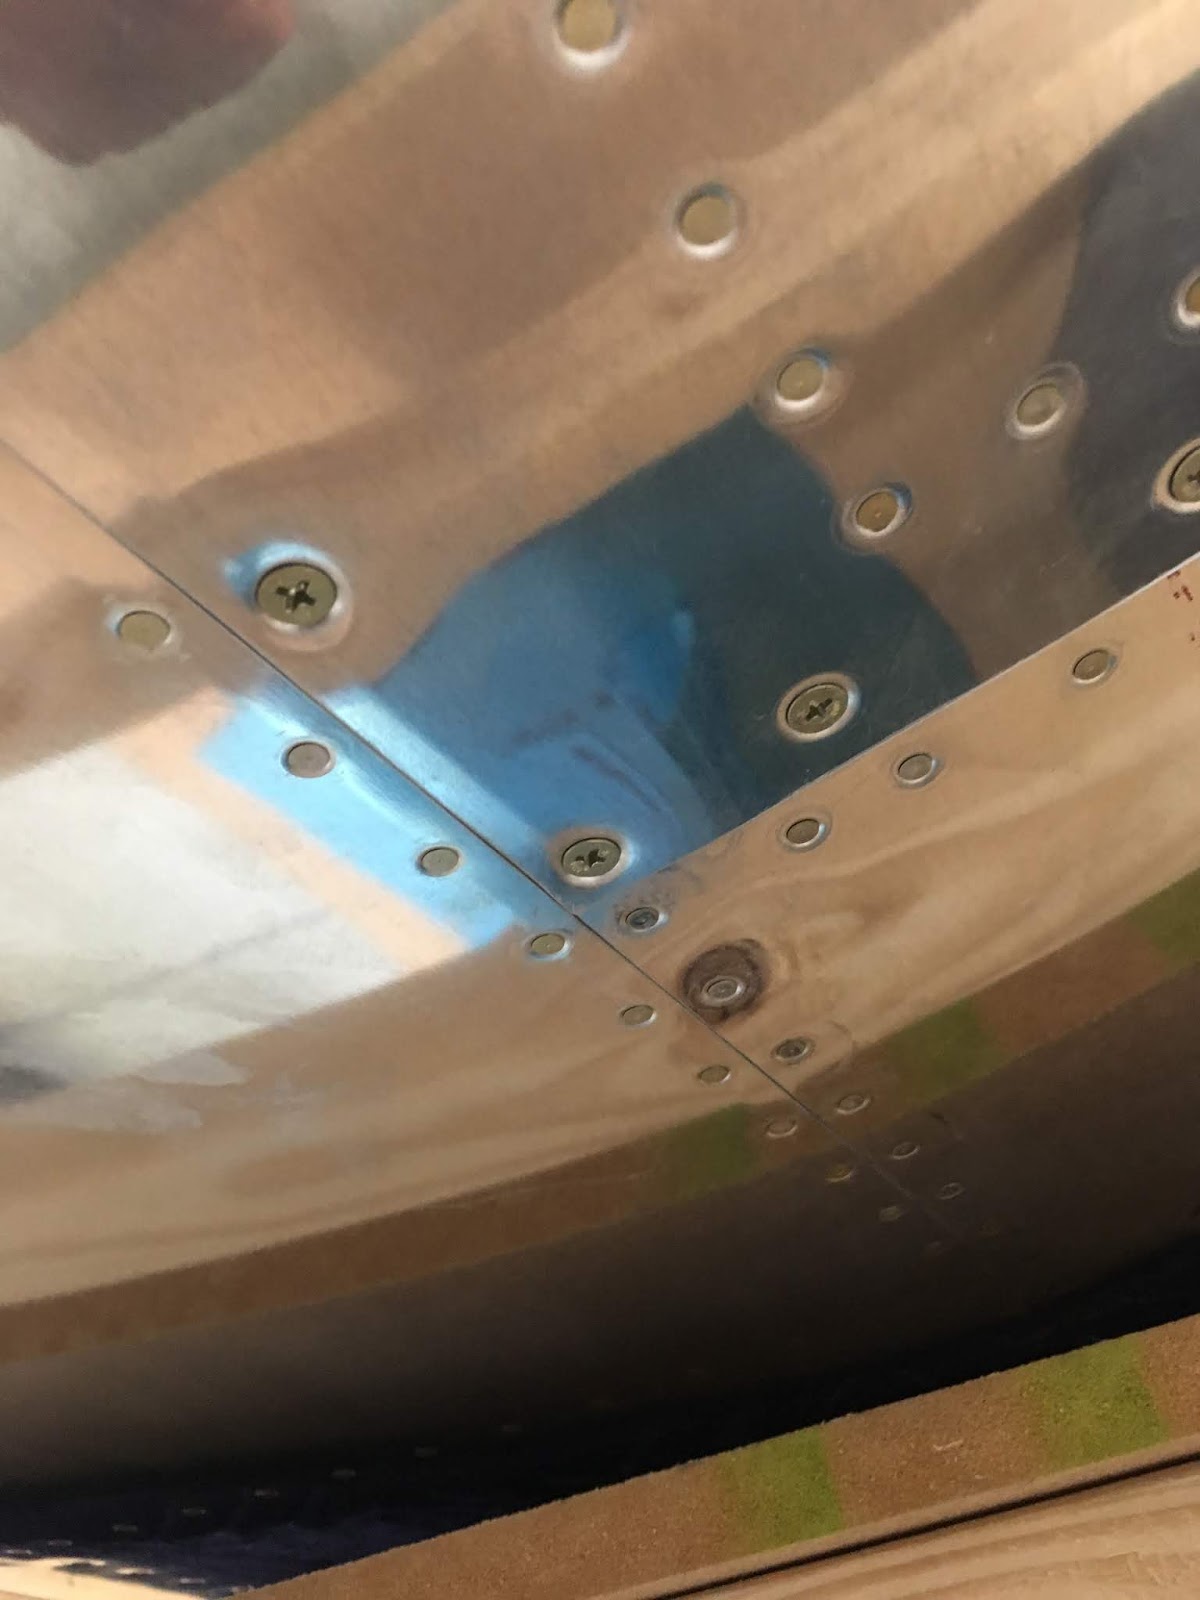
Ran 25' of RG-400 coax from root to tip (right wing) for the eventual Bob Archer antenna:

Connected fuel sender ground wire (right shown here, but also connected left):

Micro-molex connector for aileron trim servo:

Roll servo molex to D-sub (I ended up removing this harness to install the servo):

Wires for lighting:

I received my tap and die set, and started to tap the #8-32 nutplate that had NO threads (thanks Van's!), using LOTS of Tap Magic tapping fluid. It worked like a charm:

Tap protruding partway through the nutplate (halfway done at this point):

The #8-32 tap and handle:

Final screw installed to complete the right fuel tank attachment. Maybe I'll learn to check all the nutplates PRIOR to installing them?
Fabricated the right torque tube-to bellcrank pushrod:

Fabricated the right bellcrank-to-aileron pushrod:

A Garmin GSA-28 servo, which I'll use for the Roll axis. Can you believe this little thing is $750 - and that doesn't include the installation kit?!

Right Torque tube installed:

Right pushrod installed to torque tube:

Pushrod installed to right bellcrank:

The Roll (and eventually Pitch) servos require small pushrods, each of which are cut from aluminum tubing. The holes are drilled out to #3, and then tapped with a 1/4"-28 die, shown here:

My new tap and die set (the dies are under the taps) - I've wanted a set for years, but haven't had to tap anything until this week (insert joke here):

Pitch (left) and Roll (right) servo pushrods - and yes, the jam nuts have been tightened:

Roll pushrod attached to the roll servo arm:

Roll servo attached to bellcrank and wired to harness:

EA-10 Aileron trim partially fabricated:

Another view, with nutplates installed and temporarily attached to the inboard access panel:

No comments:
Post a Comment