I didn't accomplish that much during the past 2 weeks, largely because I diverted some time to register the bird with the FAA, and start getting current again with a local flight school (and I completed a written exam, which took me about 6 hrs!). Formal retraining starts this week. Back to the bird: I'm at the "90% done, 90% to go" stage, and formulated a long punchlist of stuff I want to accomplish before I move the fuselage to the hangar in a few weeks, as well as what is needed to finalize the plane prior to its airworthiness inspection. Here is a short list of tasks I completed these past weeks:
- attached head unit for ELT; completed SB-00027 (nosegear cutout and beefy washer); cut and attached LED glareshield light strip (1 extra segment, per Ken B.); started wiring canopy wires to the male molex pins on canopy molex connector
- finished canopy wiring, adhered wires with RTV silicone (note - the LED light strip’s tape does not adhere well - may need to RTV silicone that as well - or use Pliobond, which I ordered)
- attached static line to GSU25 and G5; attached 1/8” NPT straight fittings to pitot/AOA on GSU25 and pitot on G5
- attached some seals to canopy front, some of which used Pliobond to stick better; reattached LED light strip
- attached forward seal to canopy
- attached foot steps (powder coated black a few months ago)
- attached side canopy seals; attached Koger sunshade
Started the cutout for part of the recent service bulletin (SB-00027):

Tool needed for the other part of the service bulletin (replace washer on the nosegear) - pain in the ass, and the universal joint and extended socket set are absolutely essential:

Attached ELT head unit to panel:


After cutting the rough cut, I used a Dremel with a carbide burr to final-shape it:

Initial, rough cut for SB was with a pneumatic die grinder - go back-and-forth gently, taking a little metal off each pass:

Hoist to raise nosegear off the ground for SB:

>100lbs of weight on the tail tie-down (incase hoist failed):

Completed SB:

Another view of the notch, before reattaching to plane - note the paint and primer are grey; no one will see this so no need to color-match the paint!


Canopy wires routed and in the midst of being secured with silicone RTV:

Wired flap motor and position sensor:

It took an update to the G3X, but I can now stream songs and phone calls via bluetooth - woot!

Installed static lines to GSU25 and G5:

Another view of the canopy wiring, this view showing the red/white LED light strip and both de-fog fans:

foot steps, attached:

Side canopy seals, attached:

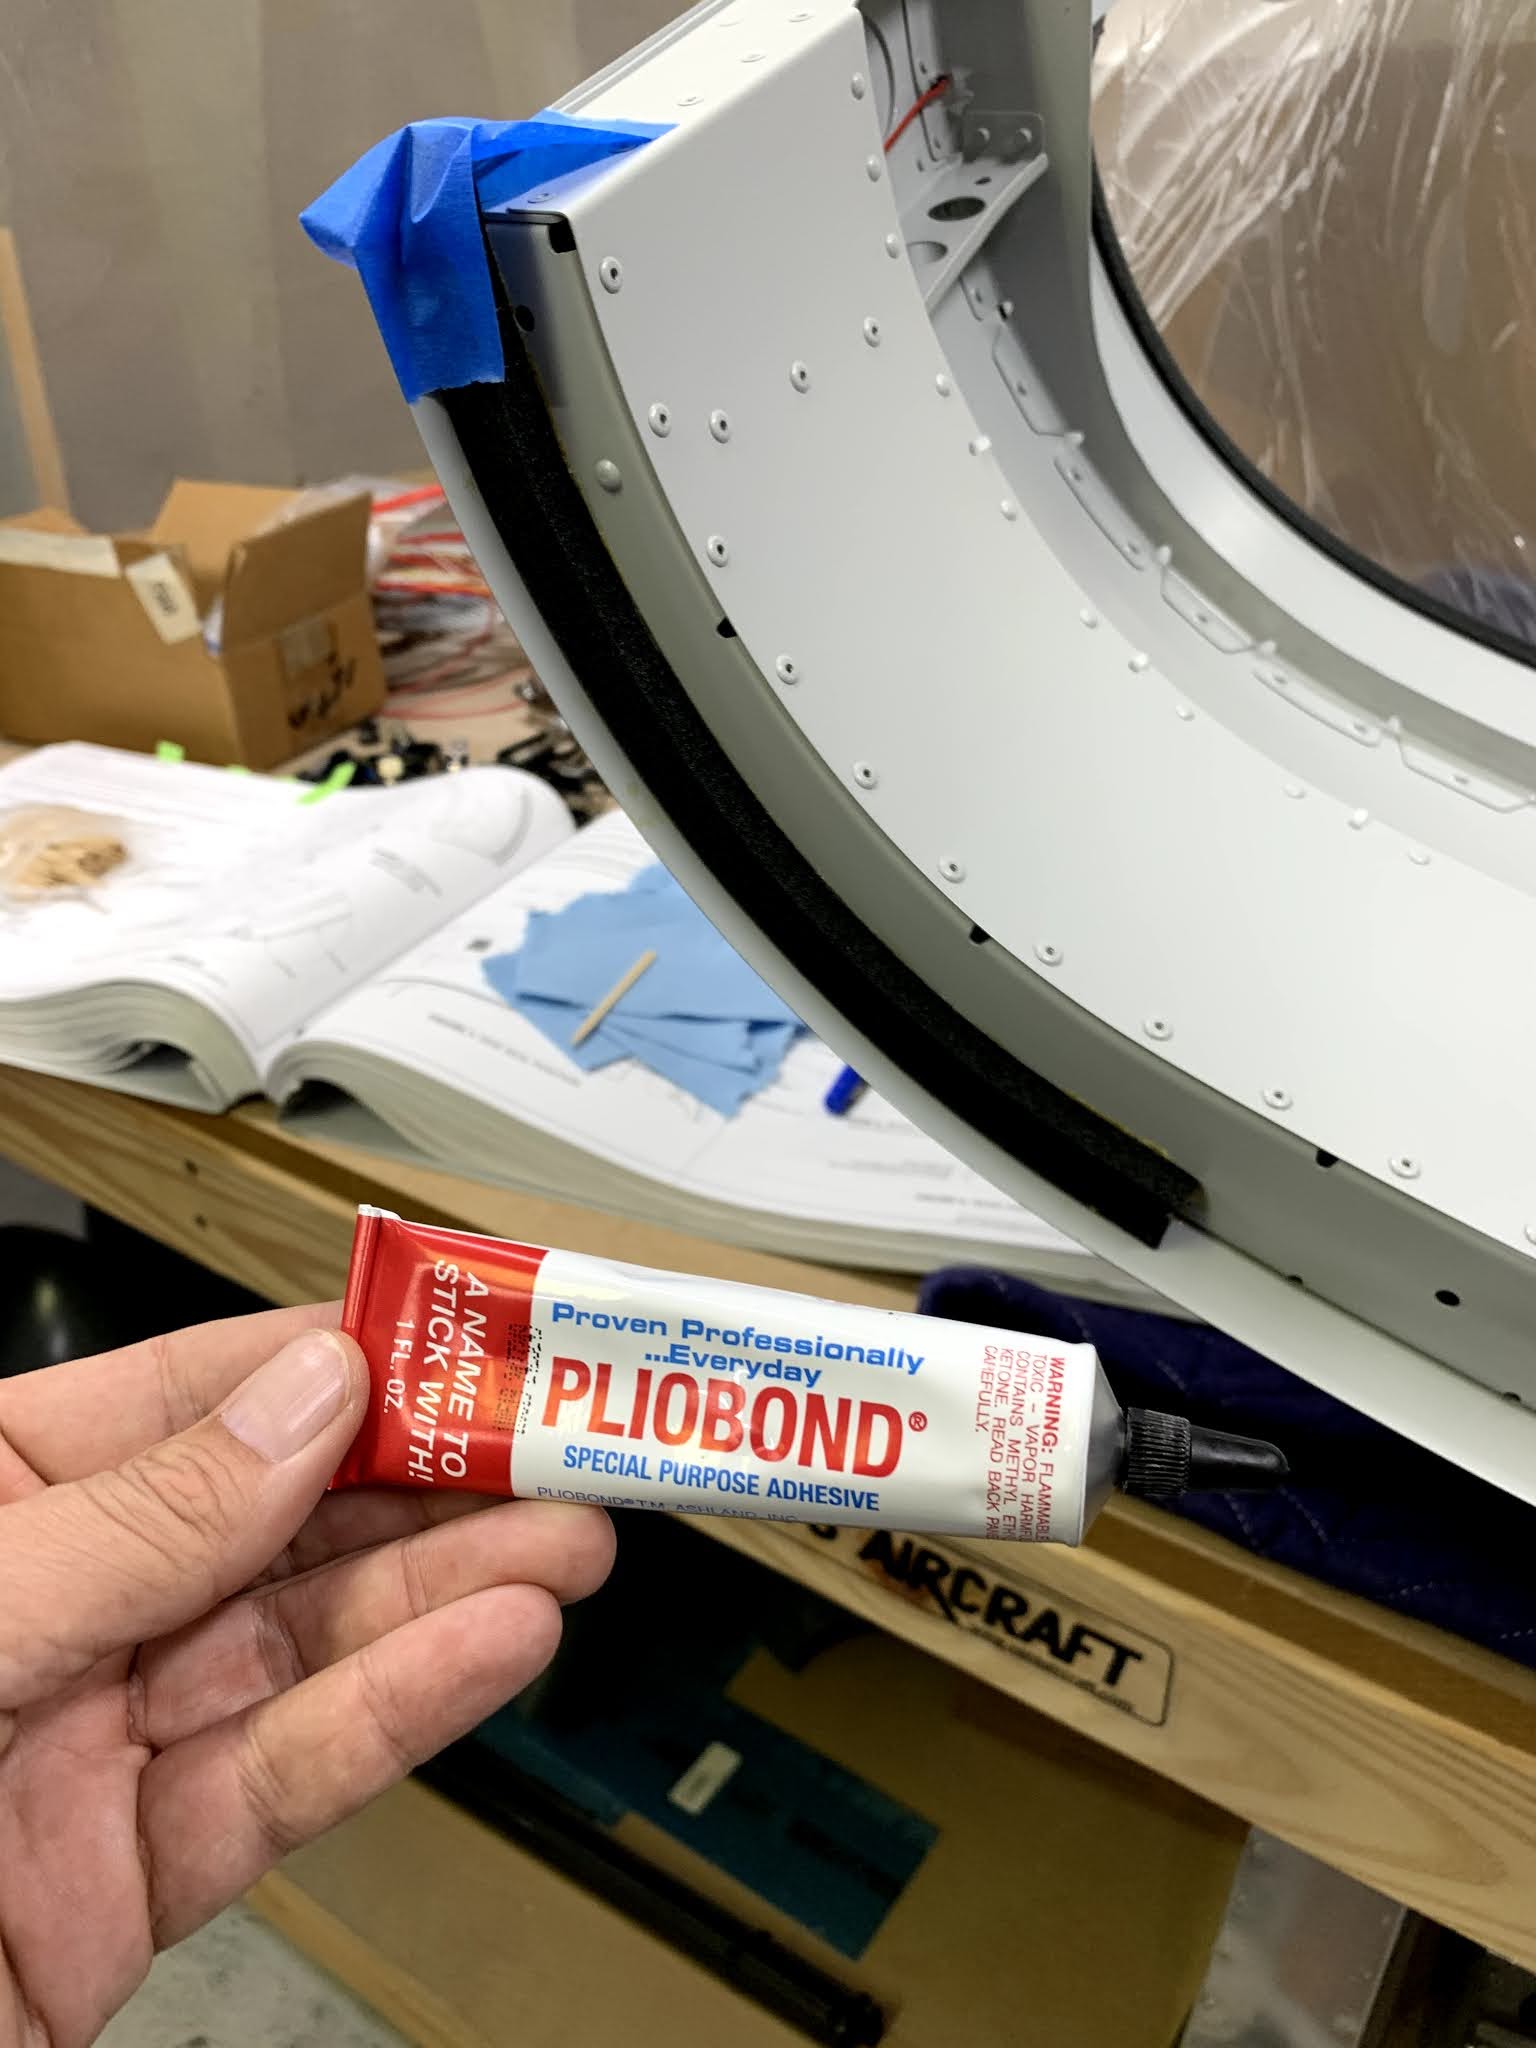
Bonded these seals with Pliobond (the rest, not shown here, were bonded using their own tape):
2 pain-in-the-ass bolts for each of the foot steps. When the instructions mention getting a 5/16" universal joint socket set, you ABSOLUTELY need it for the bottom nut.

Attached center rail for the Koger sunshade:

Assembled the Koger sunshade - waiting for glue to dry, and then it will be mounted on the canopy. With a bubble canopy, this shade is a must in all but the coldest climates.

No comments:
Post a Comment