Another two weeks have passed, and I still haven't finished the cowl baffle section! Lots of little steps, many of which require fitting and refitting (e.g. snorkel). I received the interior this week (yeah!), and look forward to installing it in the plane in a few weeks, once I finalize the avionics wiring and a few other tidbits. Details of what was accomplished are as follows:
- messed with the snorkel for far too long - doesn’t fit perfectly, so I will have to build up the flange using flox (edit: I just sanded a bit, since there was plenty of material); tried cutting baffle tension rods and using a die to thread the ends, but I had a crappy die and work-hardened the ends by using a dremel tool. Contacted Ken B., who suggested a die grinder and better 6-32 die
- threaded rod ends using a better, high-speed steel 6-32 die (McMaster-Carr), and attached and tensioned the rods to the baffles
- fit, trimmed, sanded, drilled, floxed and epoxied snorkel
- cut alt air hole, drilled and floxed alt air inlet; unpacked and inventoried interior for plane!
- formed and attached ramp cones; final-installed snorkel and air filter (safety-wired snorkel to fuel servo); everything fits fairly well!
- attached baffle seals; routed top ignition wires (had to enlarge holes for the 5/16” p-mag wires); brushed on additional layer of epoxy on top cowl where baffle seals will touch
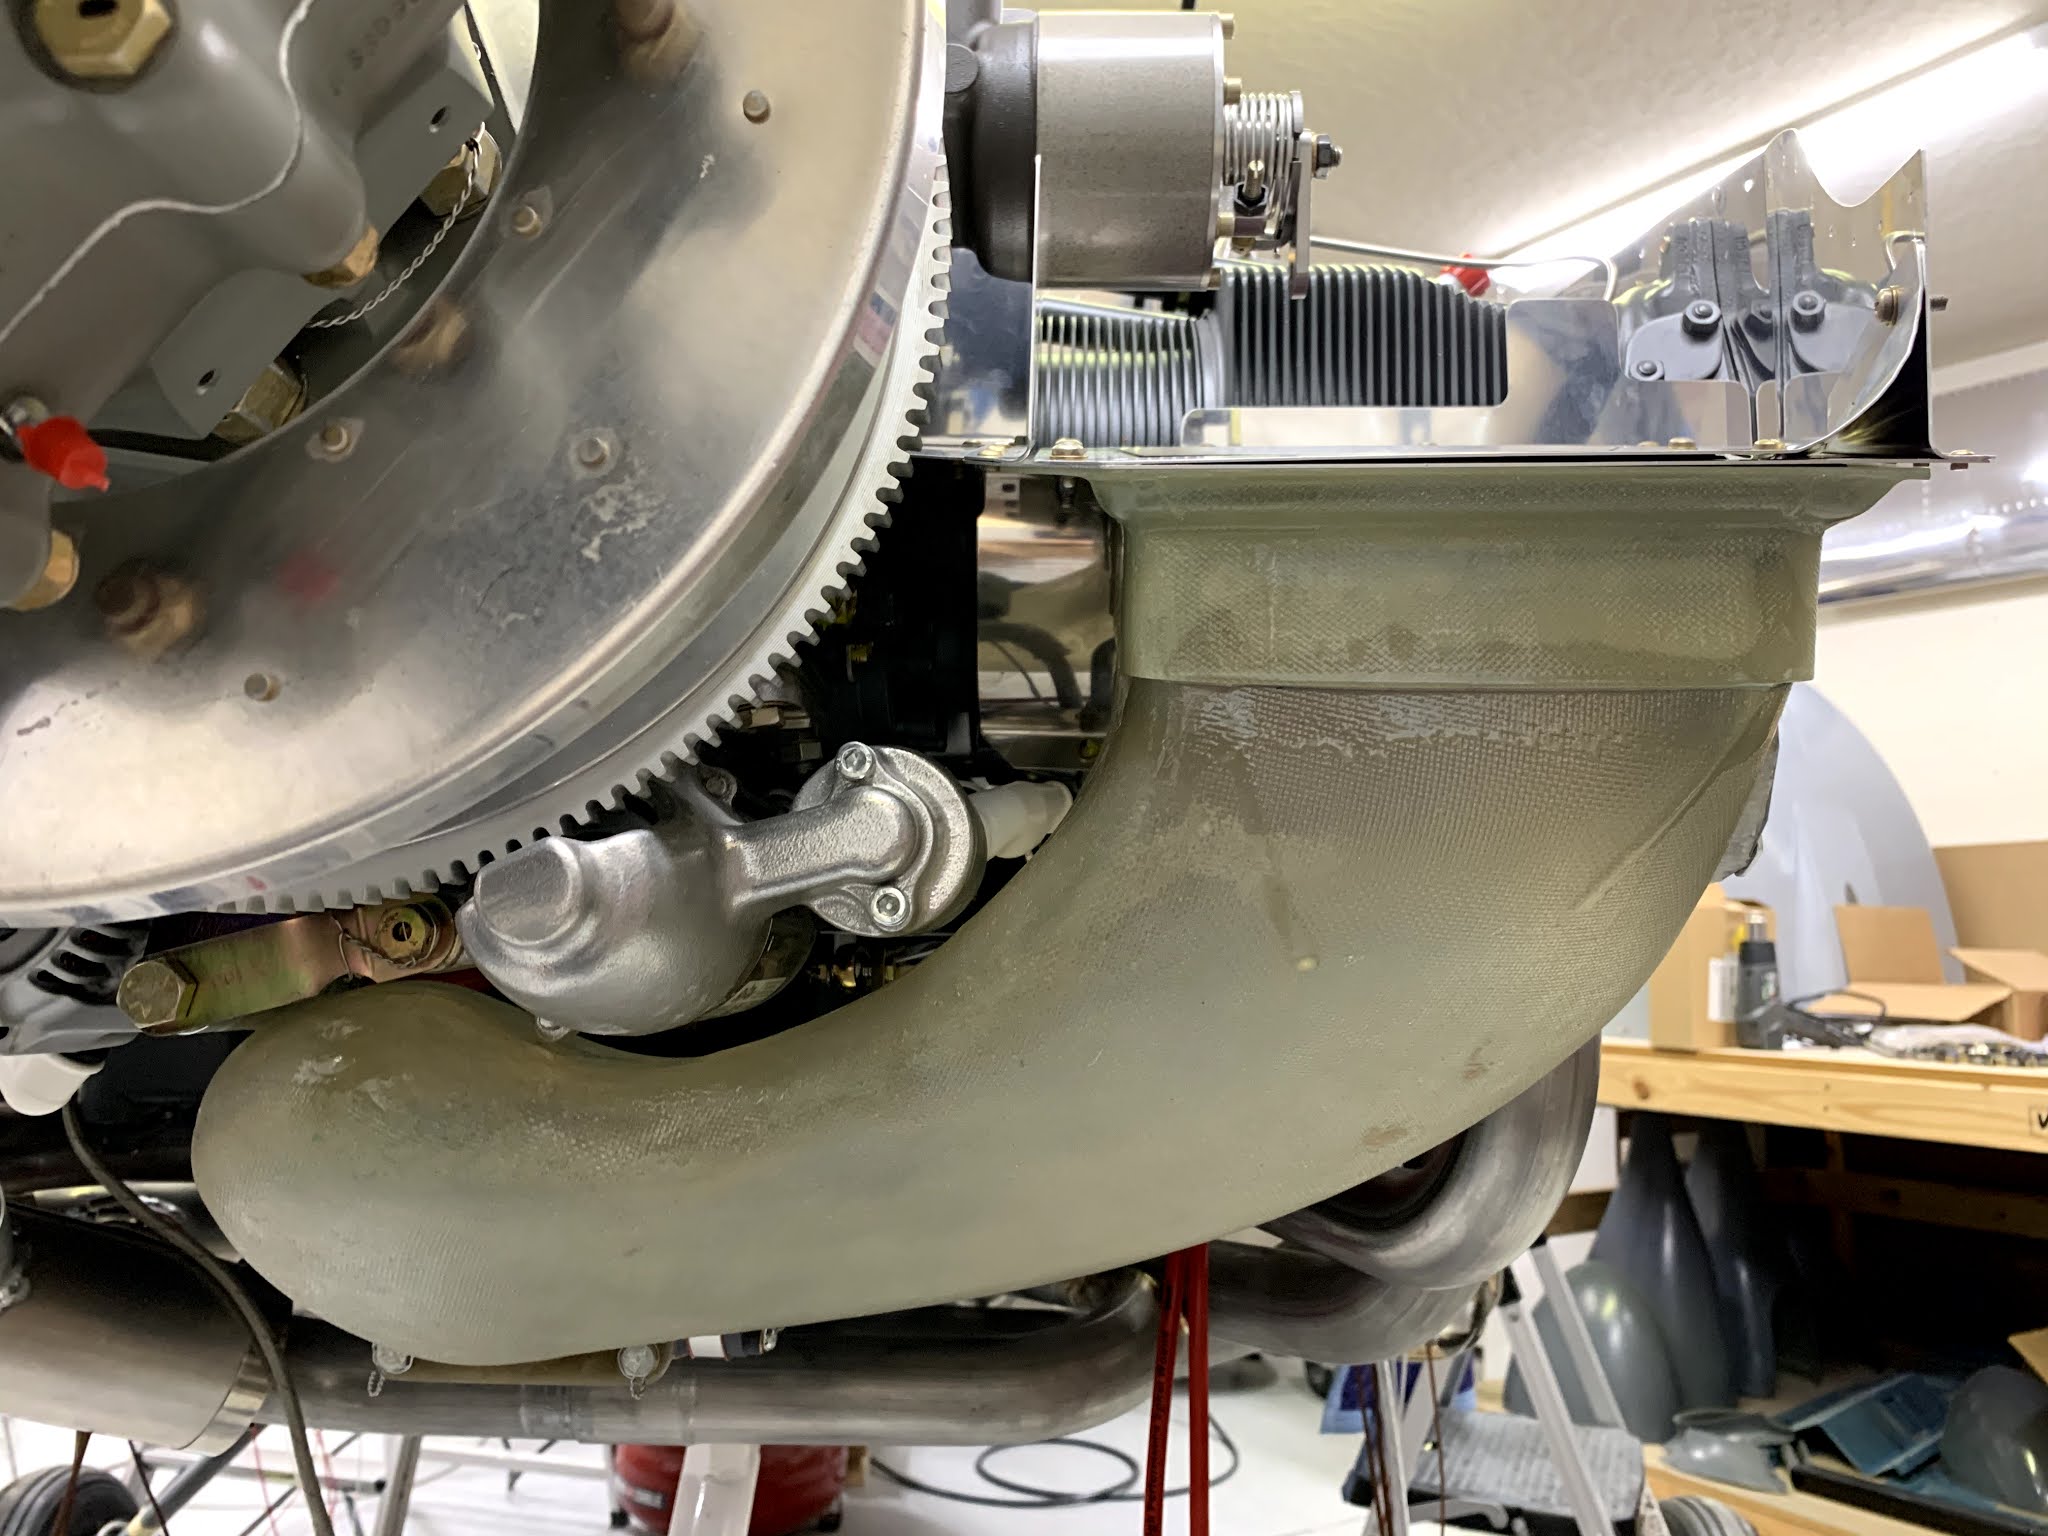
Here are two of the baffle tension rods, attached and torqued - those were a pain to install. Note that I used two metal locknuts (one as a "jam nut"), since the -06 sized nuts are really not very tight:


No comments:
Post a Comment