Specifically, I did the following during the last week and half:
- designed and constructed a cradle for the fuselage; riveted last 7 rivets of bottom skins; placed fuselage on cradle; cleaned workspace for next part of section
- installed control column assembly - torqued bolts, but one side bound a tiny bit (add a washer, below); trimmed L and R longerons; started deburring edges of longerons
- finished deburring longerons; twisted longerons 10deg each (permanent twist); match-drilled upper engine mount bracket; primed upper longeron assembly; trimmed lower longeron
- riveted upper engine mount brackets to upper longerons; drilled, deburred, primed, and riveted lower longeron assemblies; clecoed upper and lower longeron assemblies to left skin; match-drilled #30 holes in upper engine mount bracket and upper drag fitting and center side section
- removed left skin and center side section and longerons; countersunk side section and longerons; deburred edges of skin; added a thin washer to the control column assembly - NOW it moves perfectly with no binding, with all bolts/nuts torqued to spec
- dimpled left side skin; radiused outboard edge; put break on 4 edges; prepped stiffeners
- prepped a bunch of other ribs/brackets/stiffeners/arm rest and roll bar angles; primed roll bar angles
Here is a picture of the completed cradle, minus carpet padding. Note that the aft horizontal 2x4 piece is angled slightly (using shims) to match the upward sloping angle of the back part of the mid fuselage. The front of the fuselage (i.e. firewall) would rest on rightmost 2x4:

Fuselage cradle was moved into the workshop, carpet pieces were attached and the family helped lift the fuselage on the cradle. Success!

The fuselage at this stage is slightly front-heavy and rests on the carpeted 2x4 in the front of the cradle.

Nearly all the weight is supported by the spar ends (center bulkheads), which rest on two carpeted pads:

Closeup of the forward carpeted portion of the cradle:

Control column assembly:

Installation of control column assembly, which required a couple extra washers and one thin shim to get perfectly smooth travel:

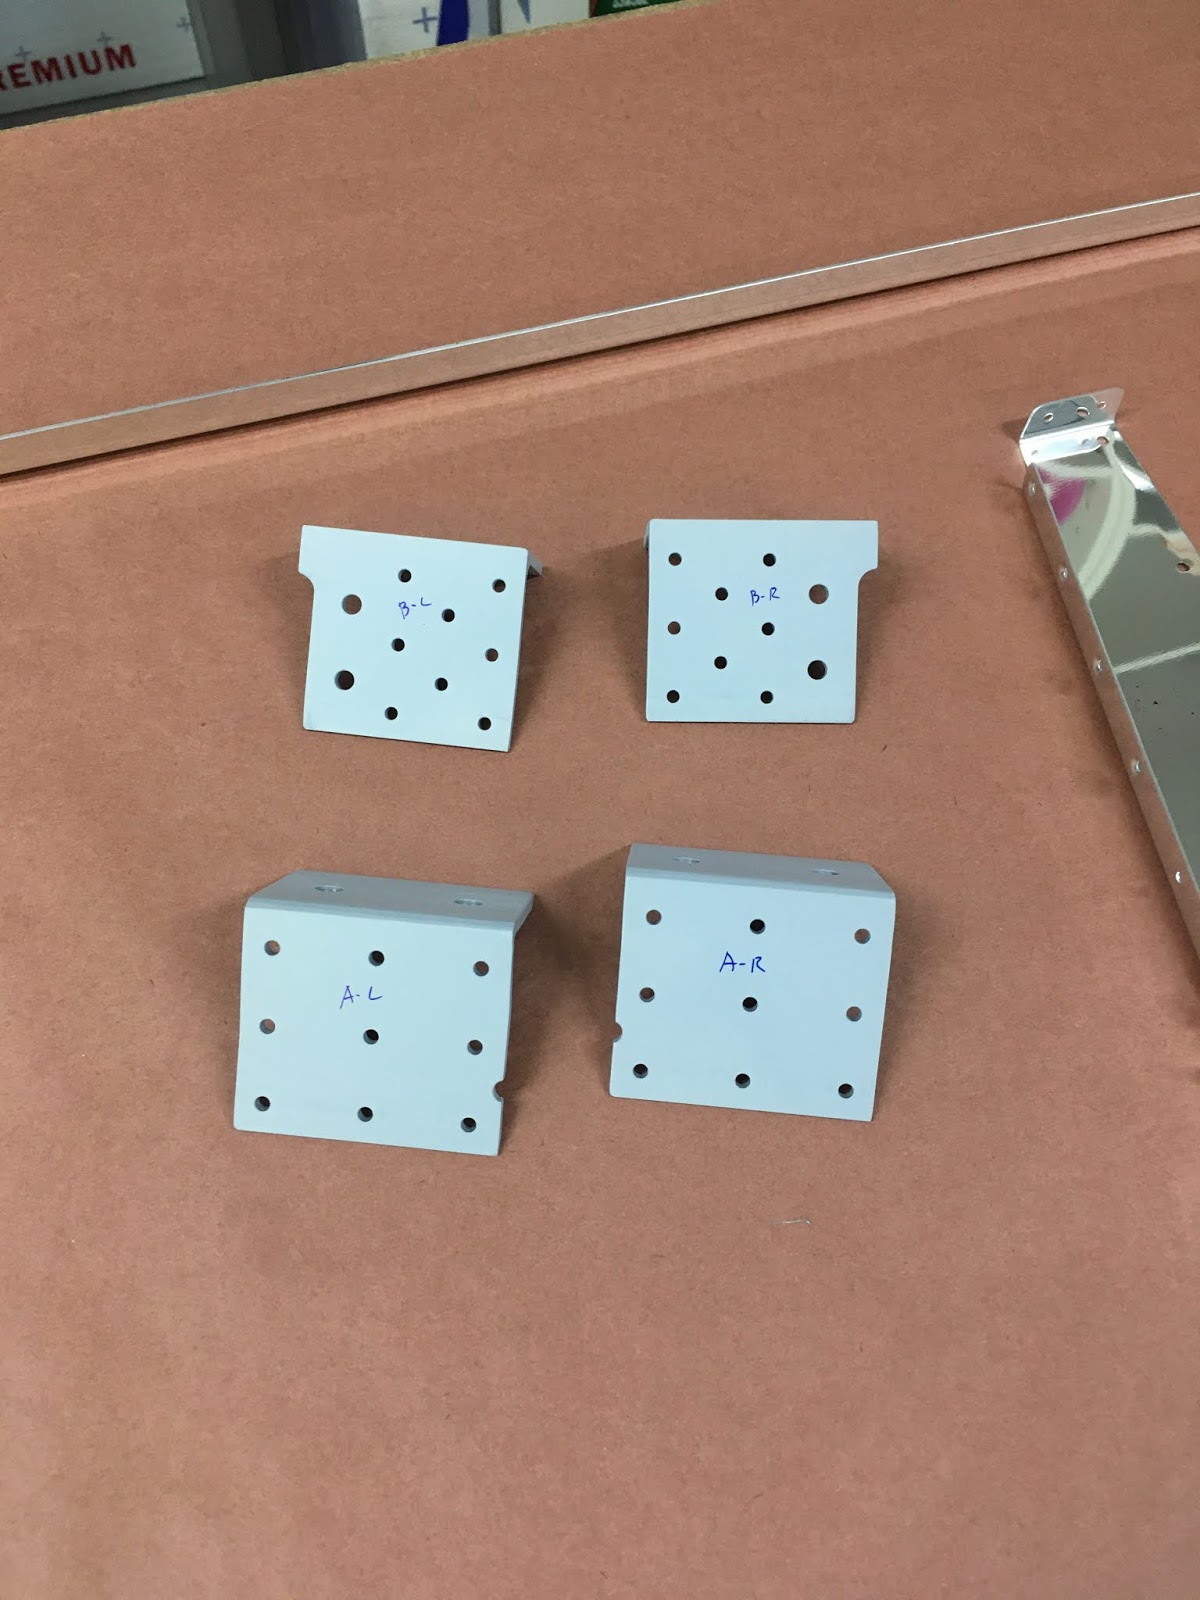
Left and Right upper longerons and engine mount brackets, drilled and primed:

Left and right lower longerons and engine brackets and doublers, drilled and primed:

Lower longerons, riveted:

Upper longerons, riveted:

Left side skin, clecoed:

Another view:

A bunch of parts for the side skins et al. separated, deburred, and dimpled where necessary:

Primed the roll bar angles:
More stiffeners and flap block bracket separated, deburred and dimpled:

No comments:
Post a Comment