- countersunk holes in right rear wing spar corresponding to doublers; deburred edges and holes; shaved wing skin mating areas on forward part of outboard and inboard skins; dimpled all holes in inboard and outboard top skins; primed shaved skin mating areas; clecoed wing walk doublers and inboard and outboard top skins to wing assembly; deburred & dimpled j-stiffeners
- Left and Right flaps: attached trailing edge with 3M VHB tape; clecoed trailing edge and ribs; riveted trailing edge (squeezed); riveted bottom skin to ribs; attached flap to wing (temporary, left side only)
- right leading edge: 7 leading-edge ribs: straightened flanges, fluted flanges, deburred edges and tips, final-drilled #40 and #30 holes; deburred holes in 7 leading-edge ribs; dimpled flange holes; deburred, final drilled and dimpled splice strip; clecoed 7 ribs into the leading edge skin; match-drilled, deburred, dimpled j-stiffener
- Riveted right top skins to 9 ribs (200 rivets, with wife using back-bucking bar)
- Dimpled right leading edge skin; masked and scuffed area for black matte paint (light well/bay)
scuffed, cleaned and primed 7 ribs, mounting bracket for landing light, and mounting wedges for light lens, and skin; primed and painted black all areas visible in landing light bay; riveted nutplates to splice strips, mounting bracket and mounting wedges. Note that Van's doesn't supply enough K1100-08D nutplates, but way too many K1100-08 nutplates ... I guess I just have to dimple the #40 holes in the latter (which I did, and which were not a big issue).
- clecoed 7 ribs and splice strip to leading edge skin (right); riveted all top rivets and aft 3-most bottom rivets on all ribs
Primed shaved skins on inboard top skins (forward overlapped parts):

Outboard skin, primed:

Dimpled outboard skin:
Dimpled inboard skin:

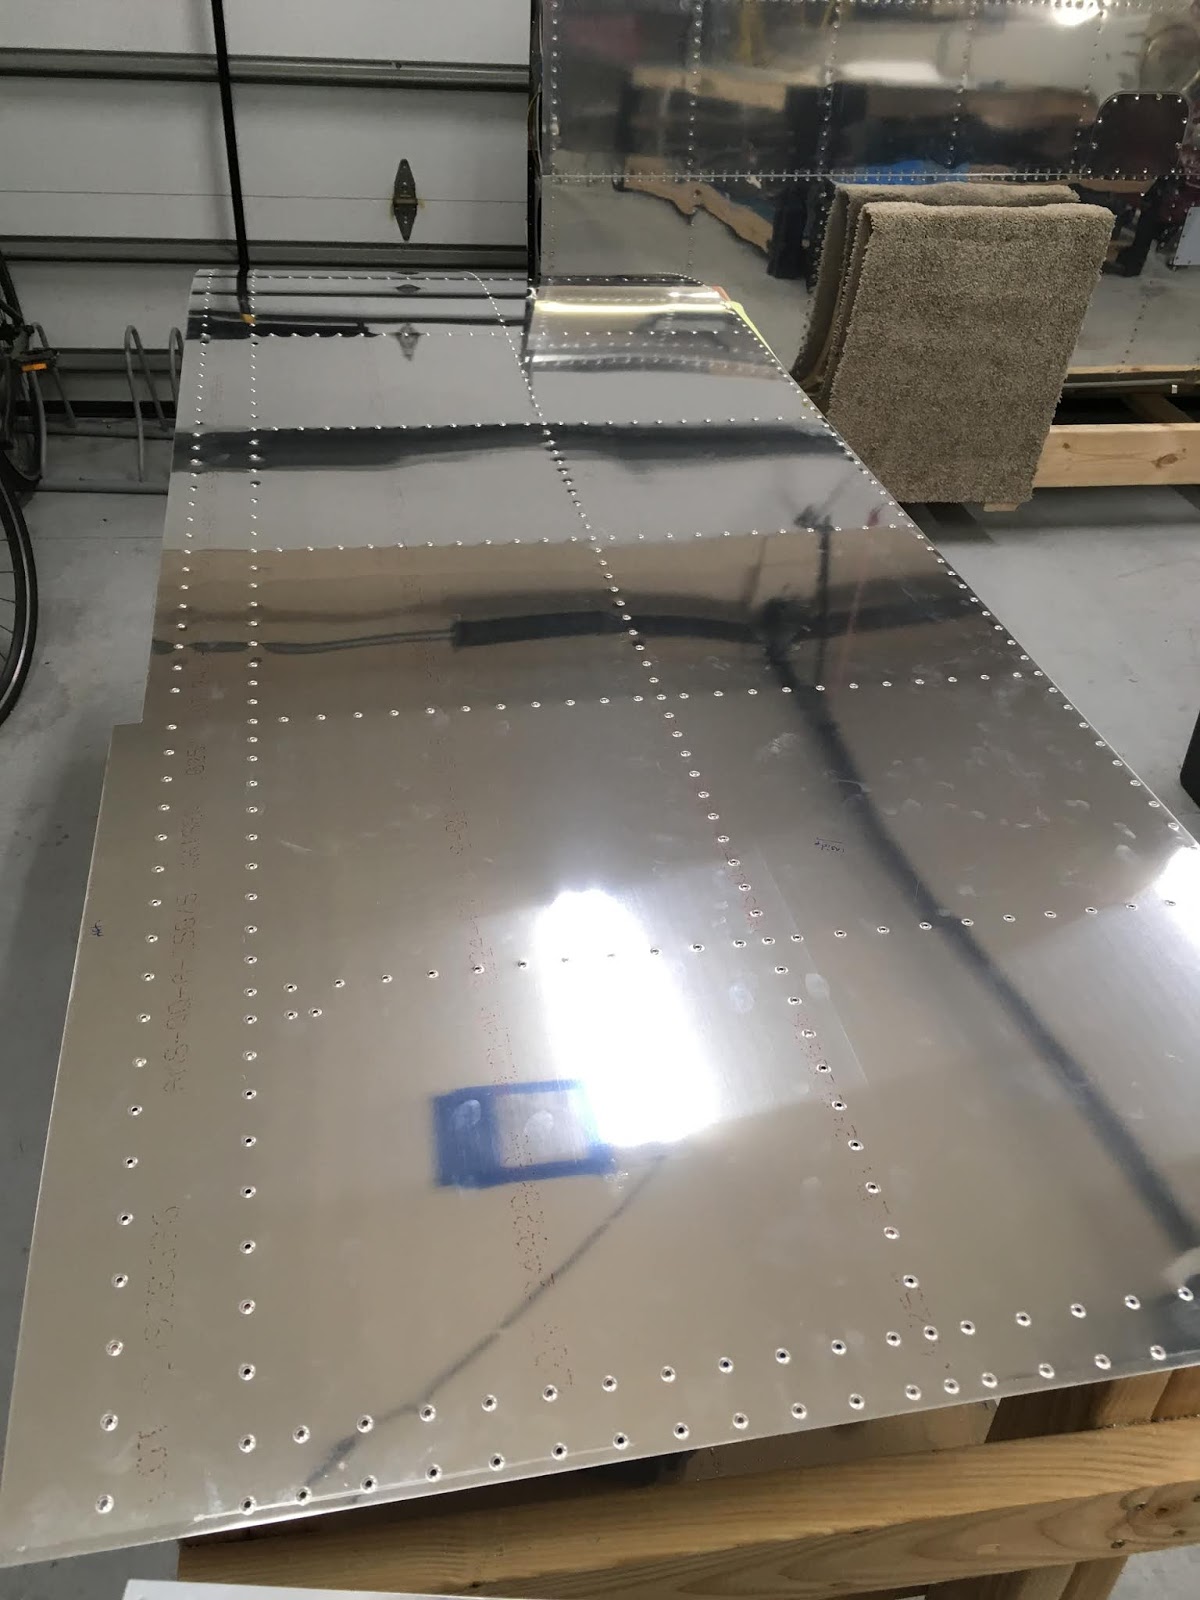
Skins clecoed to right wing assembly:

Other side. Note that I forgot to take pics of the 9 ribs that were riveted this week - oops, I'll post it next week:

VHB-taped and clecoed left flap, waiting to be riveted using special safety-pin squeezer set from Cleaveland Tool:

Trailing edge riveted:

Left flap completed:

Left flap temporarily installed on left wing:

Another view:

Third view:

Right flap, completed:

Another view:

Closeup, with my ugly mug for the FAA:

I forgot to take pictures of a bunch of steps for the right leading edge (i.e., all the work to prepare the ribs for this step). Here are the 7 ribs clecoed to the skin, as well as the j-channel, ready to be match-drilled:

J-channel, matched drilled:

Ah, here are the ribs. Trust me, they've been straightened, fluted, final-drilled, deburred, cut (certain ones, for clearance) and dimpled:

Dimpling the j-stiffener:

Deburred, dimpled, scuffed, primed, and black-painted the landing light mount and lens mounting bracket strips:

Since the ribs were not alclad, I primed them (just like the left side):

The two outboard-most ribs were primed and the internal surfaces were painted black, so the light bay would have a nice, black background:

Skin portion of light bay scuffed, primed and painted black:

Splice strip, deburred, dimpled, and nutplates riveted:

Nutplates riveted to light mounting bracket and light lens mounting strips:

Right leading edge skin clecoed to 7 ribs and splice strip:

Another view. Note that the top part of the skin has been riveted and the bottom aft 3 rivets have been riveted. More to come in the next update:

No comments:
Post a Comment