Another couple weeks of searching for items to complete, while I wait for Van's to deliver backordered items (COVID-delays, so understandable). Fortunately, they sent me the main gear legs and the latch torque tube, so I could get another week of work done toward installing the engine. BUT, I still need the nose gear and link before installing the engine ... oh well, this forces me to continue picking at the fiberglass bits. Here are the details:
- clamped cowl halves together and started fine-trimming the spinner hole and ducts; lots of small areas to sand to get all four areas to fit nicely
- finished fine-trimming of spinner hole and air ducts; drilled #40 holes to cleco (for now) the area around the spinner; cleaned up for next project (dust everywhere!)
- removed fuel hose that goes from fuel servo to fuel spider to take measurements and pictures for Aircraft Specialty - they will fabricate an integral firesleeved hose for me, and hopefully include in their catalog for other RV-14A builders!
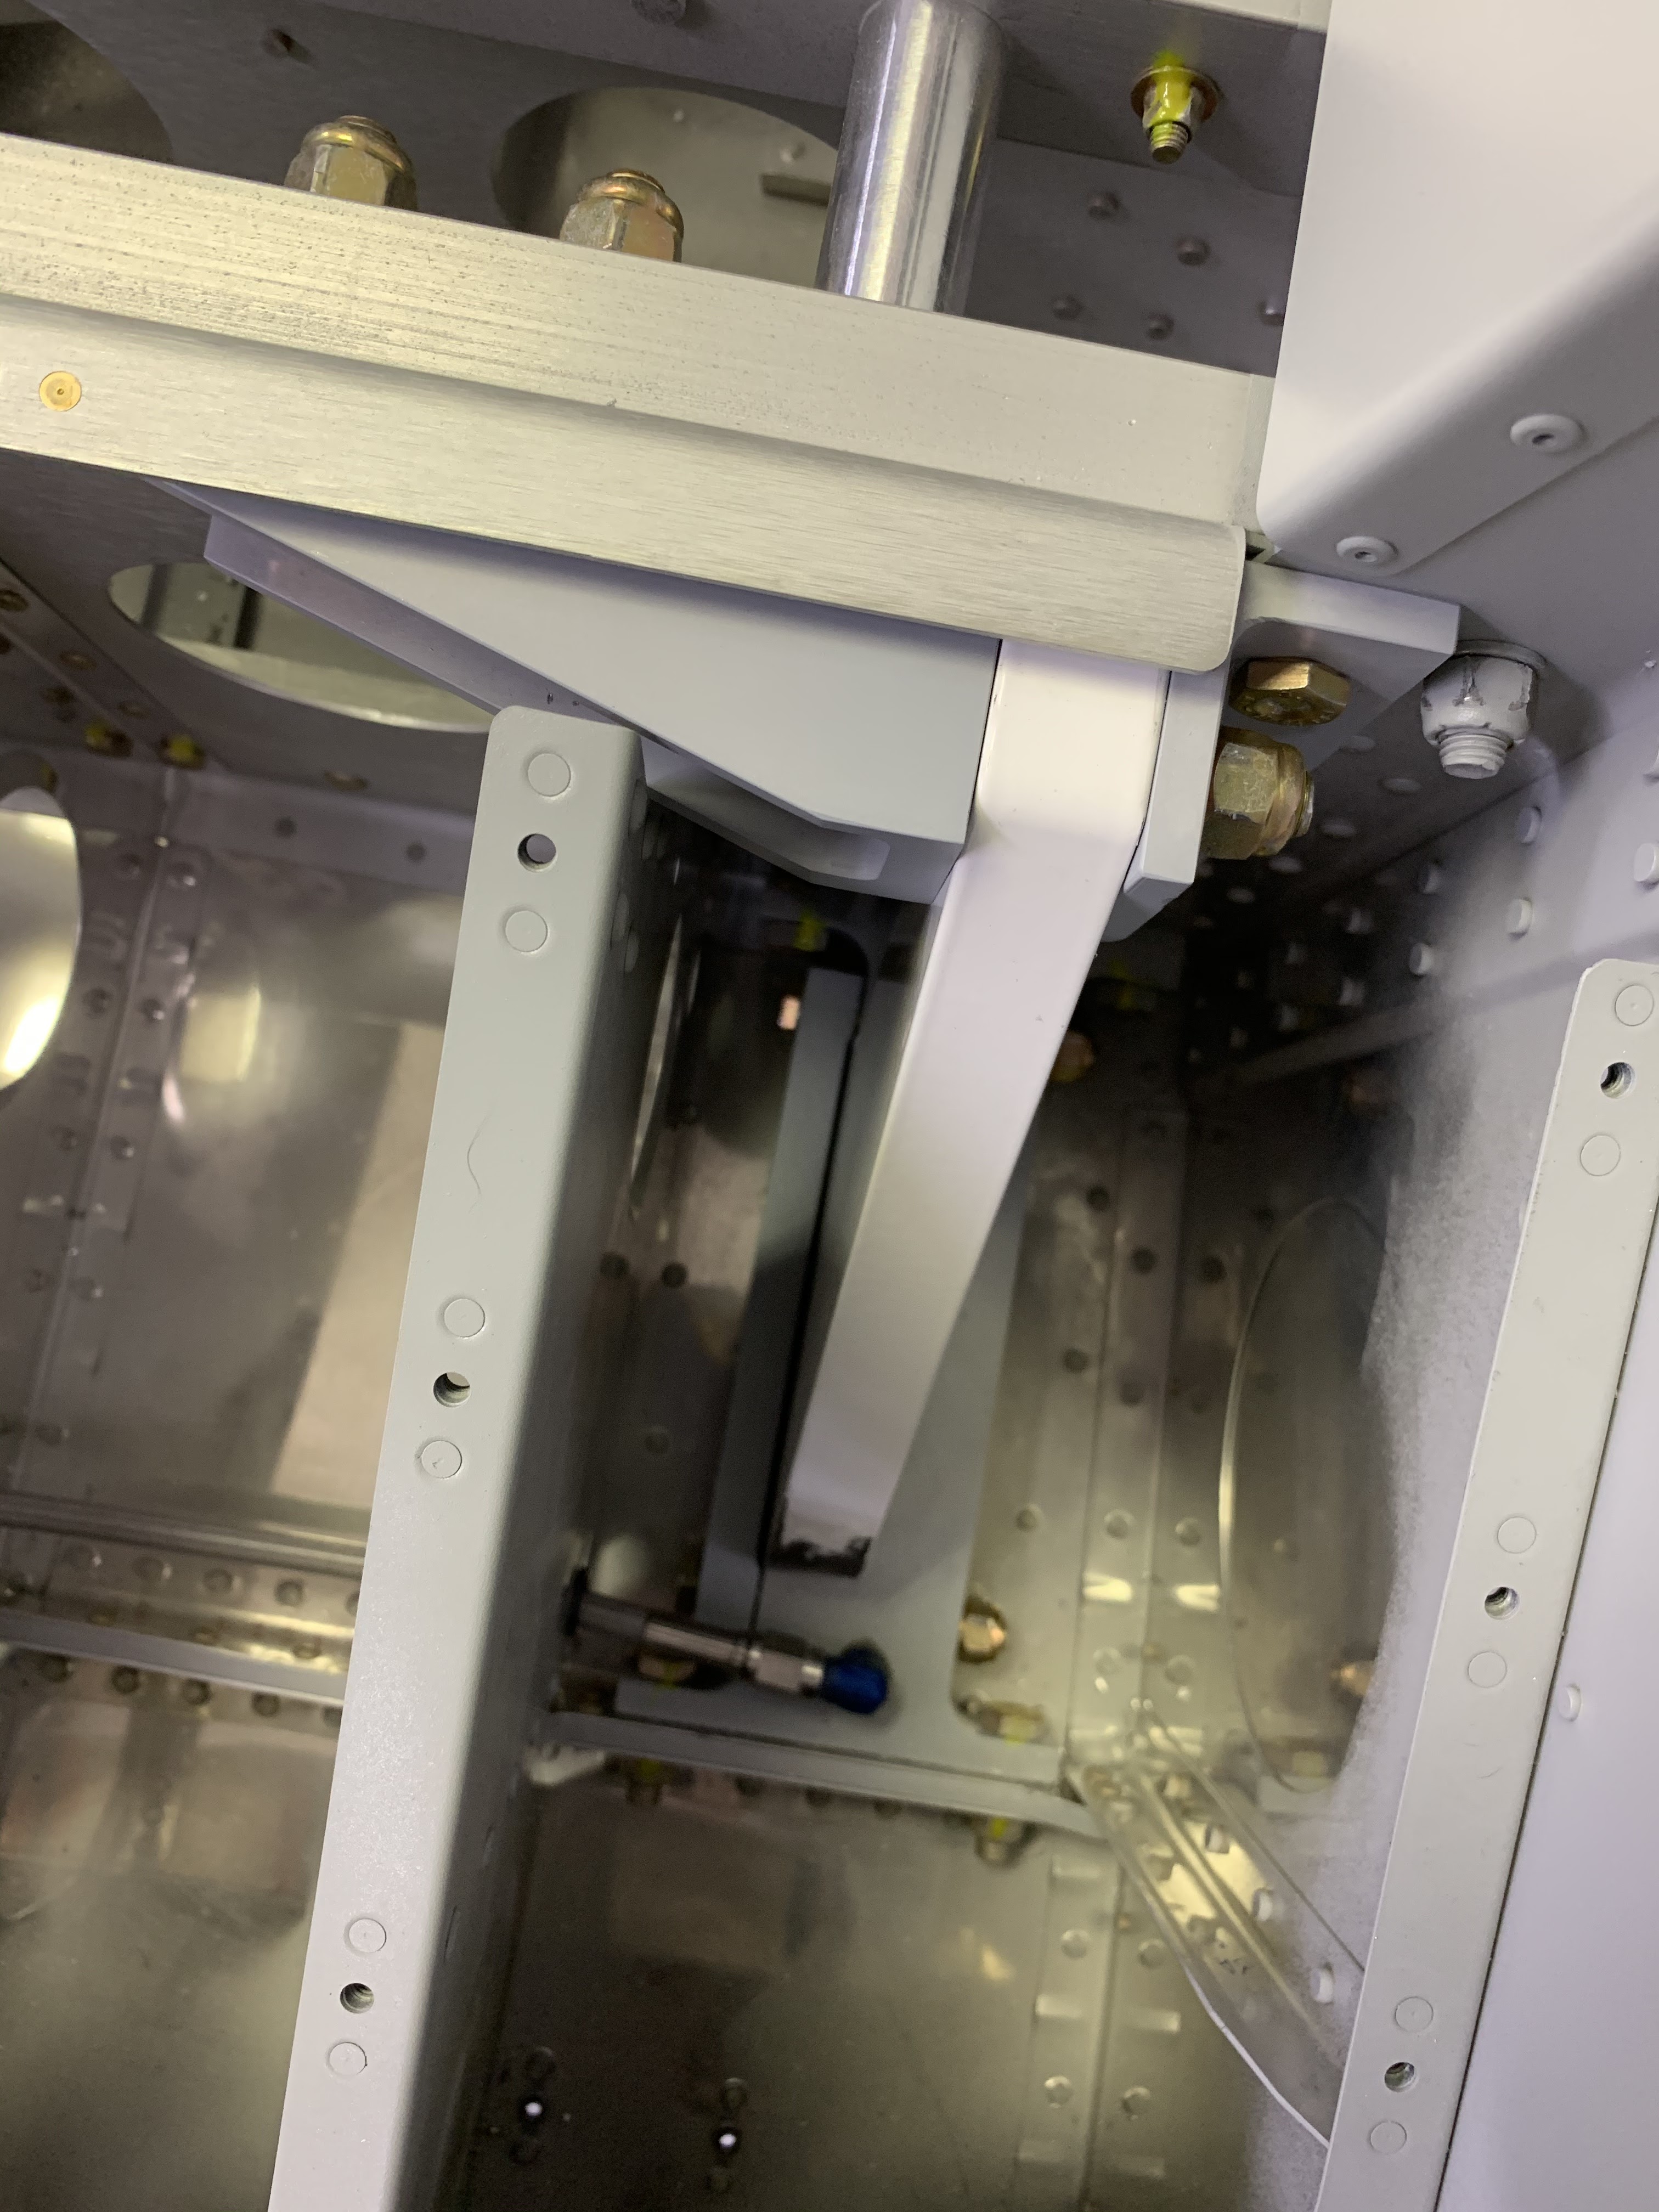
- received backordered powdercoated torque tube from Van’s; installed canopy latch system; tested latch action inside and out - works just fine!
- installed main gear legs; attached main gear leg axles (wife helped); checked alignment of axles (toe); installed main wheel and tire assemblies
- installed brakes and brake lines from fuselage to calipers (Aircraft Specialty!)
- trimmed and deburred oil door and oil door hinge
- prepped main gear fairings; fit and trimmed main gear fairings so the halves mate as precisely as possible
- drilled #30 main gear fairings for brackets and found that one aft fairing was mis-dimpled at factory; repaired drill holes in aft fairing using epoxy-flox; drilled left fairing and cut gear leg clearance hole; attached nutplates to fairing brackets; installed one bracket temp. on left gear/wheel
- attached other 3 brackets (temp) to gear/wheels; modified left wheel fairing halves to have 5/8” clearance for tire
- finished fitting right gear fairings to each other; #40 match-drilled; cutout gear leg clearance hole; ensured all could be installed on right wheel/gear; floxed all 4 brackets to gear fairings and loosely attached with screws (did this process off the plane, since there was no way to verify proper seating of bracket if on plane)
Finished trimming and fitting the forward parts of the top and bottom cowls - the two halves fit well together, so I drilled the requisite #40 hole:

A little diversion - after talking with Steve T. from Aircraft Specialty, I mentioned that the fuel line that goes from the fuel servo to the fuel spider did not have the nice, integral fire sleeve that Aircraft Specialty provides for the rest of the fuel and oil lines in their Firewall forward section for the RV-14A. This is because that particular line comes attached to the engine by Lycoming, and I guess no one else mentioned it or has wanted to replace it. POOF, now I'm a "beta-tester" for a new fuel line with an integral firesleeve. Here is the old line:

Fuel line, disconnected to send pics and measurements to Steve:

Back to the cowl halves - I guess I finished sanding the outboard edges a bit here (some of these pics are out of order):

This pic is out of order, but shows the halves cleco-clamped together, prior to the pic above:

Other side:

Yay, a few backordered parts arrived!

I wasted no time installing the torque tube to complete the canopy latching mechanism - worked great. This was necessary to do PRIOR to installing the gear legs, because the clearance in my garage dictated that I removed the canopy prior to gear installation.

Right gear leg, partially installed:

Engine hoist used to lift the fuselage:

Don't trust the hoist by itself - always support the fuselage from underneath with a sturdy sawhorse:

Gear leg, outside view:

Final installed and torqued right gear leg:
Axle and brake mount installed. Also, note that you have to verify that the axles are parallel to each other, which I did here with a block on each axle and monofilament between them (hard to see):

Wheels installed onto both gear legs:

Random oil door and oil latch prep:

Back to the new beta-test fuel line from Aircraft Specialty. At this point, I can only install the upper end to the fuel spider since I am waiting to install the engine (which is contingent on Van's sending me the nose gear). But, don't those integral fire sleeves look awesome! I have a whole set of them, just waiting to be installed. They are well worth the small premium over the standard sleeves.

View from underneath, showing end that will attach to fuel spider. When I finish attaching everything, I'll be sending Steve all the pics, and this line will be available to order as part of Aircraft Specialty's Firewall Forward package for the RV-14A:

Installed brake lines from fuselage to calipers (lines purchased from Aircraft Specialty) - another set of sweet lines; they just take a little massaging and a particular way of installing to get them to curve correctly at the brake line (more on that, below):

This was my initial brake line routing, prior to securing with friction tape:

Deburred main wheel fairing brackets:

Main wheel fairing halves, undergoing initial fitment:

Initial install of the left main wheel fairings onto left gear:

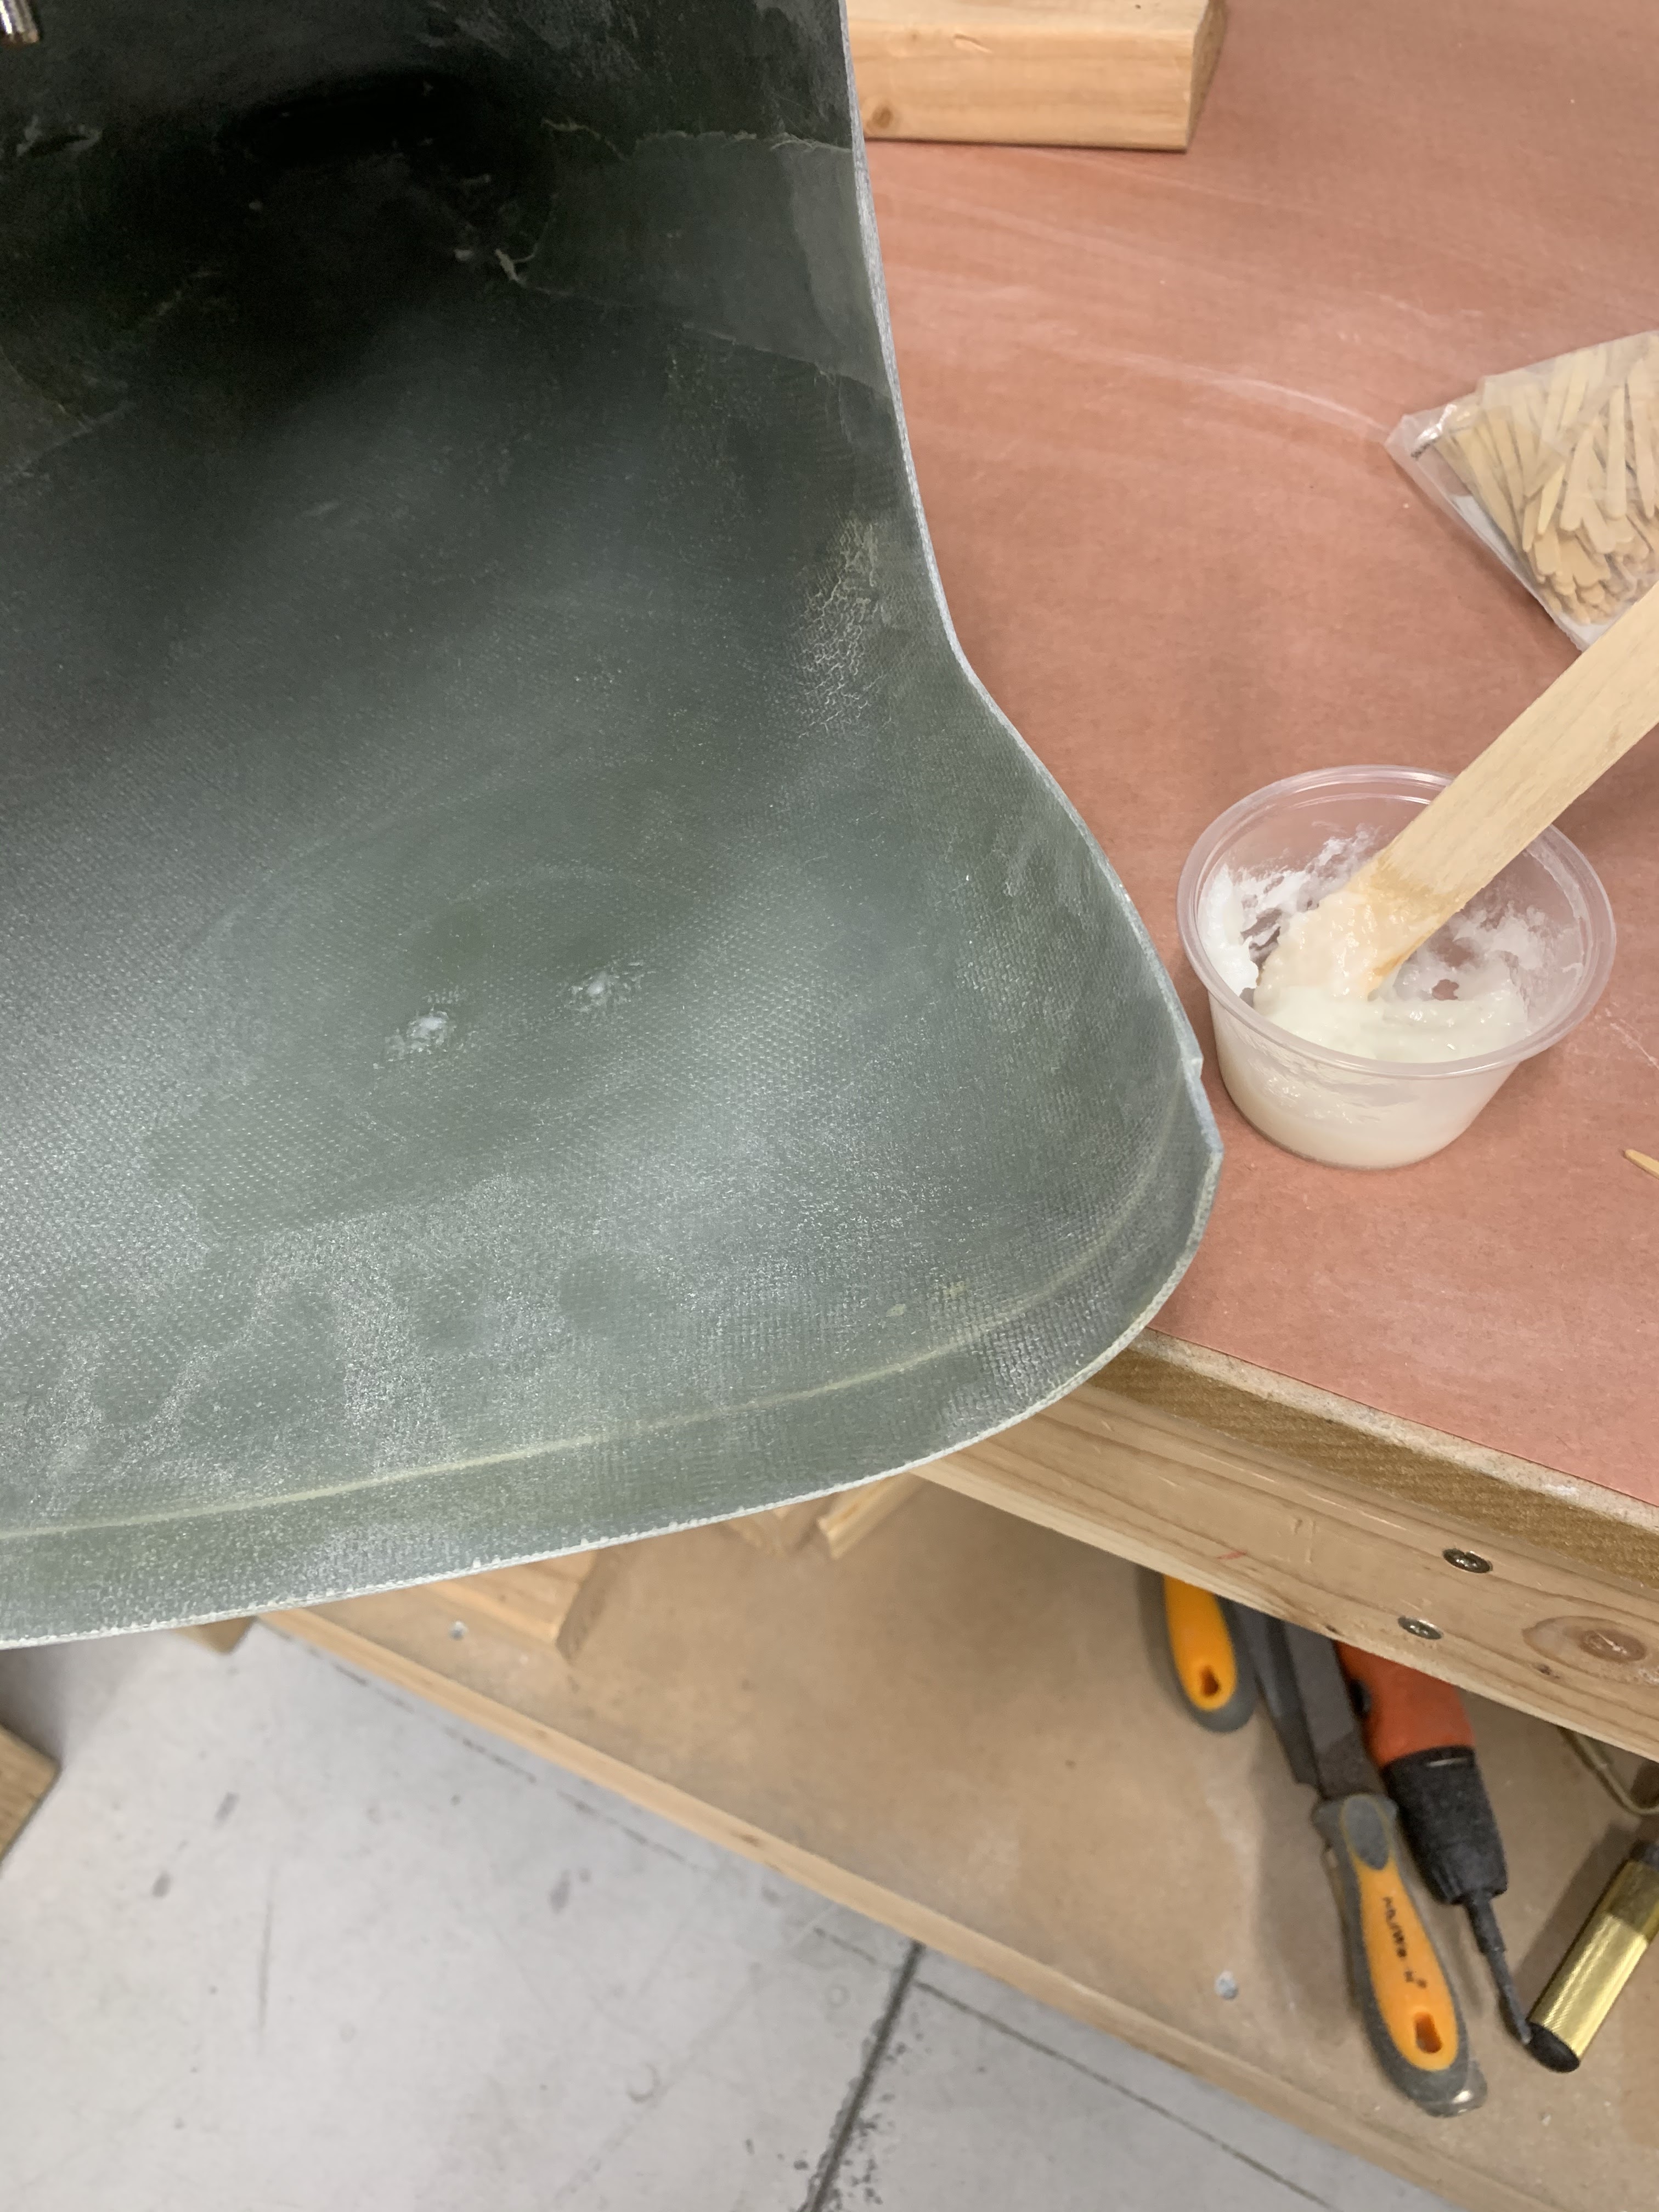
So one of the two aft fairing halves was mis-dimpled at the factory - since the dimples are embedded in the fiberglass, I would assume one of their molds is off by about 1/4" on one side. No problem - a thick epoxy/flox paste, and the problem was fixed:
Initial friction taping of the left brake line:

These next pics are a bit out of order. Here are both main wheel fairings, with the area surrounding the screw holes epoxy/floxed and the brackets set into the flox paste with semi-loose screws. It seems this is necessary to strengthen the area of attachment:

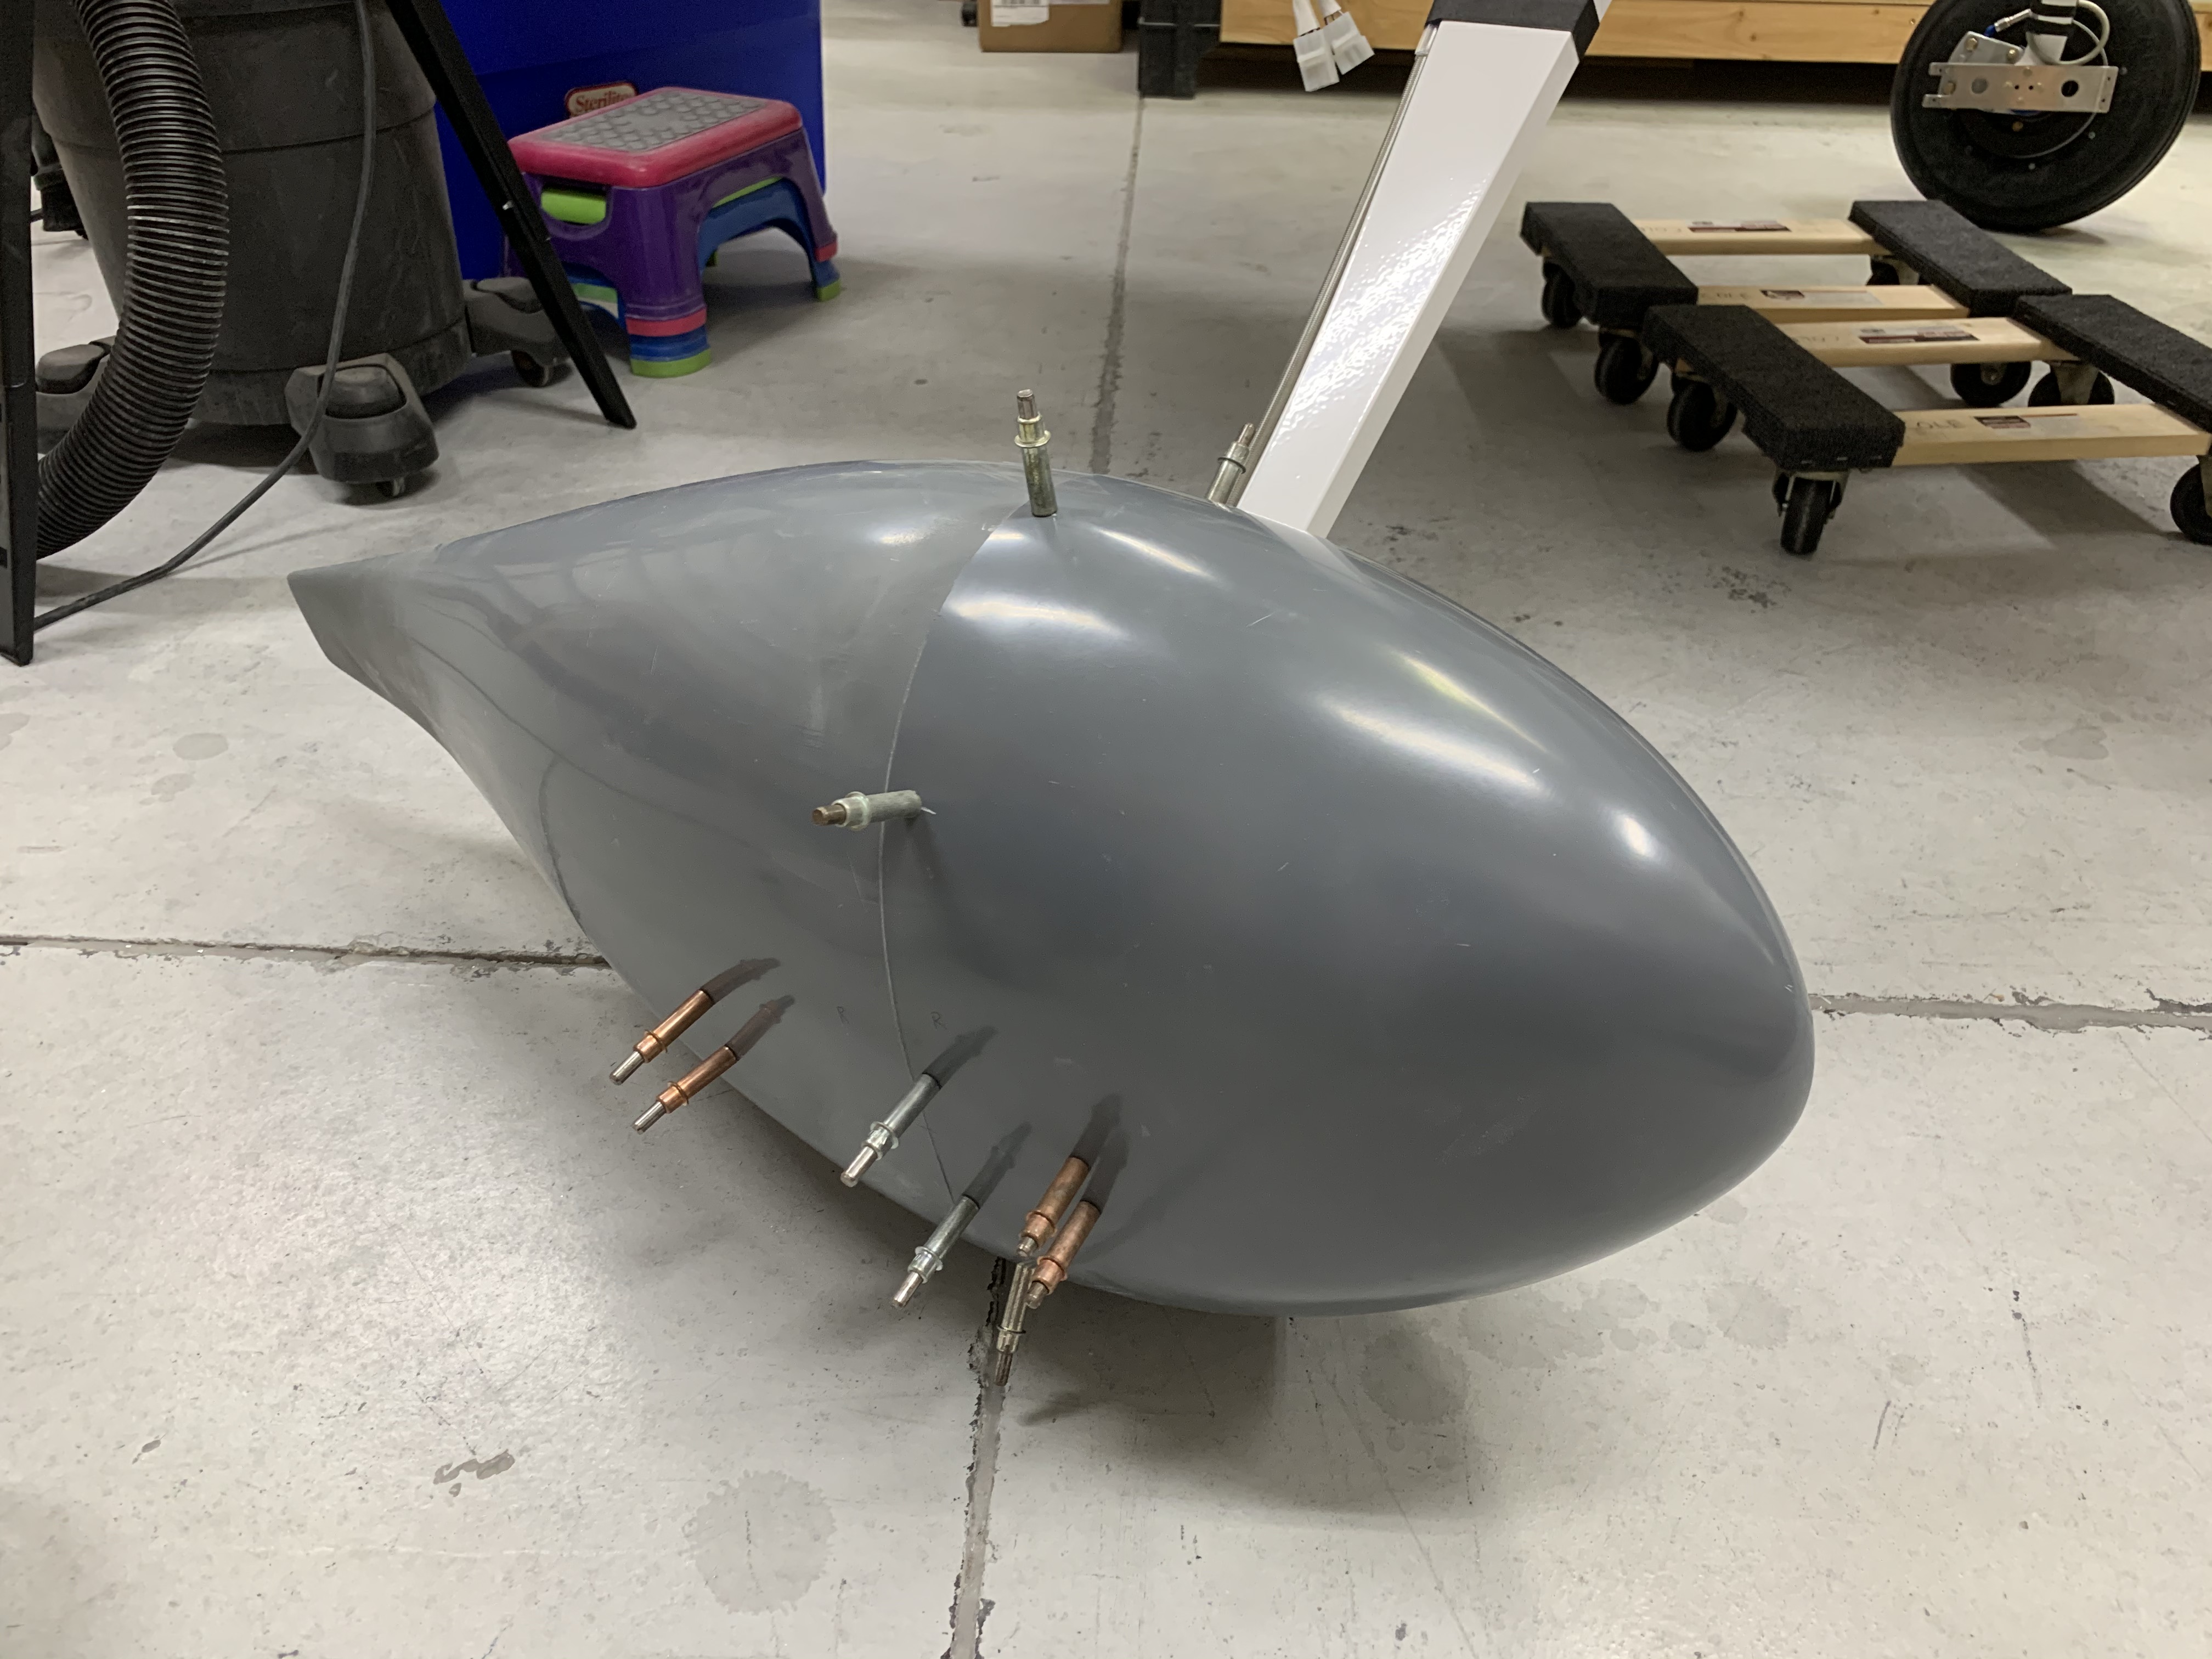
One side, final-trimmed for tires (5/8" gap all around tire is necessary for clearance):

Left side, with cutout for gear:

Back to fitting the brackets using epoxy/flox:

Is this the left side again? I'm losing track

Brackets installed on right side, and brake lines tacked down with friction tape. Note the nice curvature of the brake line - the only way to do this right is to first tack the line down, and THEN route the final part onto the AN nipple, keeping the line straight. Use a second wrench to keep the line straight while torquing the AN fitting:

Closeup of left side:

Out of order - left side, prior to cutting gear leg hole:

A good fit for the left side:

Nutplates attached to brackets:

Out of order - this is why I had to reroute the brake lines and enlarge the gear leg holes a bit - it did not fit well unless both were done:

Looks like the right side, match-drilling #40 the holes that attach the two halves together:

Prior to that bracket floxing step mentioned above, coat the screws with some wax to prevent the epoxy from binding to them:

The right side, after final sanding to enlarge the tire hole for clearance - after all this fiberglass work, my workshop is a mess:

Good fit for the right side:
No comments:
Post a Comment