- installed defog fans; installed rear seal and torqued zone 3 of canopy; fiddled with canopy latch mechanism - pins still too tight (need to work it in)
- fabricated seat backs - still need to paint, so didn’t final-install the pins
- bolted engine mount to firewall assembly (with help from wife)
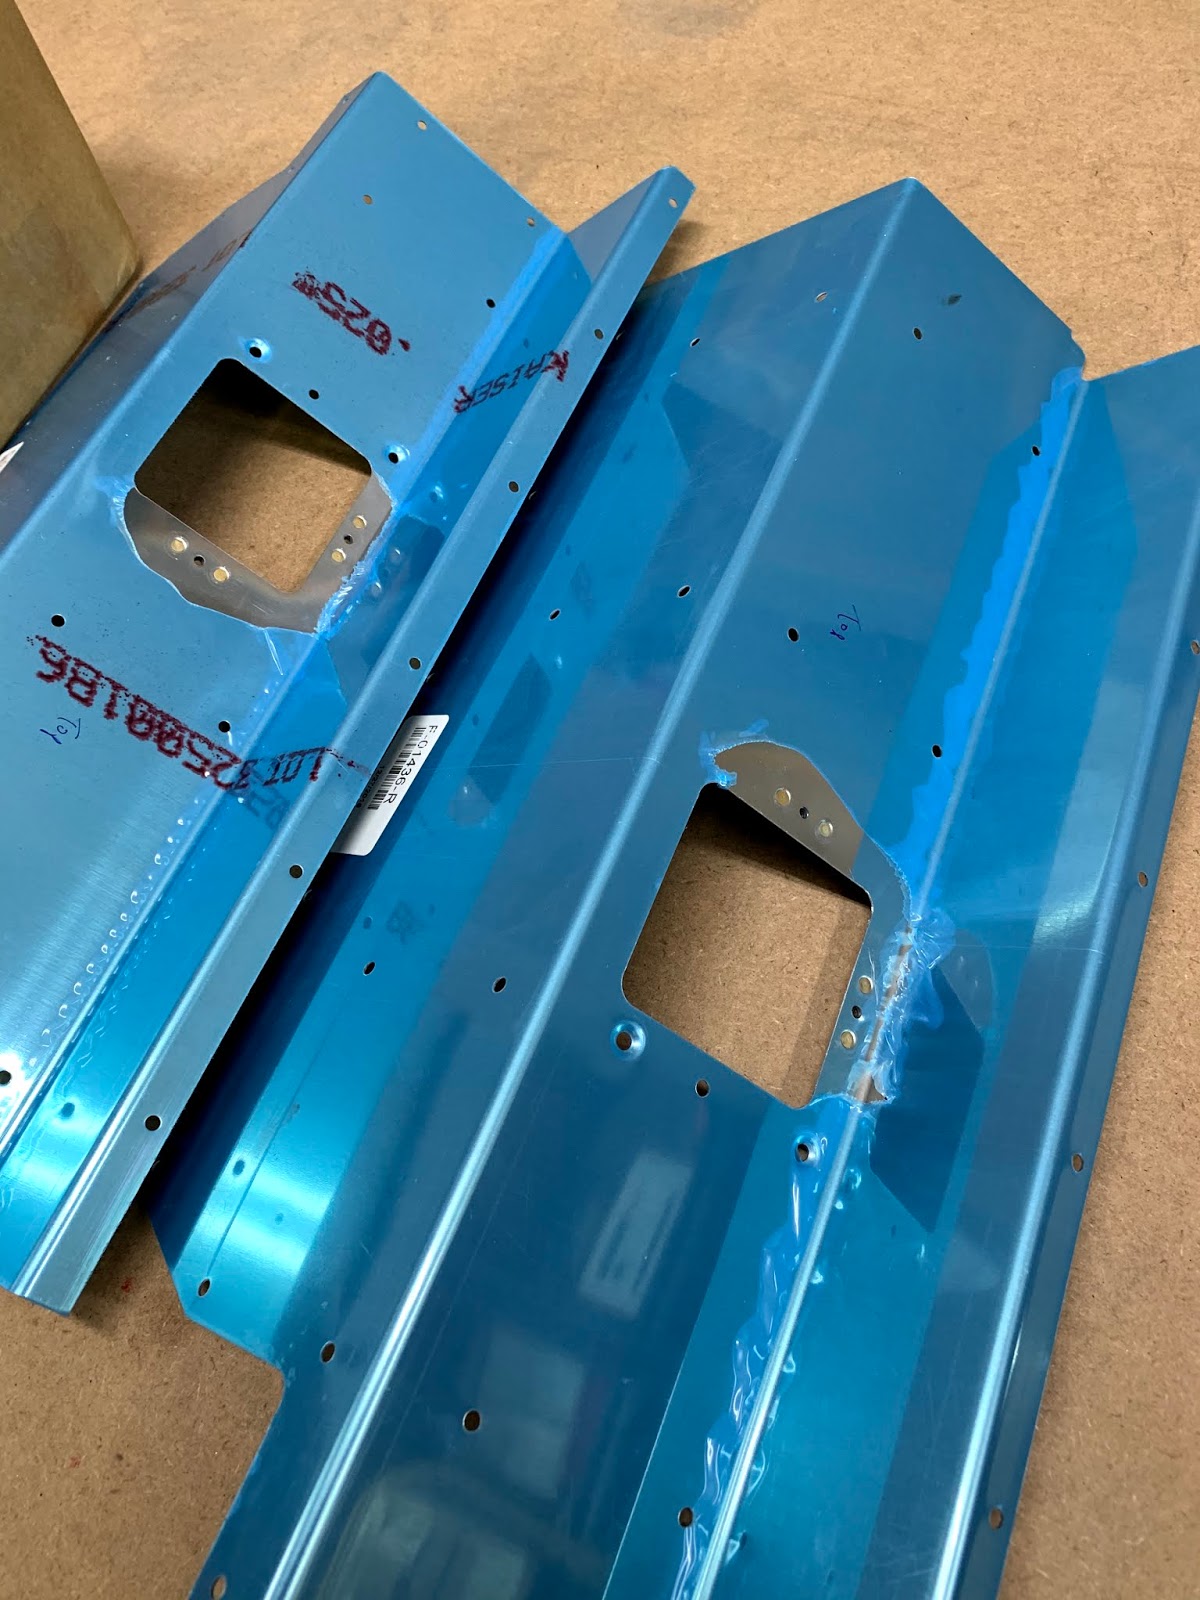
- separated and primed gear attachment angles; primed and installed upper gear braces (not final torqued yet, since waiting on 3/8” torque wrench); trimmed washer for nose gear leg; primed gear attachment bars
- final-drilled #17 holes in wing root fairings
- elevator pushrod assembly and priming; wing root fairings deburred and lower fairings bent around 1.25” PVC pipe
- engine delivery and uncrating
- determined best way to lift engine
- dimpled holes and installed nutplates to seat ramps; deburred edges of almost all parts in the Miscellanea section; riveted motor cover assembly; riveted aft cover and doubler; attached shoulder harness cables; primed stick boot doubler and battery box attach angle
- temporarily installed battery; installed master relay and starter solenoid; installed sender mount to firewall (without oil and fuel pressure sensors, since I’ll need those from SteinAir)
- figured out how to install a Michelin Airstop tube and tire on the Matco nosewheel (final tire pressure = 35 psi)
- installed tubes and tires on main wheels (final tire pressure = 40 psi); packed grease into all 6 bearings (2 per wheel); installed bearings in main wheel and tire assemblies; torqued upper gear brace; installed elastomer pad; installed nose wheel and tire assembly, using Matco axle, spacers, and bearings
Assembled engine hoist:

In 2-ton configuration, ready to lift (I will be using the max. extension of 0.5ton for the engine):

Canopy open, right side:

Canopy open, left side:

Defog fans:

UHMW material for canopy guide pins:

Seatback brace assemblies:
Seatbacks clecoed together:

Seatbacks, riveted:

Seatback braces temporarily installed (need to paint before final install):

Adjustment pins for the bases of the seatbacks:

Attached engine mount:

Fabricated gear attachment angles:

Primed upper gear brace and attachment angles:

Upper gear brace, attached:

Primed gear attachment bars:

It's a new engine!

Engine's rear:

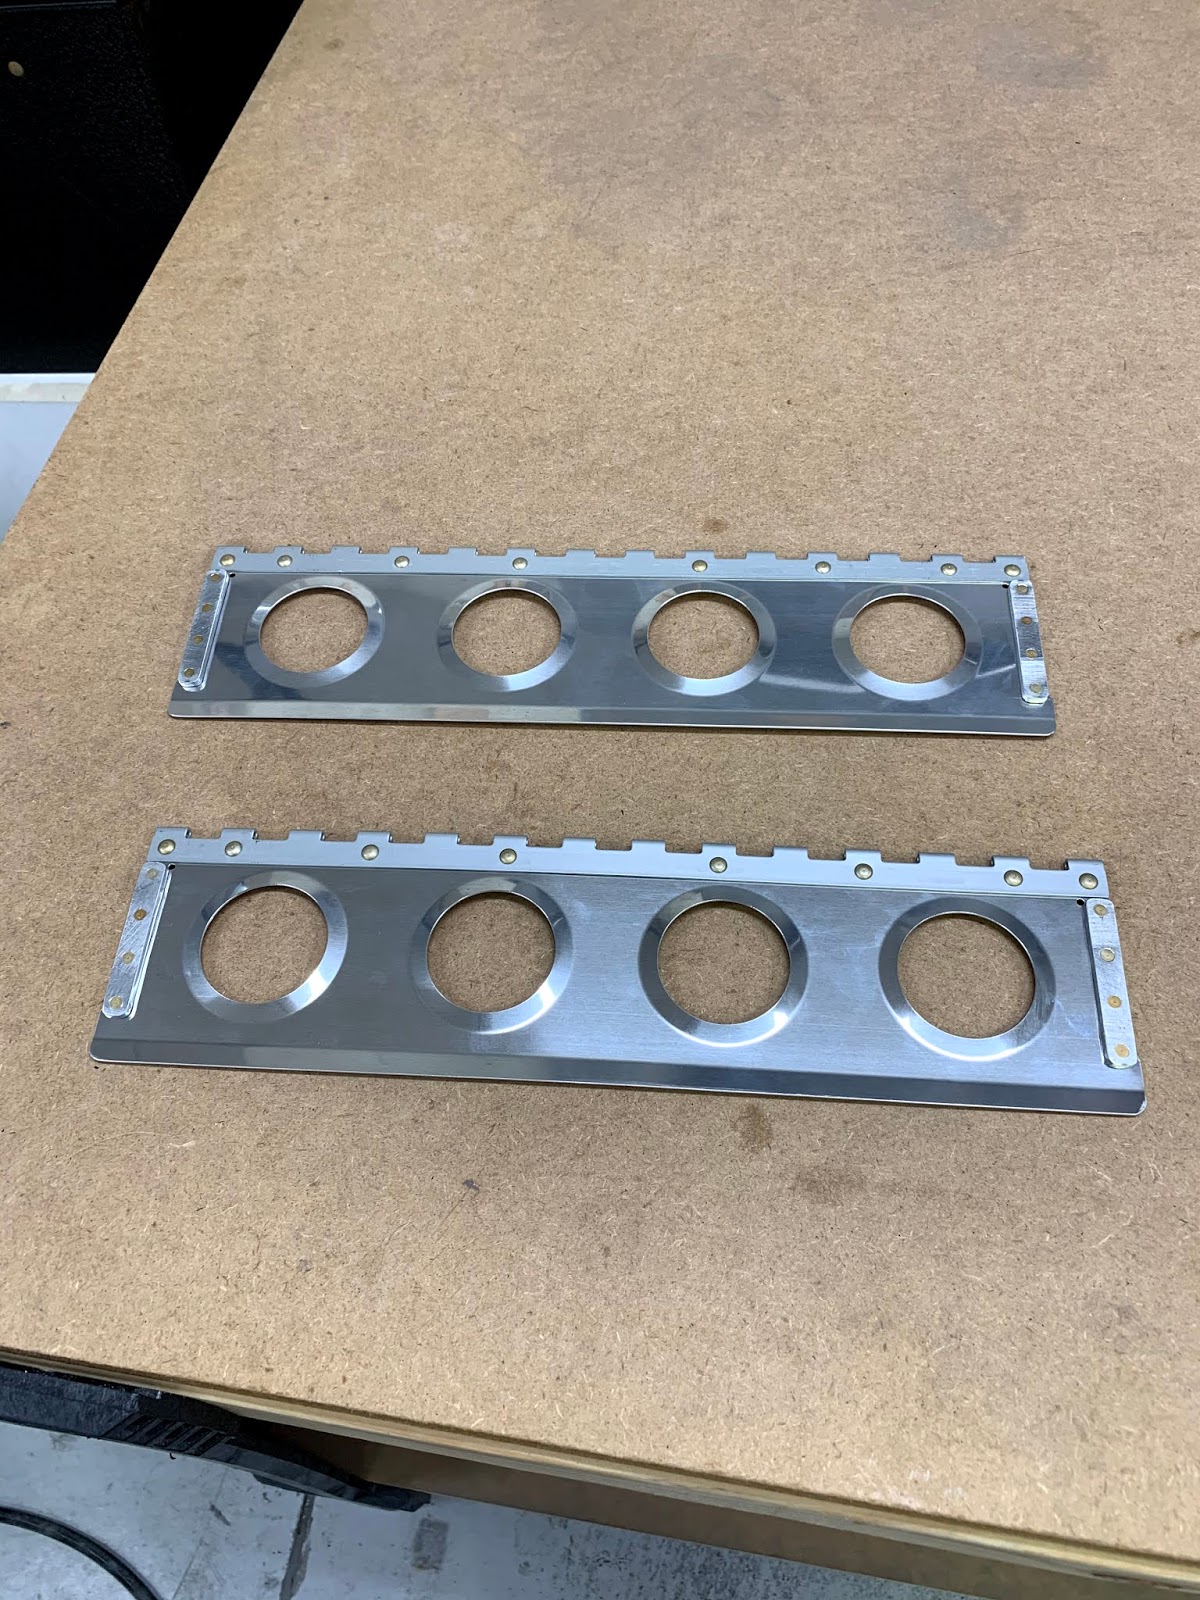
Riveted flap motor cover:

Deburred and riveted nutplates to control column covers:
Deburred and riveted doubler to aft tunnel cover:

attached shoulder harness cables:

Control stick boot doublers, dimpled and deburred:

... and primed (along with battery cover bar):

Partially attached master relay and started solenoid:

Attached sender mount (oil and fuel pressure sensors):

Attached ground strap:

Temp. installed battery cover bar:

Tapped 10-24 holes in Matco axle:

First foray into playing with tubes (Michelin Airstop) and tires (Michelin) - unwrap the tube, remove valve stem, lightly pressurize to take the wrinkles out. Then cover tube with talc, add talc to inside of tire, jam it into the tire, matching red dot on tire (light spot) with valve; pump up again a few times, and make sure not kinked inside tire.

Attach Matco wheel halves, torque to 99 in-lb; pressurize to 25 psi; reattach valve stem; pressurize to 25psi again, bleed air pressure again, and then slowly pressurize to 35 psi, checking that the bead is aligned with the rim.

Main wheels (Grove), as packaged:

Main wheel, disassembled (bearings et al. on blue paper towel):

Powder inside/out:

Same process as above, only torque to 90 in-lb, and final pressure is 40 psi:

Bearing grease packer:

All wheels have bearings packed with grease and are attached; nosewheel (top) has Matco axle. All 3 are ready to install ... whenever Van's ships me the gear legs!

Nosewheel fork, with Matco spacers, set aside (yes, I know all the washers are on one side - it will have to be disassembled before I put the nosewheel on):

Installed elastomer pad:

No comments:
Post a Comment