- Fluted and clecoed canopy parts; detached and deburred canopy rail bases and frame splices
riveted canopy frame assemblies together; clecoed skin to assembly
- verified fluting of frames; temporarily installed and leveled canopy frame closeout; final-drilled frame closeout and fwd canopy frames; fabricated aft canopy rail angles; marked canopy rail angles
- fluted aft canopy rail angles; machine countersunk canopy rail flange; started assembling canopy rail assemblies
- fit, cut notches, and defined plastic trim line in aft window; match and final drilled #40 holes in aft canopy rails into aft canopy rail angles (both sides), and unclecoed
- countersunk canopy rails; riveted canopy rails to canopy rail angles; fabricated canopy handles; final-drilled canopy side skins
- removed ~1” of vinyl/plastic adhesive around edges of the aft window; #40 drilled and clecoed ~60% of the holes in the aft window (slow process, using plexibits for the lexan and metal bits for the aluminum roll bar)
- finished drilling and clecoing the aft window; started reaming (#36) and tapping (#6-32) front part of window, shim and roll bar
- finished reaming and tapping window/shim/roll bar; reamed #27 and countersunk holes in window; - trimmed forward edge of window; beveled and sanded edges of window; deburred shim/roll bar; broke edges of top and side skins
- #27 final drilled and deburred holes common to top and side skins and aft window; primed and painted a lot of parts for the canopy latch mechanism and stiffener angles
- saran-wrapped edges of aft window, and stored in house; riveted stiffener angles and side skins; attached canopy latch assembly; installed latch bellcrank angles; detached and deburred canopy rail shim; vacuumed mess from window drilling
Riveting canopy frame assemblies:

Clecoing the canopy top skin to the canopy frame assemblies:

Clecoed and drilled canopy frame closeout:

Finished drilling closeout:

Assembled canopy rail assemblies:

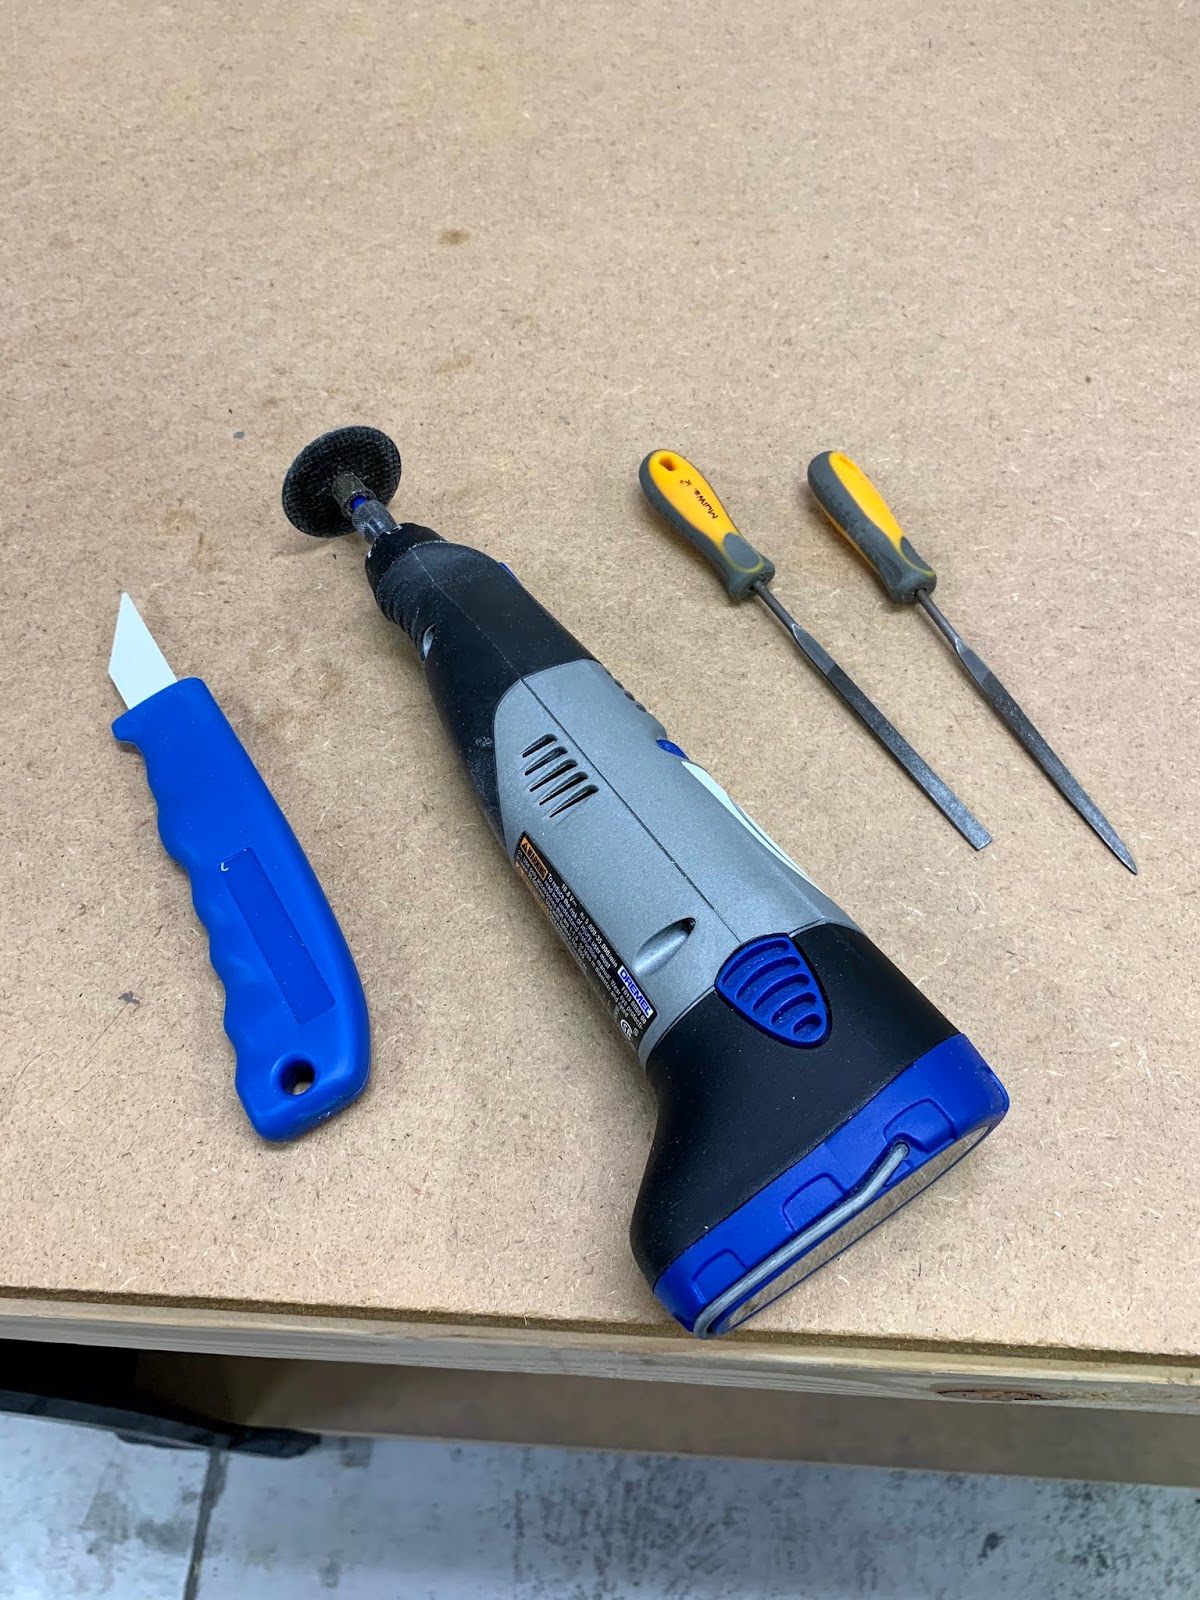
Cut notches in the aft part of the aft window to fit around rollbar brace brackets:

Tools I used to cut the notches included a dremel tool with plexi cutoff disk, a couple small files, and a neat ceramic scraper I found on Abbeon.com. The latter is wonderful to shave the edges of plexi/lexan:
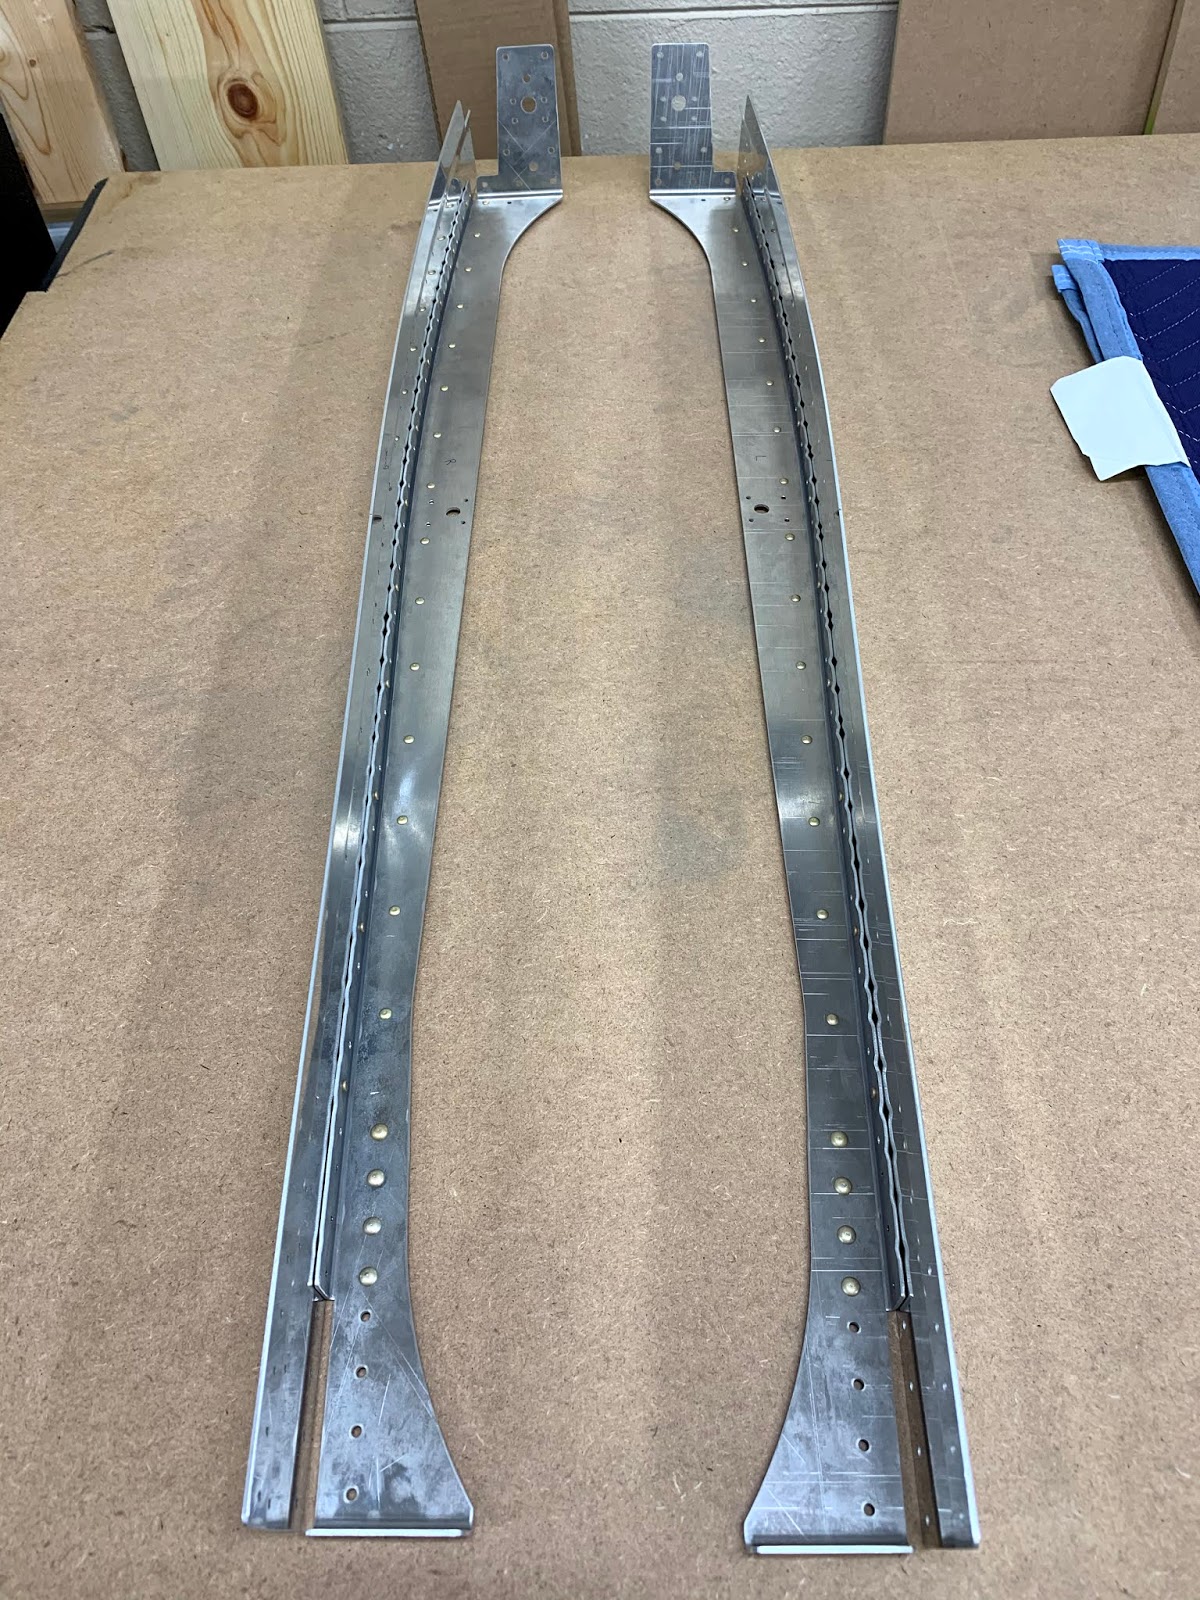
Canopy rail assemblies:
Fabricated canopy handles:

Aft window, with plastic/vinyl covering peeled back and cut:

Aft window underdoing initial drilling:

Aft window undergoing tapping of window/rollbar and temporary insertion of screws:

Protecting against COVID ... or just preparing for spray-painting a bunch of parts:

Aft window being final-drilled #27, countersunk, and forward edge being trimmed to be even with the forward part of the rollbar shim:

Dimpling of the side and top skins was easy ... except for the aft top-most hole. No squeezer yoke will fit. Since it is a #6 dimple, my blind dimpling tools (#30 and #40 only) wouldn't work here. So, here is the gadget I used to dimple that hole. The male dimple die was fit into a special rivet set with a 3/16" hole cut to accept dies (available at Cleaveland Aircraft Tool). The female dimple die was placed into an aluminum rod, and taped to two tungsten bucking bars. A little light tapping with the 2x rivet gun, and voila! The dimple was set into the top skin.

Done:

Saran-wrapped the edge, to prepare for long-term storage of the aft window in the house:

Installed latch bellcrank angles and stiffener angles:

Installed canopy latch assembly:

Outside view - works like a charm, with no binding:

No comments:
Post a Comment