I moved the left wing assembly to the wing cradle, to be able to utilize the 4'x8' table for construction. It helped to lay the fuel tank on the table (bottom down) to insert the j-channel; when gobbed with proseal, it's a PITA to feed through the holes in the ribs.

Riveted 7 ribs to the fuel tank skin, and cleaned proseal off the fuel cap flange:

Other side of tank:

I was playing around the the CAV-110 fuel drain, to try to use the threads to remove some of the proseal. That was a mistake, likely since the threads are tapered and I tried going at the proseal from both ends. At least there is a second CAV-110 in the kit (for the right wing, but I'll order another when the time comes; $16). I put Permatex #2 non-hardening thread sealant and was able to thread that puppy in the hole. I just hope everything is sealed (will find out when I do the leak test). From the pic here, the sealant was pushed out the rear, which is a good sign that there is enough compound to form a leak-free attachment. Yet another lesson learned the hard way.

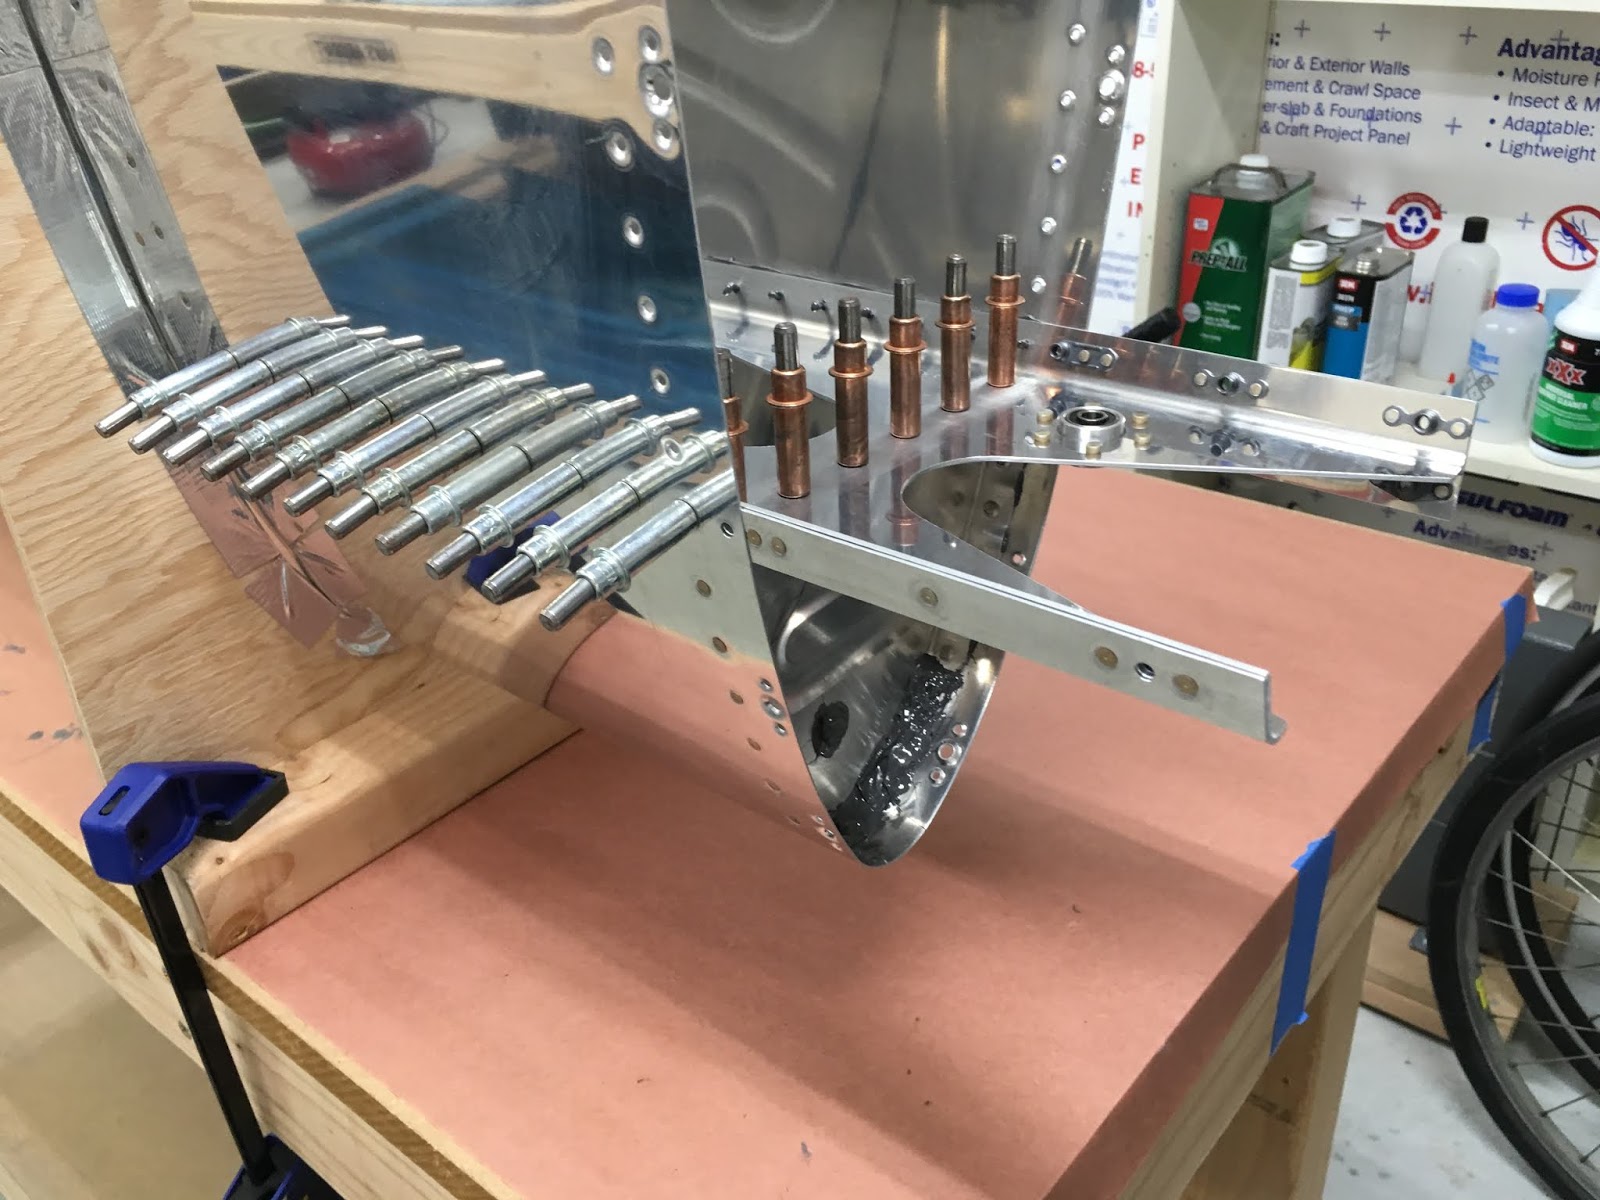
Prosealed and attached the j-stiffener and attach bracket:

Another view:

Closeup of attach bracket mating to inboard forward rib. LOTS of proseal is under this, esp. in the corners, where leaks might occur. Too many mating surfaces in one place = higher likelihood for leaks. I think I sealed every nook and cranny:

Another view:
An example of all the rib rivet shop heads that were encapsulated with Proseal:

A thick fillet seal on the inside of the outboard rib:

Cut and flared the vent tubing:

Riveted nutplates to aft inboard rib:

Deburred, scuffed (scotchbrite), and dimpled the tank baffle. I used Cleaveland Tool's substructure dimple dies, since I wanted a better fit at the junction where the skin mates to the baffle.

Test-fit baffle to the left tank assembly:

No comments:
Post a Comment